 HW-K360
HW-KM36
HW-KM36C
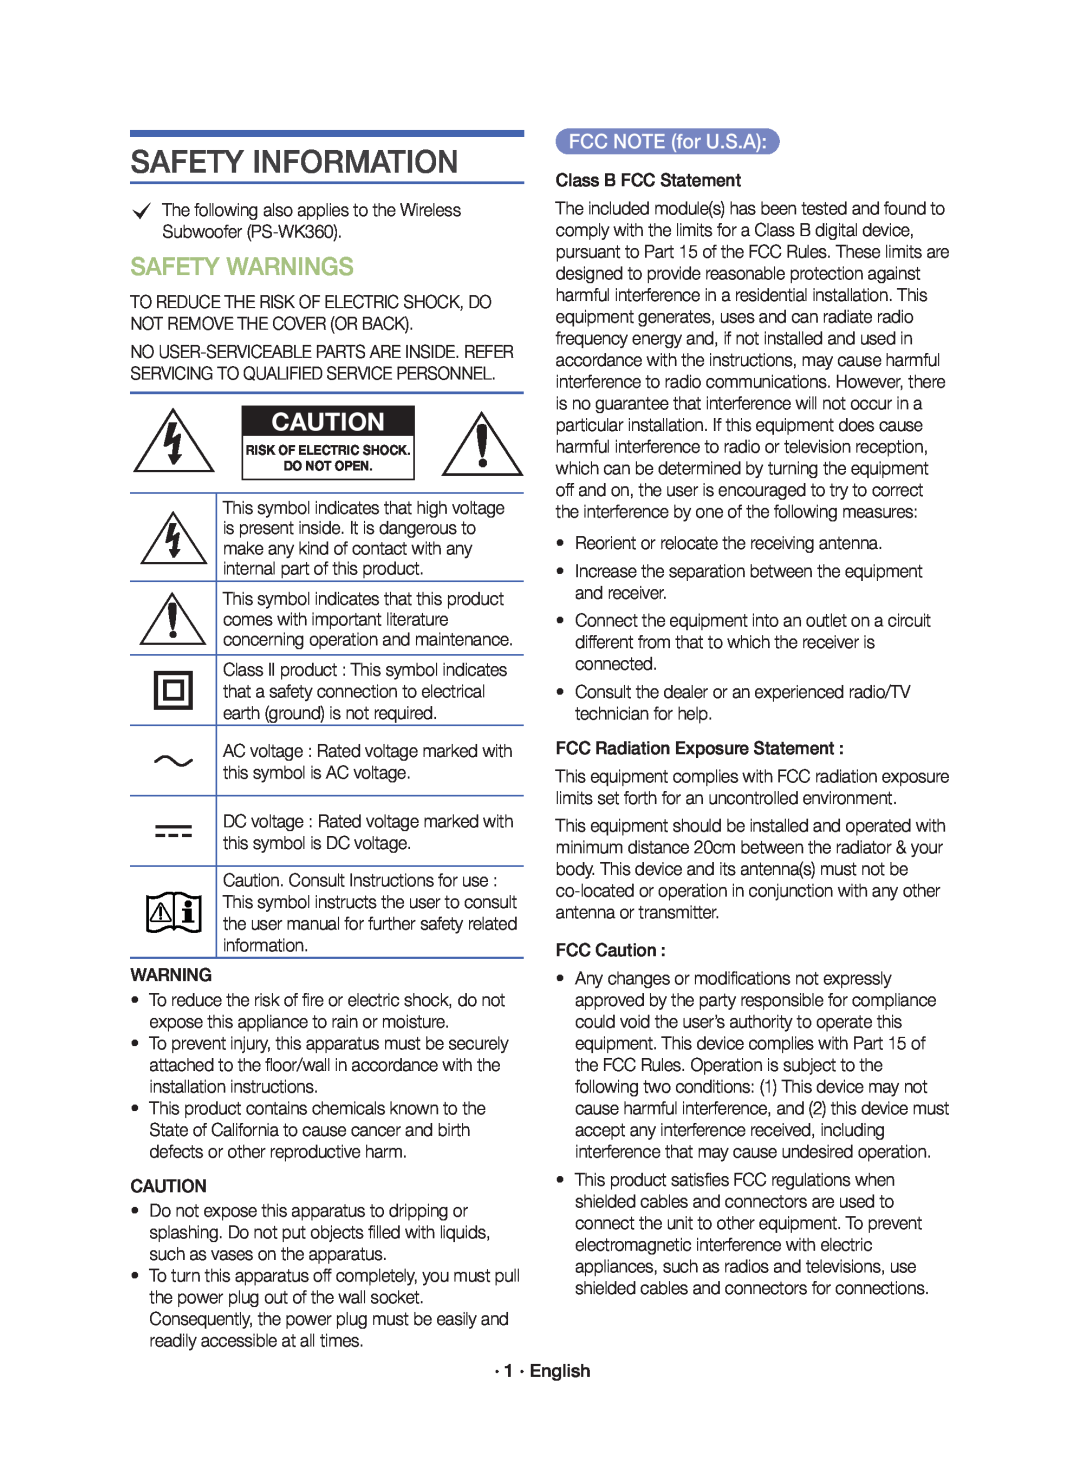 SAFETY INFORMATION
SAFETY WARNINGS
FCC NOTE (for U.S.A):
 PRECAUTIONS
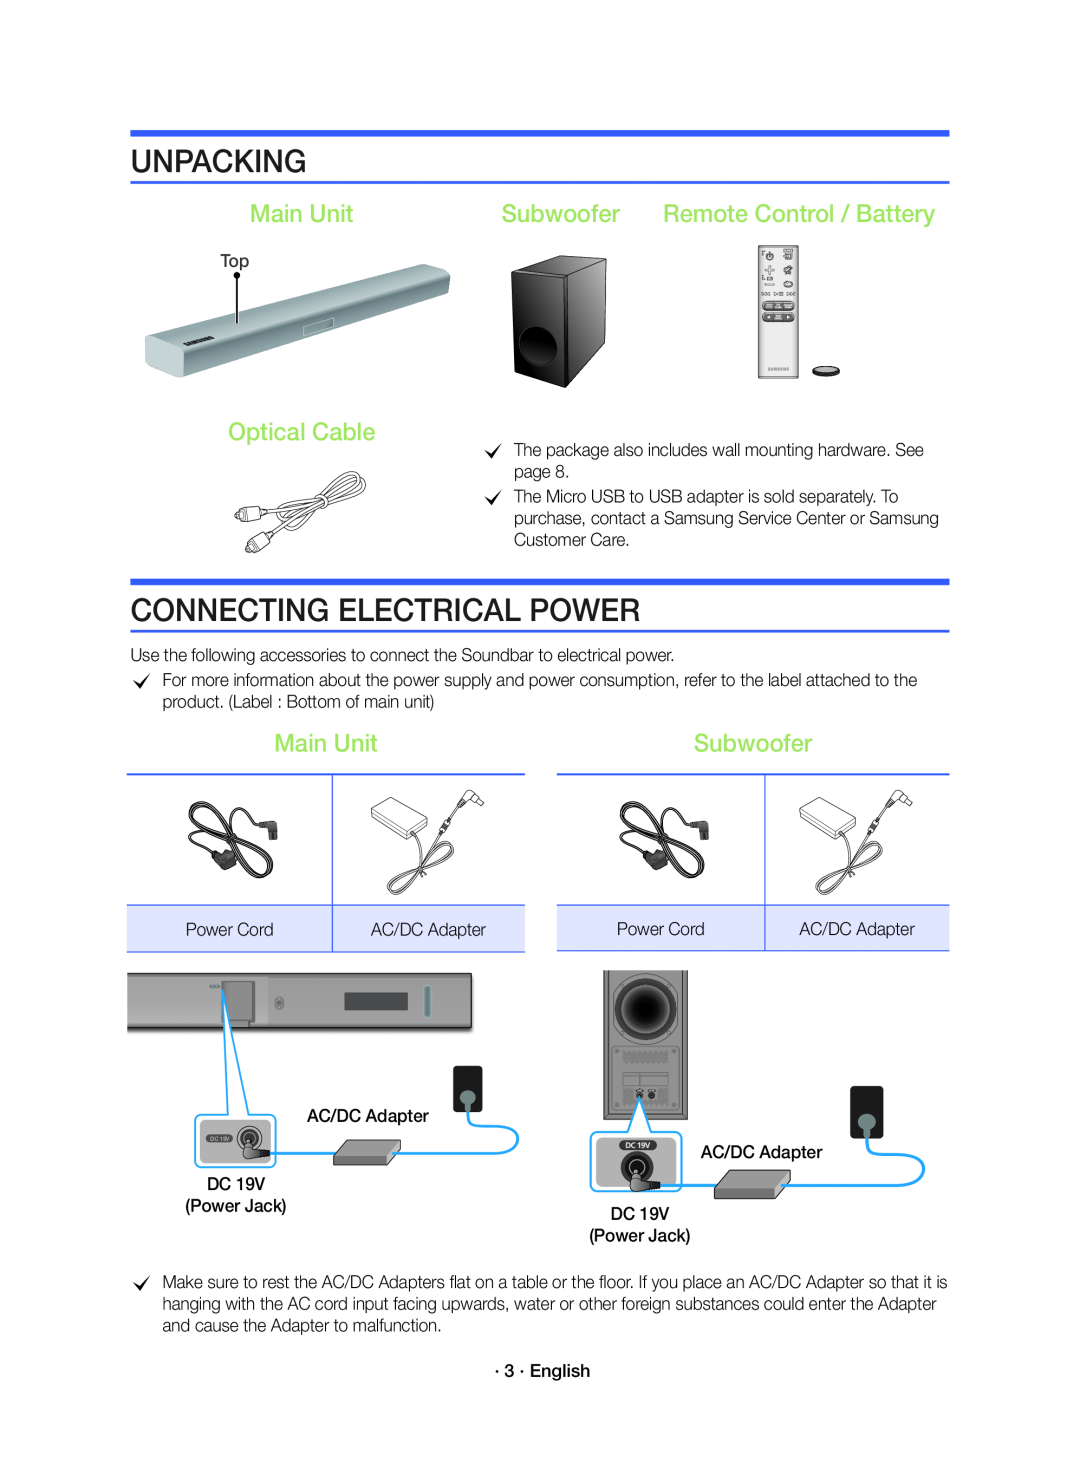 UNPACKING
Subwoofer
Optical Cable
CONNECTING ELECTRICAL POWER
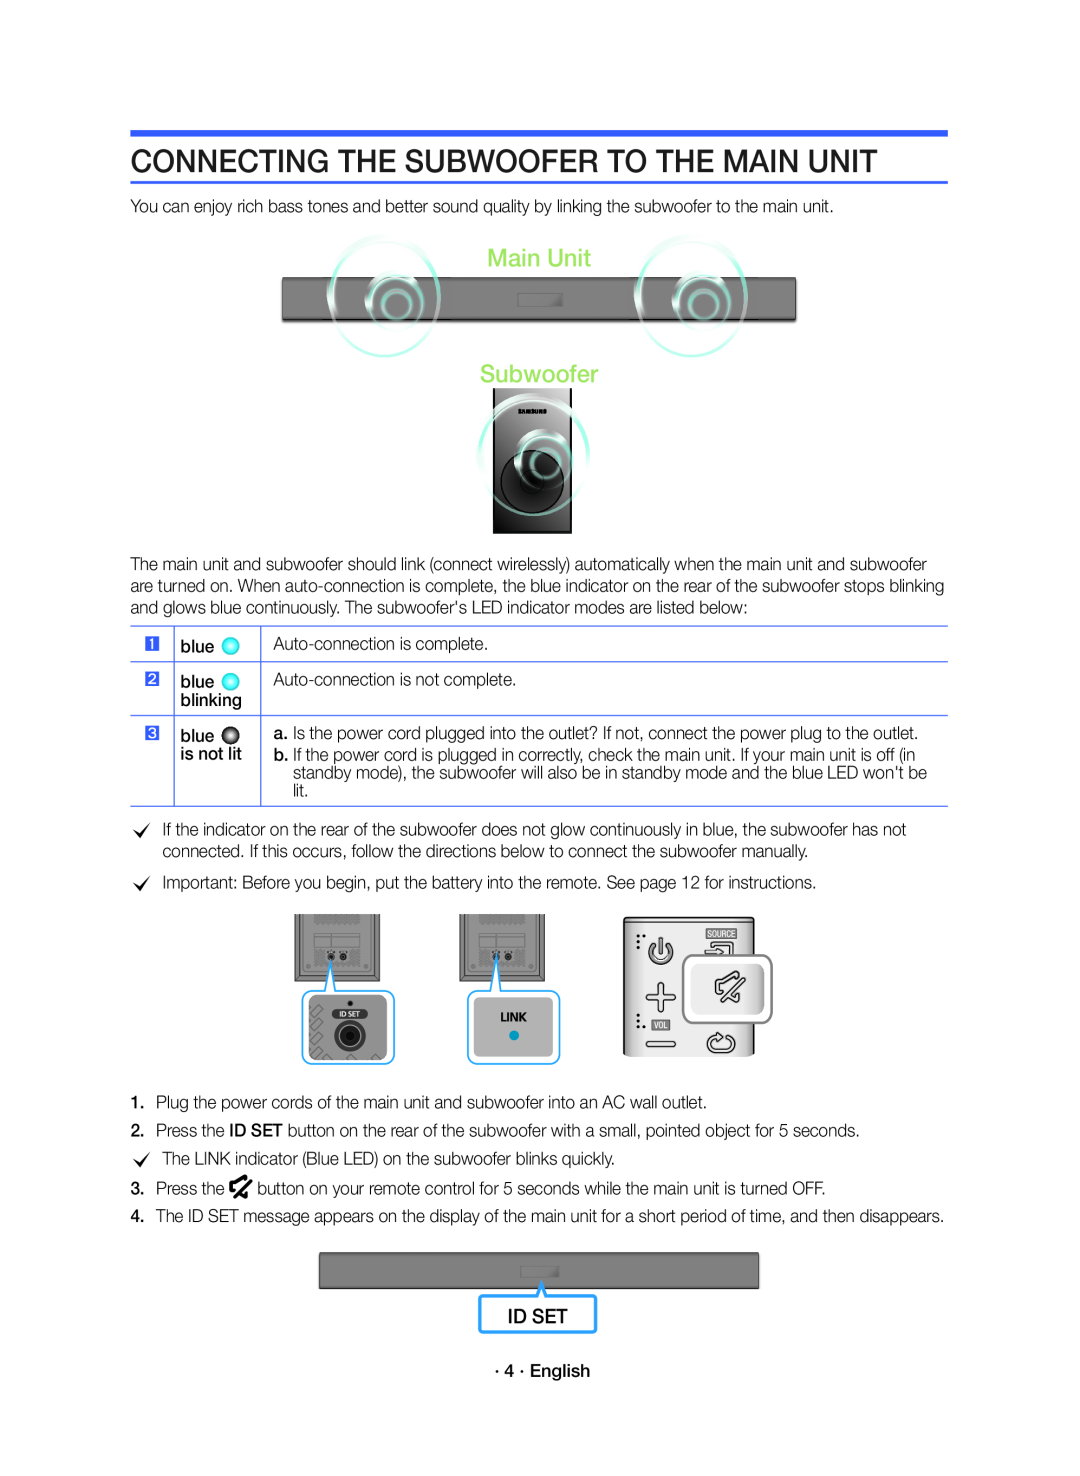 CONNECTING THE SUBWOOFER TO THE MAIN UNIT
ID SET
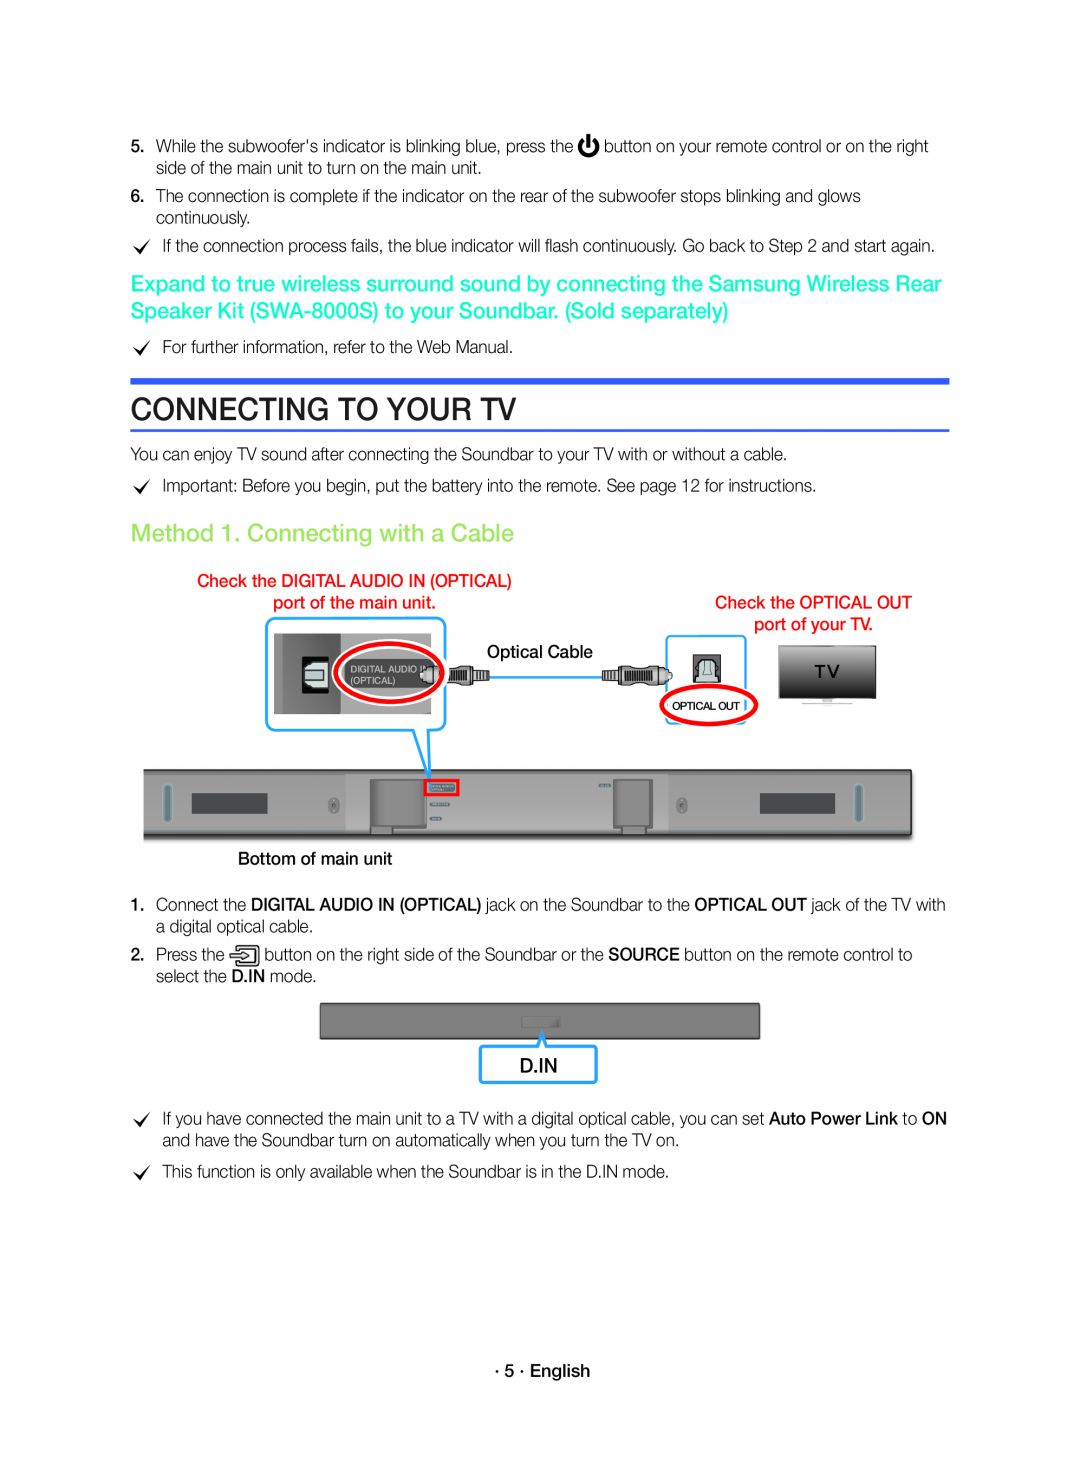 CONNECTING TO YOUR TV
Method 1. Connecting with a Cable
D.IN
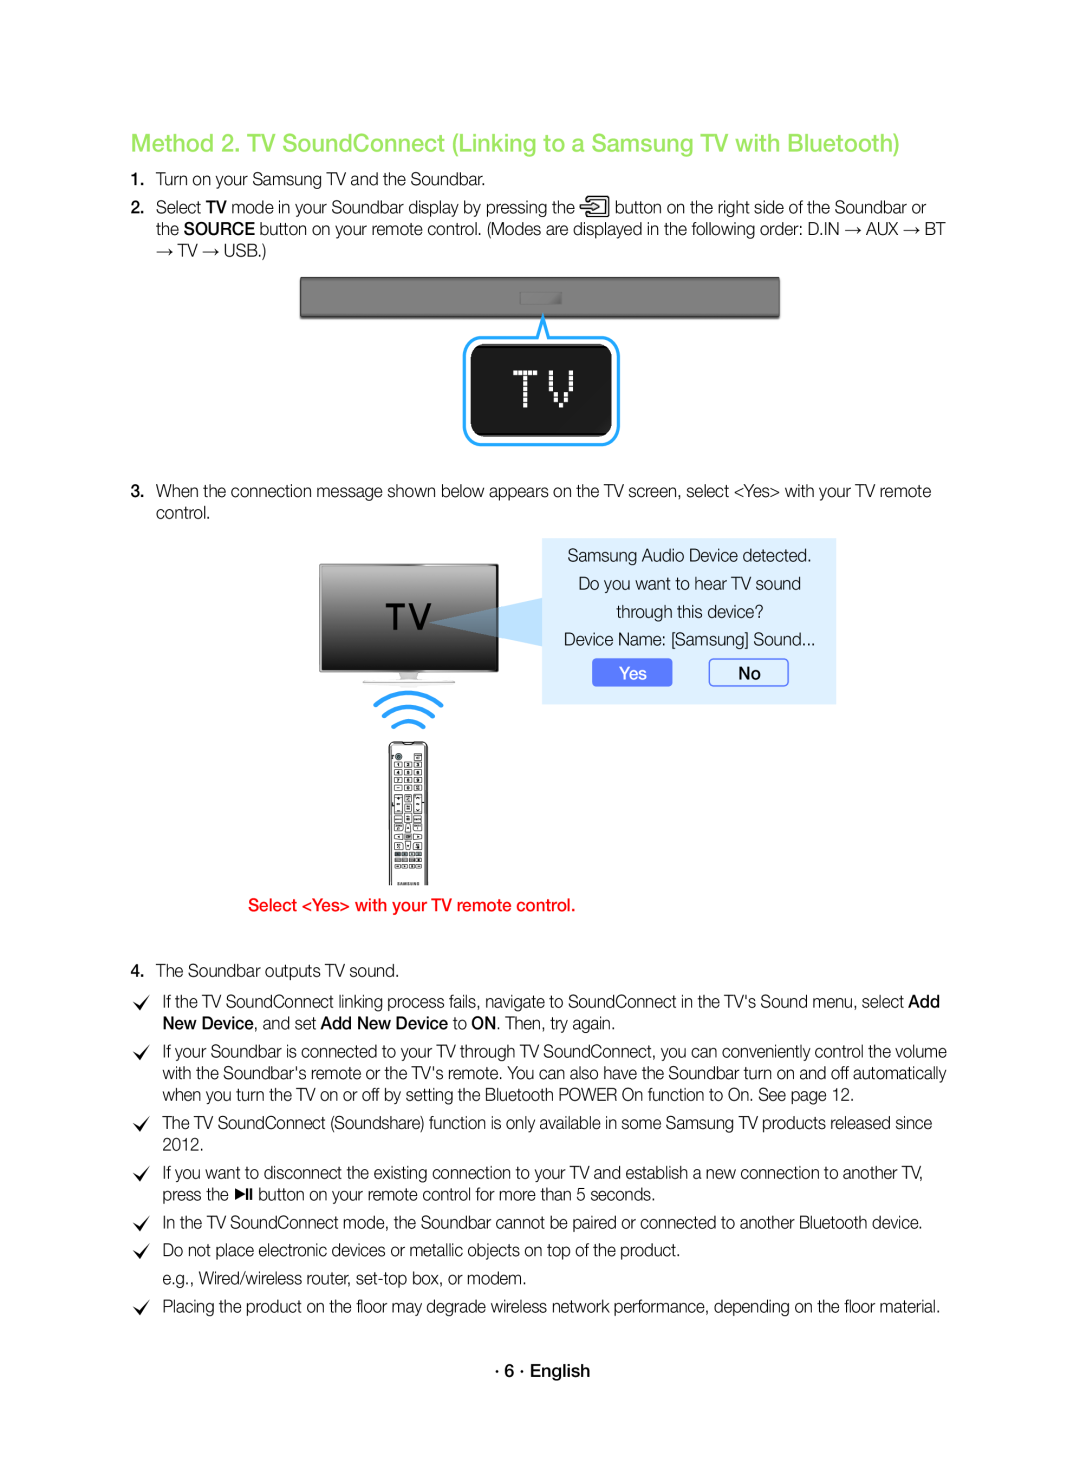 Method 2. TV SoundConnect (Linking to a Samsung TV with Bluetooth)
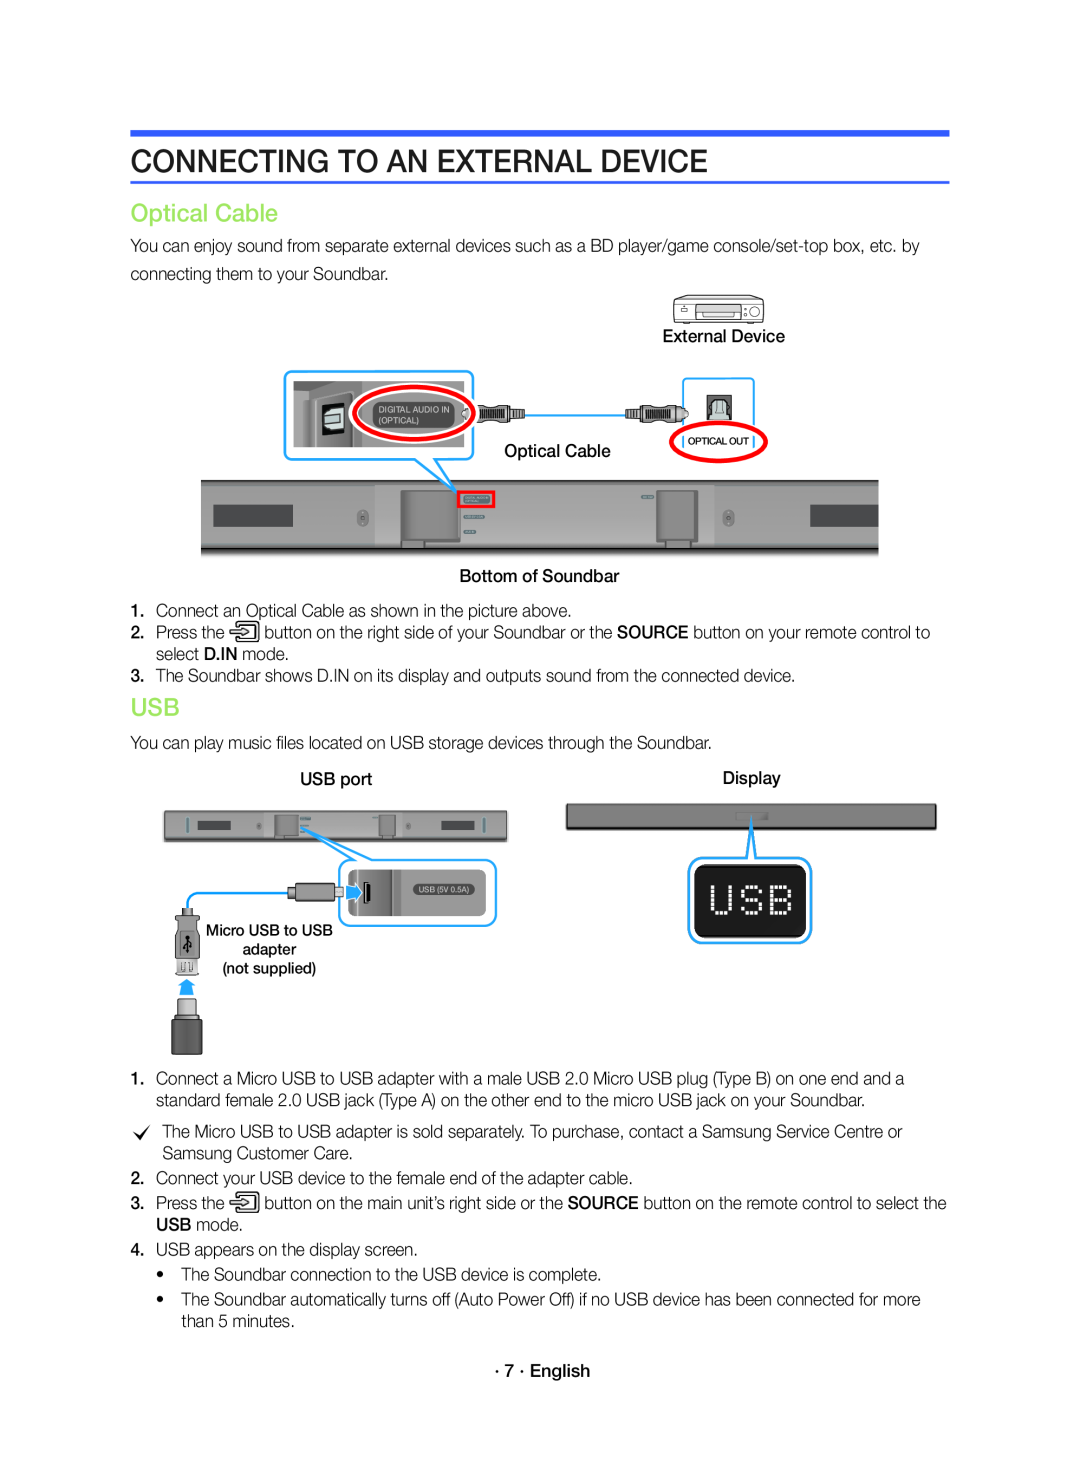 CONNECTING TO AN EXTERNAL DEVICE
USB
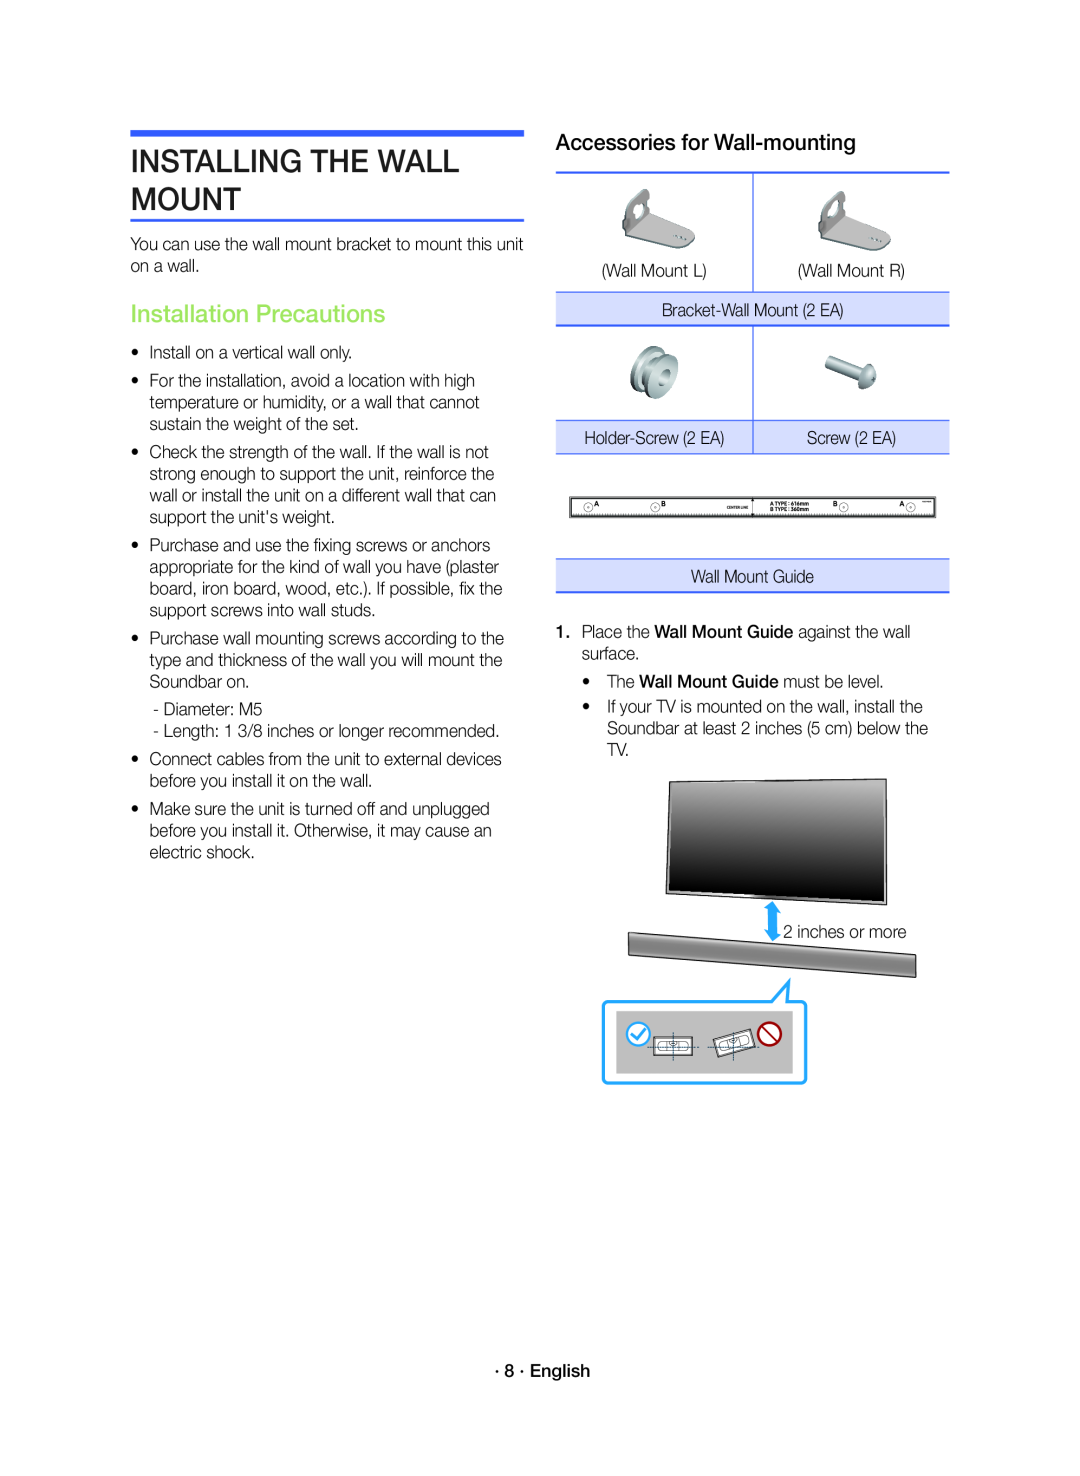 INSTALLING THE WALL MOUNT
Installation Precautions
Accessories for Wall-mounting
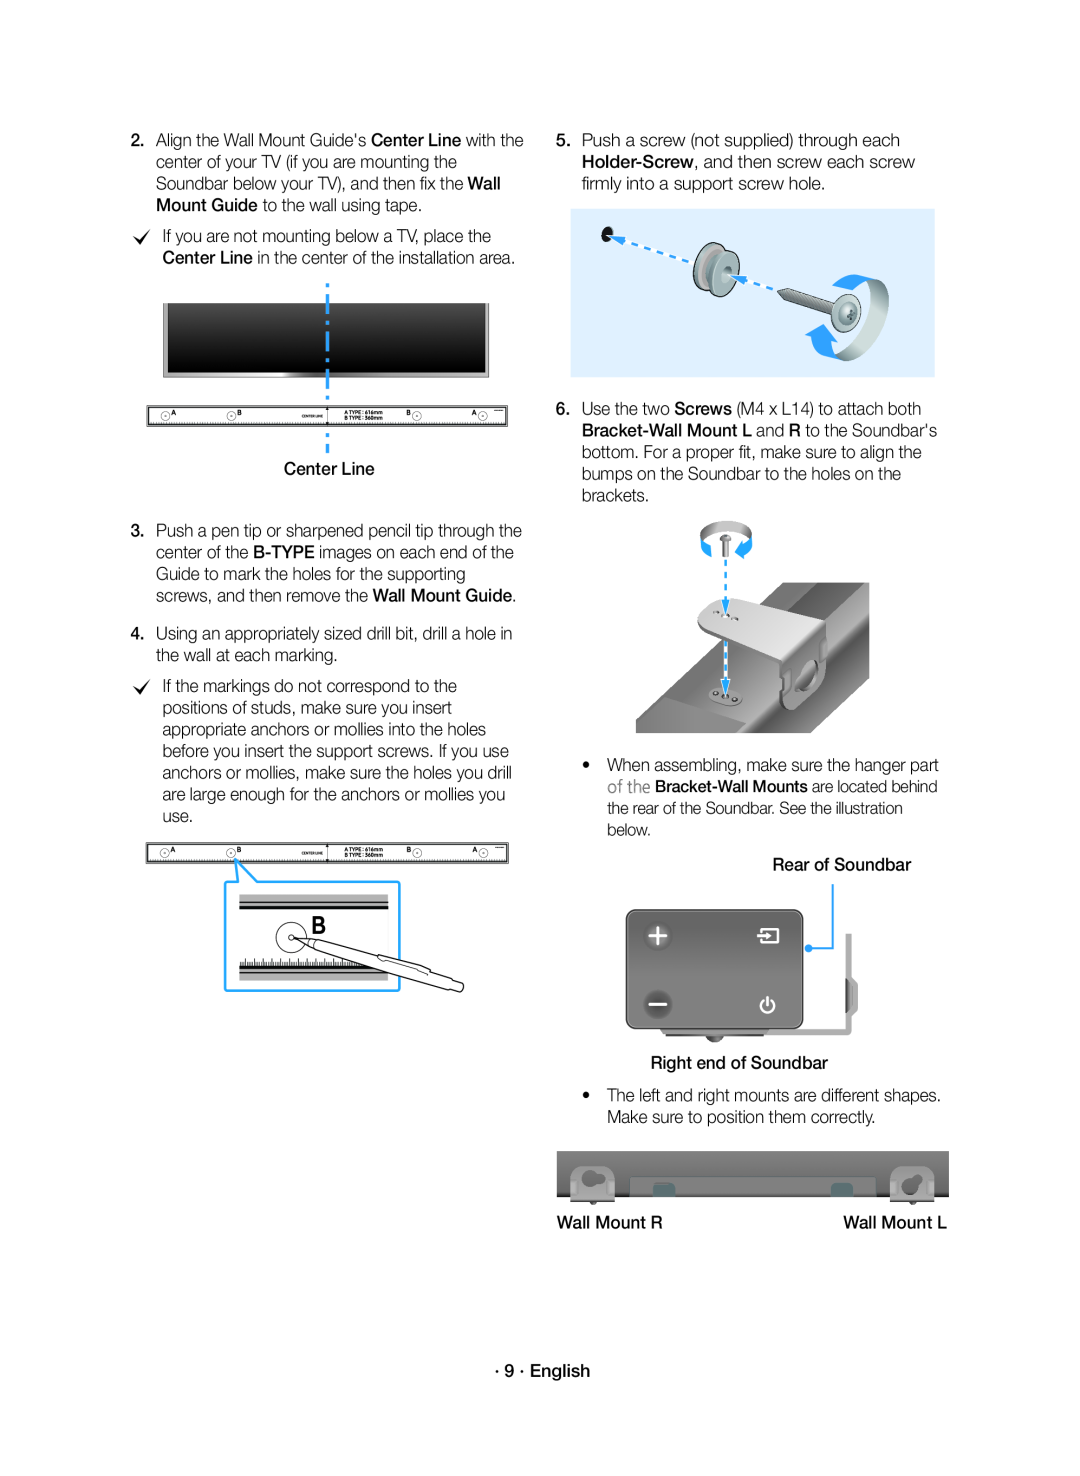 Center Line
Push a pen tip or sharpened pencil tip through the center of the
Push a screw (not supplied) through each
Use the two Screws (M4 x L14) to attach both
When assembling, make sure the hanger part
Rear of Soundbar
Right end of Soundbar
Wall Mount R
Wall Mount L
· 9 · English
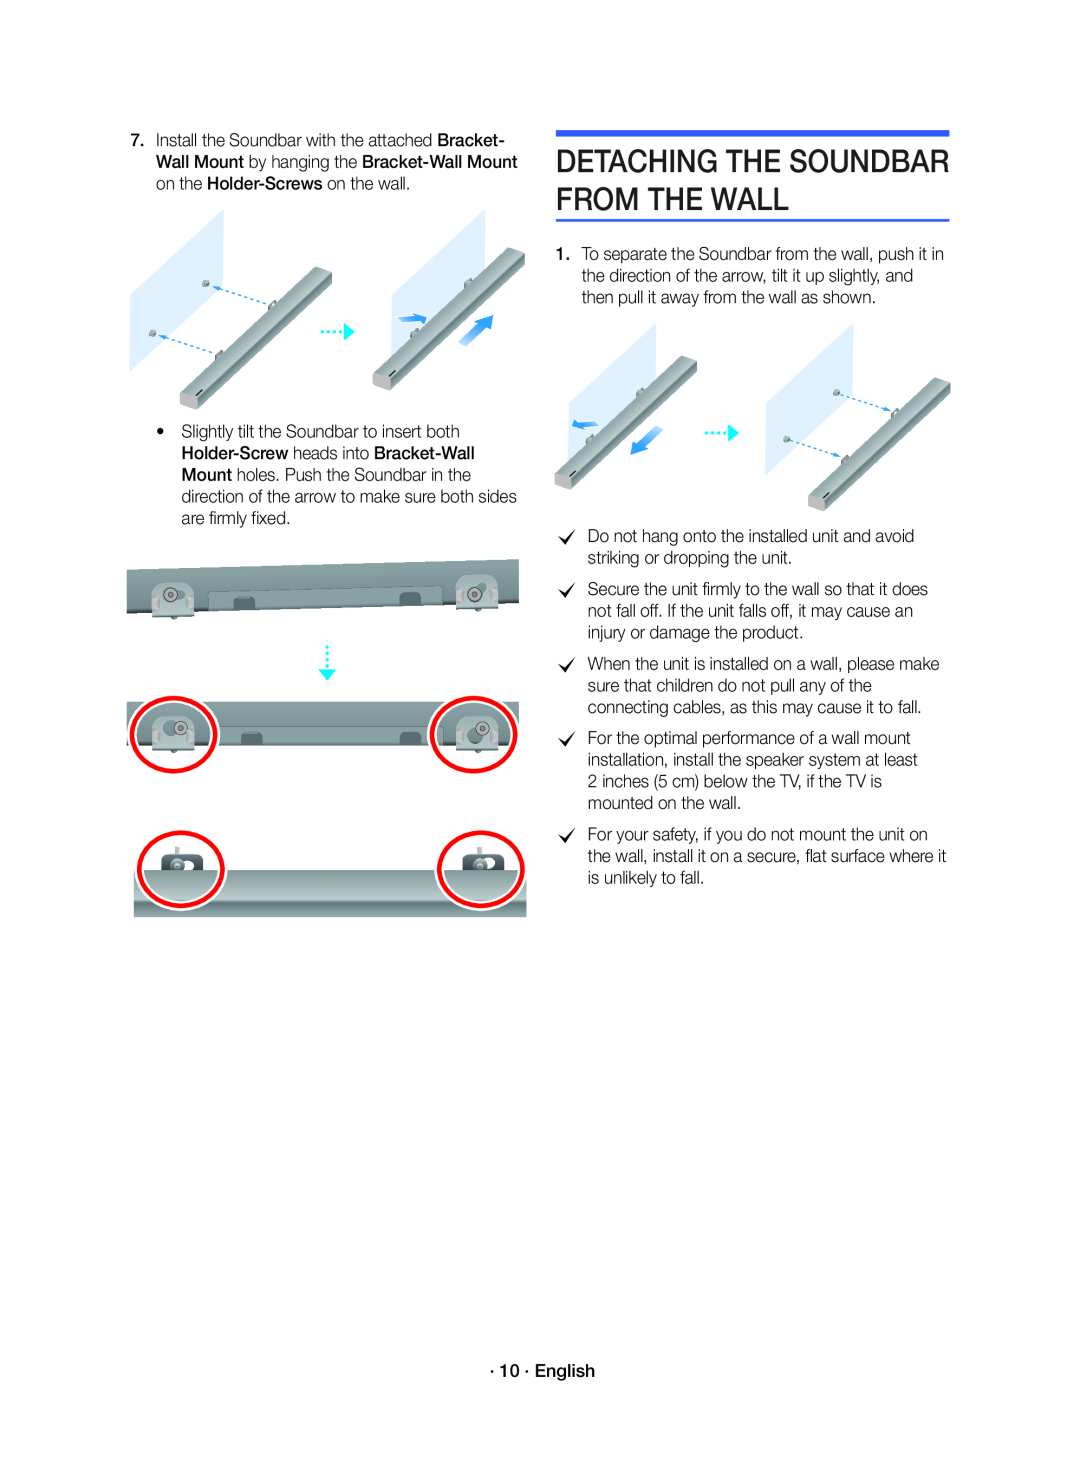 Slightly tilt the Soundbar to insert both
DETACHING THE SOUNDBAR FROM THE WALL
cDo not hang onto the installed unit and avoid striking or dropping the unit
· 10 · English
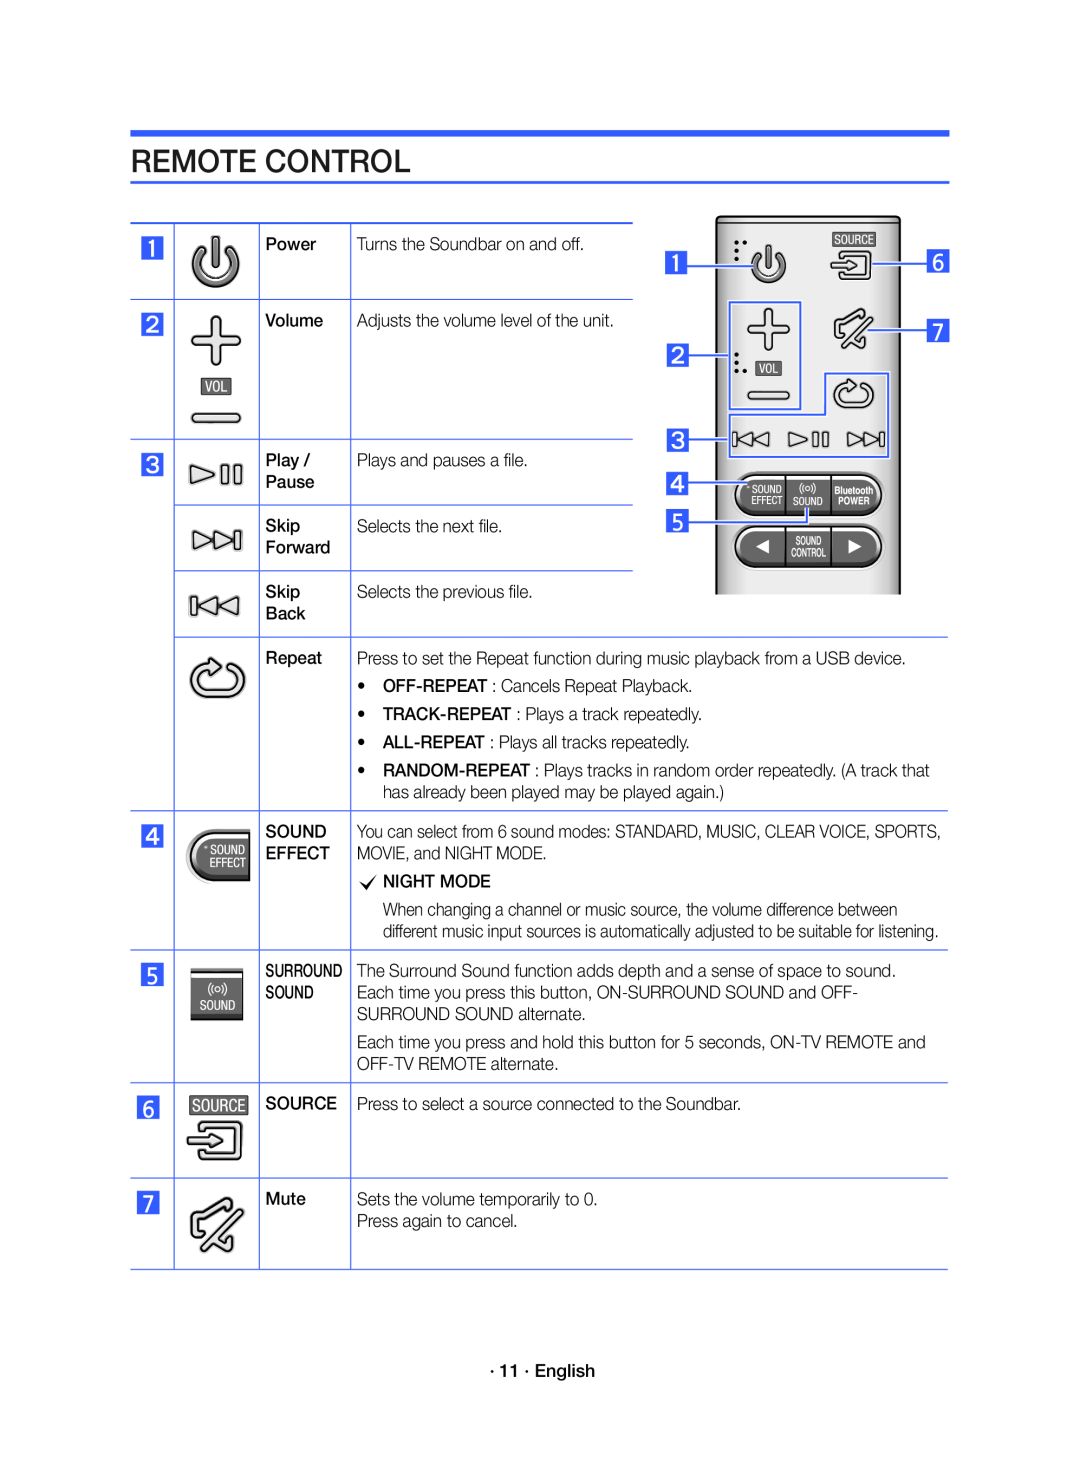 REMOTE CONTROL
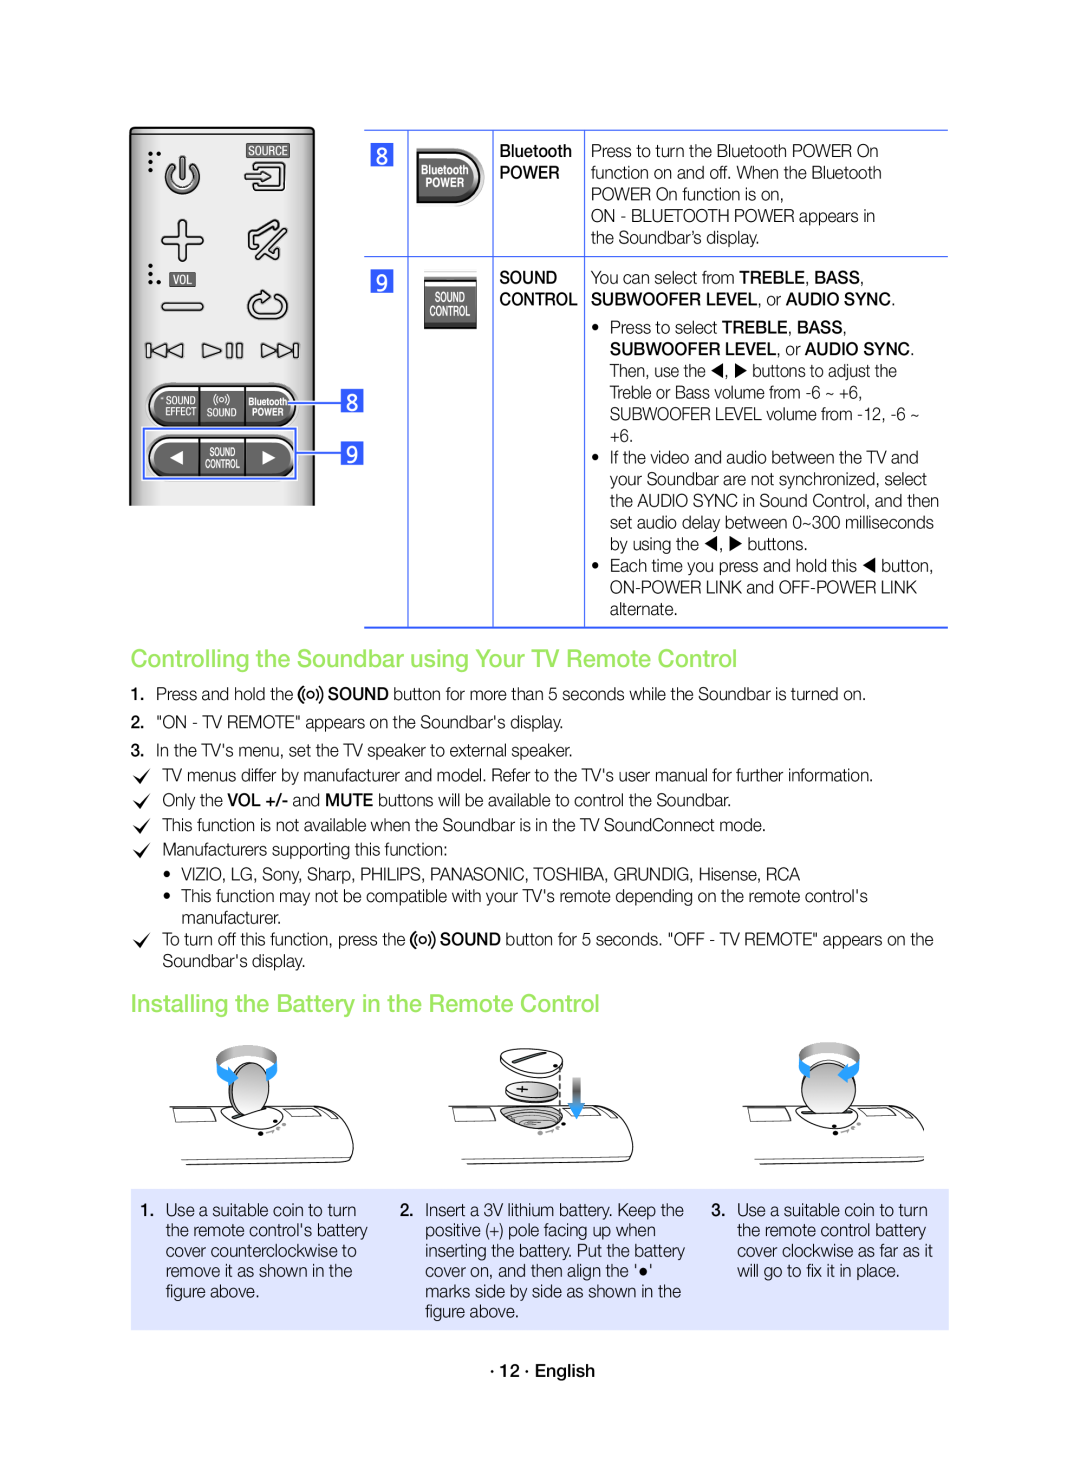 Controlling the Soundbar using Your TV Remote Control
Installing the Battery in the Remote Control
 TROUBLESHOOTING
LICENSE
OPEN SOURCE LICENSE NOTICE
 IMPORTANT NOTE ABOUT SERVICE
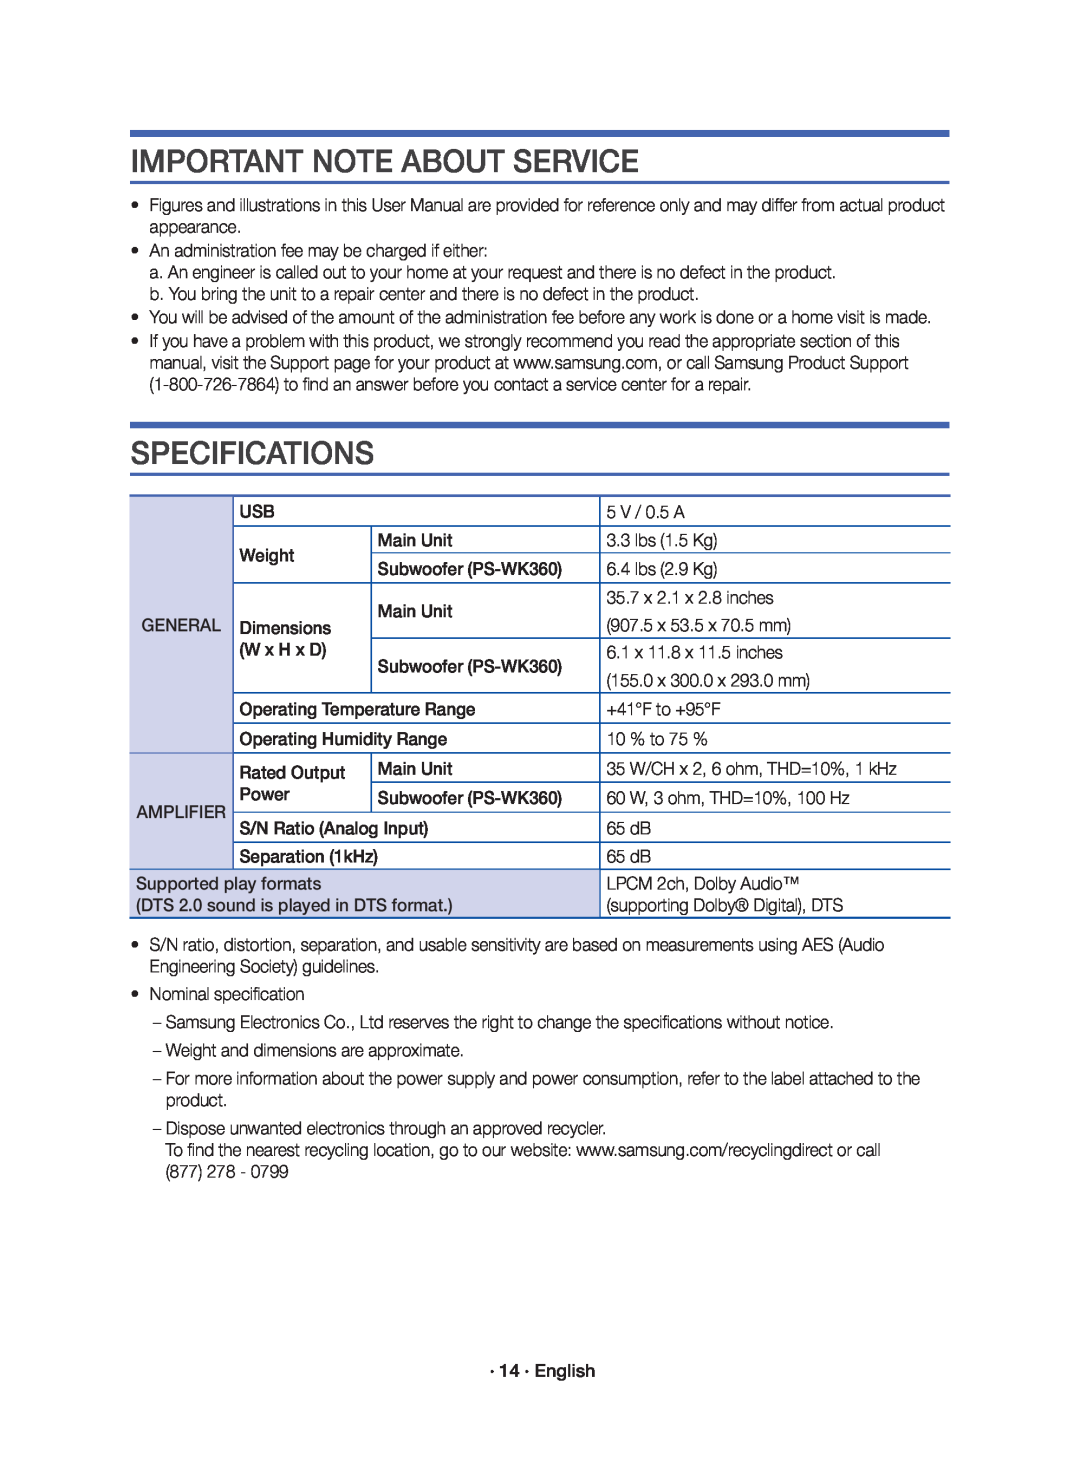
SPECIFICATIONS
 LIMITED WARRANTY TO ORIGINAL PURCHASER
 Questions or Comments