10 | INSTALLING THE | Wallmount Components | ||
| WALL MOUNT |
|
| |
|
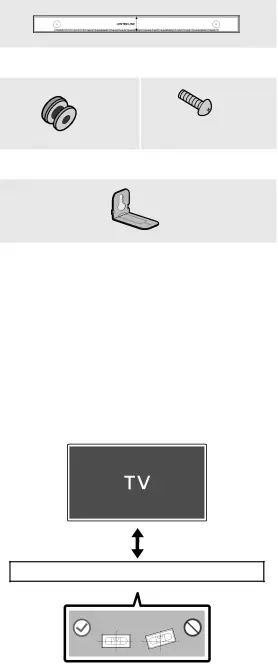
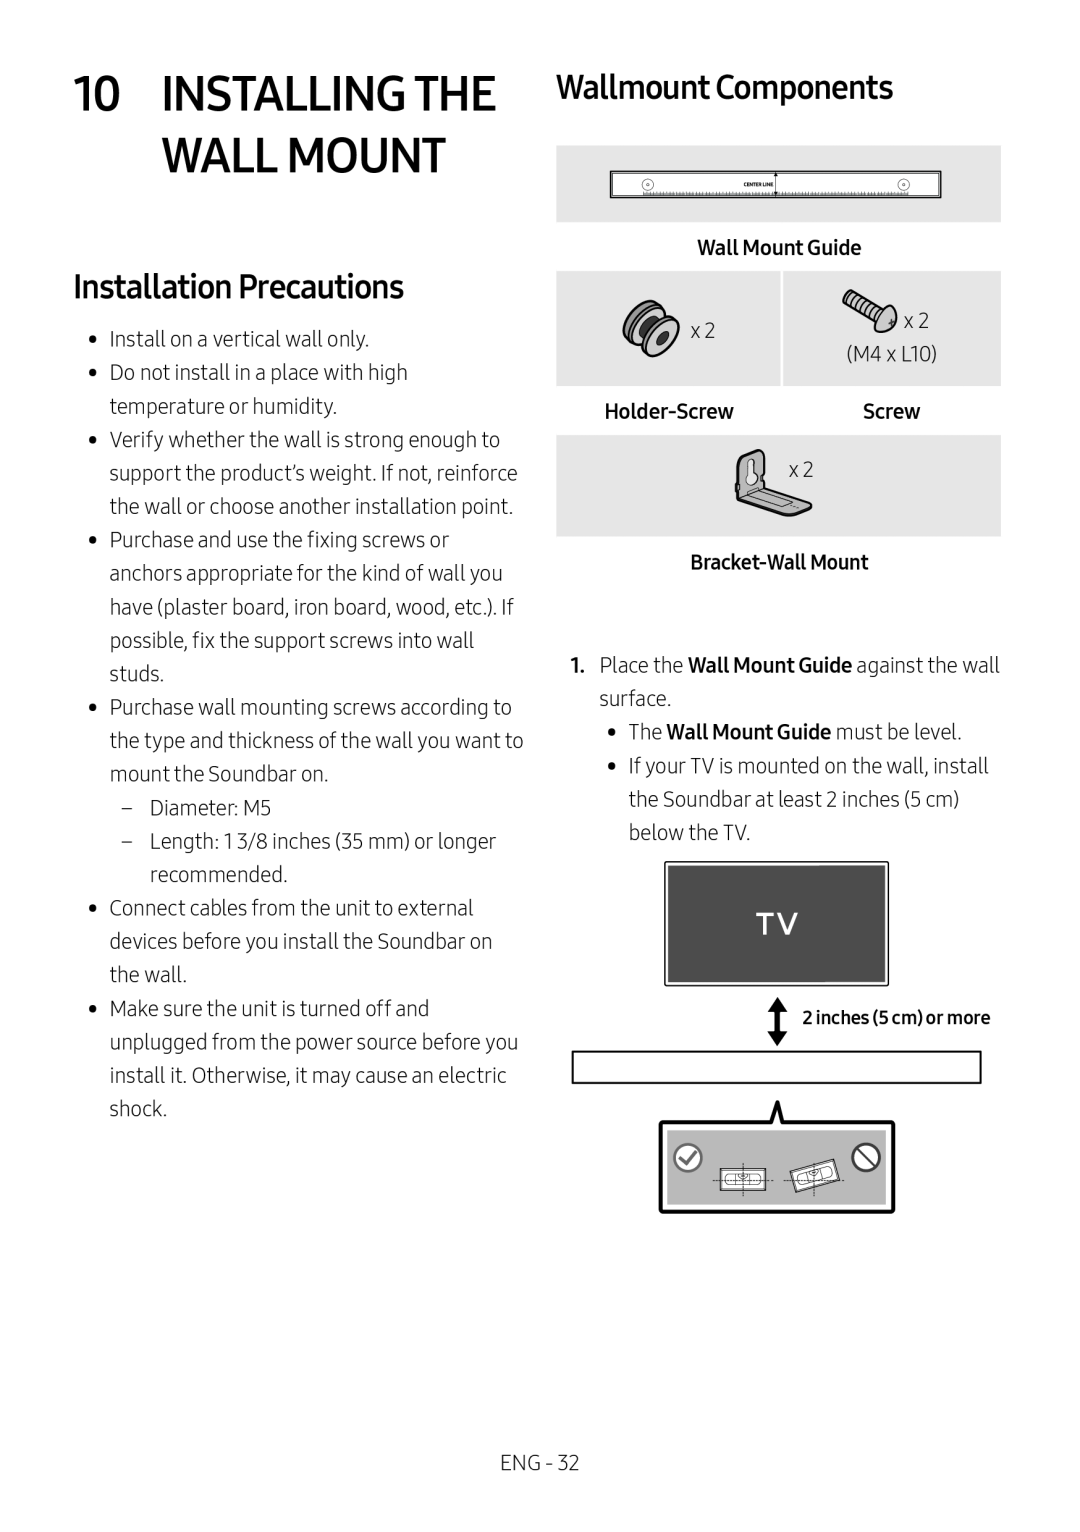
| Wall Mount Guide | ||
Installation Precautions |
| x 2 | ||
•• Install on a vertical wall only. | x 2 | |||
(M4 x L10) | ||||
| ||||
•• Do not install in a place with high |
| |||
|
| |||
temperature or humidity. | Screw | |||
•• Verify whether the wall is strong enough to |
|
| ||
support the product’s weight. If not, reinforce |
| x 2 | ||
the wall or choose another installation point. |
|
| ||
•• Purchase and use the fixing screws or | ||||
anchors appropriate for the kind of wall you | ||||
|
| |||
have (plaster board, iron board, wood, etc.). If |
|
| ||
possible, fix the support screws into wall | 1. Place the Wall Mount Guide against the wall | |||
studs. | ||||
surface. |
| |||
•• Purchase wall mounting screws according to |
| |||
•• The Wall Mount Guide must be level. | ||||
the type and thickness of the wall you want to | ||||
•• If your TV is mounted on the wall, install | ||||
mount the Soundbar on. | ||||
the Soundbar at least 2 inches (5 cm) | ||||
Diameter: M5 | ||||
below the TV. |
| |||
| ||||
|
| |||
| recommended. |
|
| |
•• Connect cables from the unit to external |
|
| ||
devices before you install the Soundbar on |
|
| ||
the wall. |
|
| ||
•• Make sure the unit is turned off and |
| 2 inches (5 cm) or more | ||
unplugged from the power source before you |
| |||
|
| |||
install it. Otherwise, it may cause an electric |
|
| ||
shock. |
|
| ||
ENG - 32
