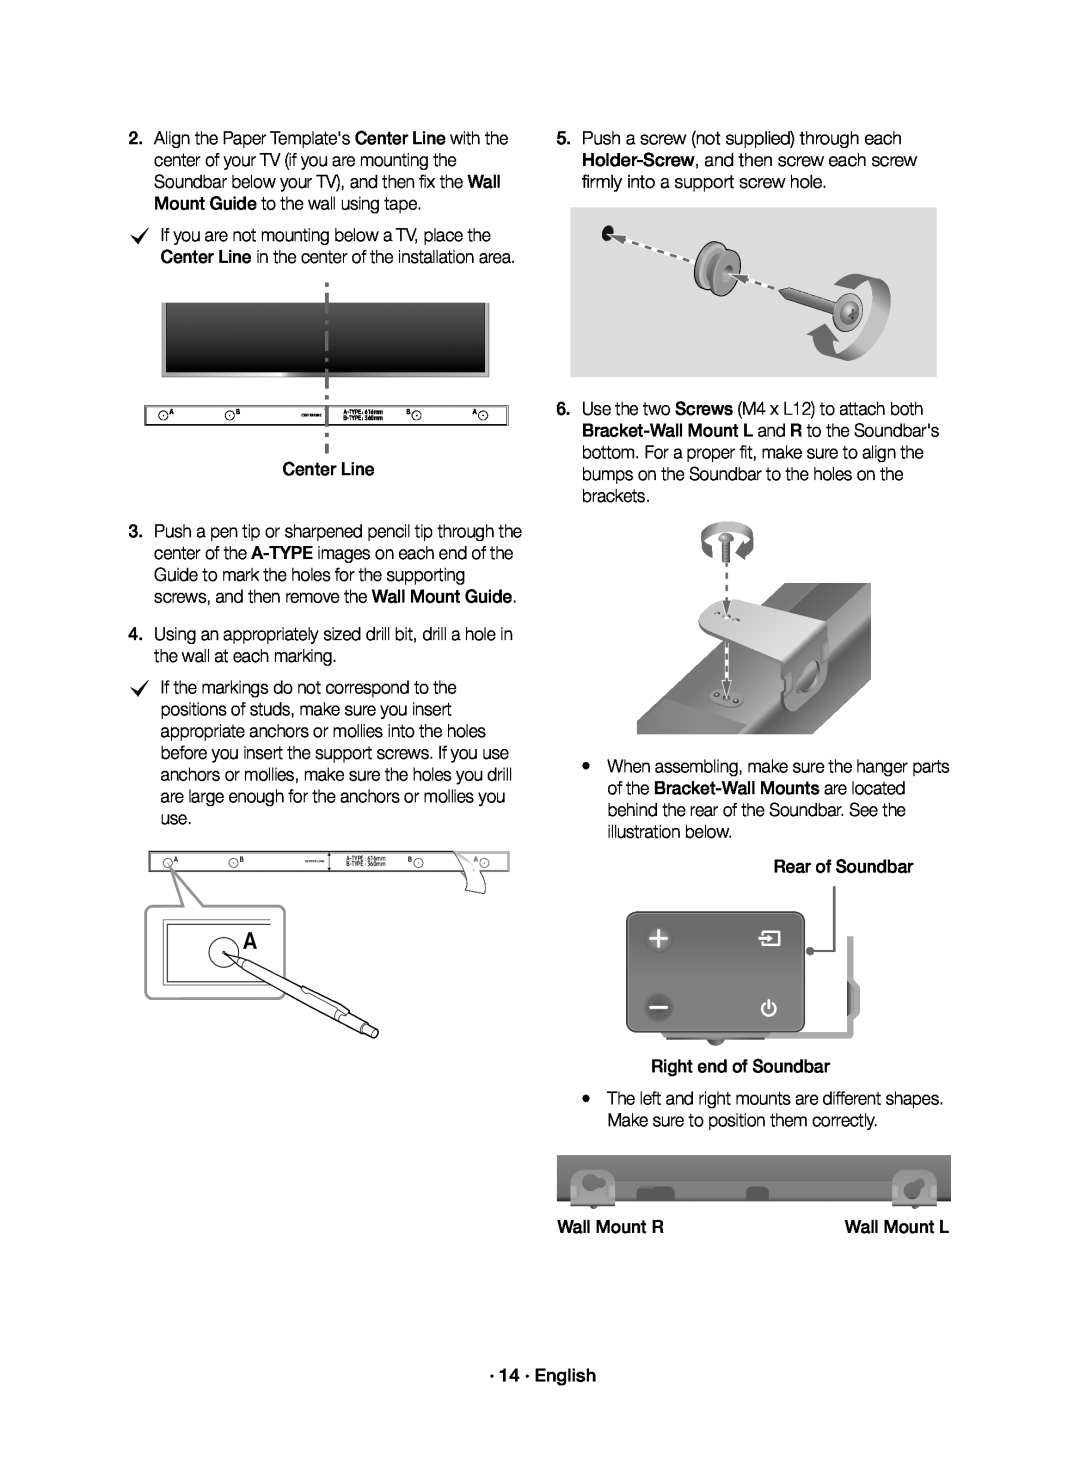
2.Align the Paper Template's Center Line with the center of your TV (if you are mounting the Soundbar below your TV), and then fix the Wall Mount Guide to the wall using tape.
cIf you are not mounting below a TV, place the Center Line in the center of the installation area.
A | B | CENTER LINE | B | A | |
|
|
|
|
|
3.Push a pen tip or sharpened pencil tip through the center of the
4.Using an appropriately sized drill bit, drill a hole in the wall at each marking.
cIf the markings do not correspond to the positions of studs, make sure you insert appropriate anchors or mollies into the holes before you insert the support screws. If you use anchors or mollies, make sure the holes you drill are large enough for the anchors or mollies you use.
A | B | CENTER LINE | B |
| A | |
|
|
|
|
|
|
5.Push a screw (not supplied) through each
6.Use the two Screws (M4 x L12) to attach both
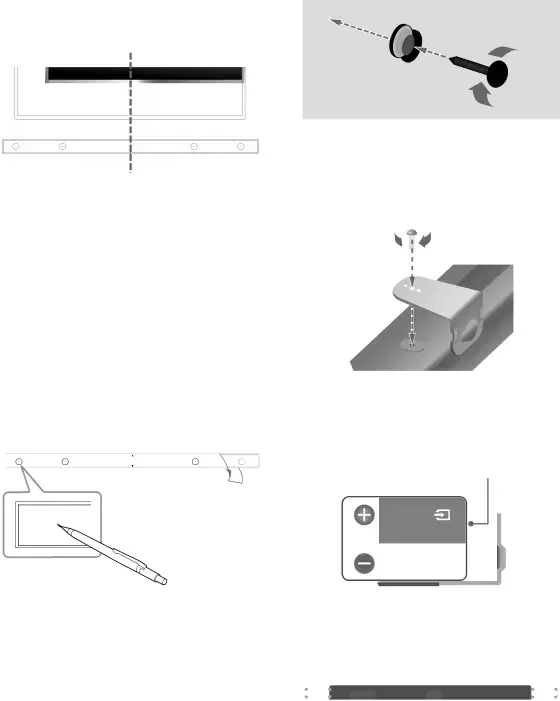
●When assembling, make sure the hanger parts of the
![]() A
A
| Right end of Soundbar |
● | The left and right mounts are different shapes. |
| Make sure to position them correctly. |
| Wall Mount R | Wall Mount L |