DESCRIPTIONS
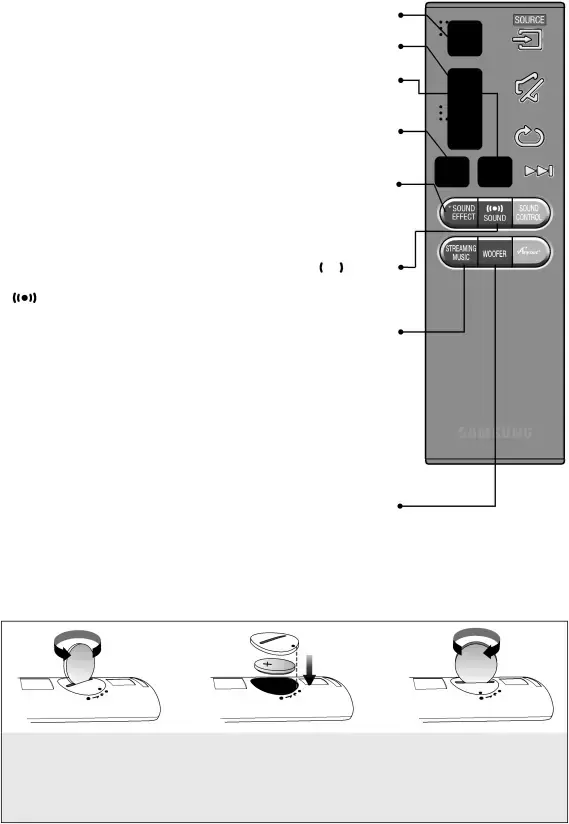
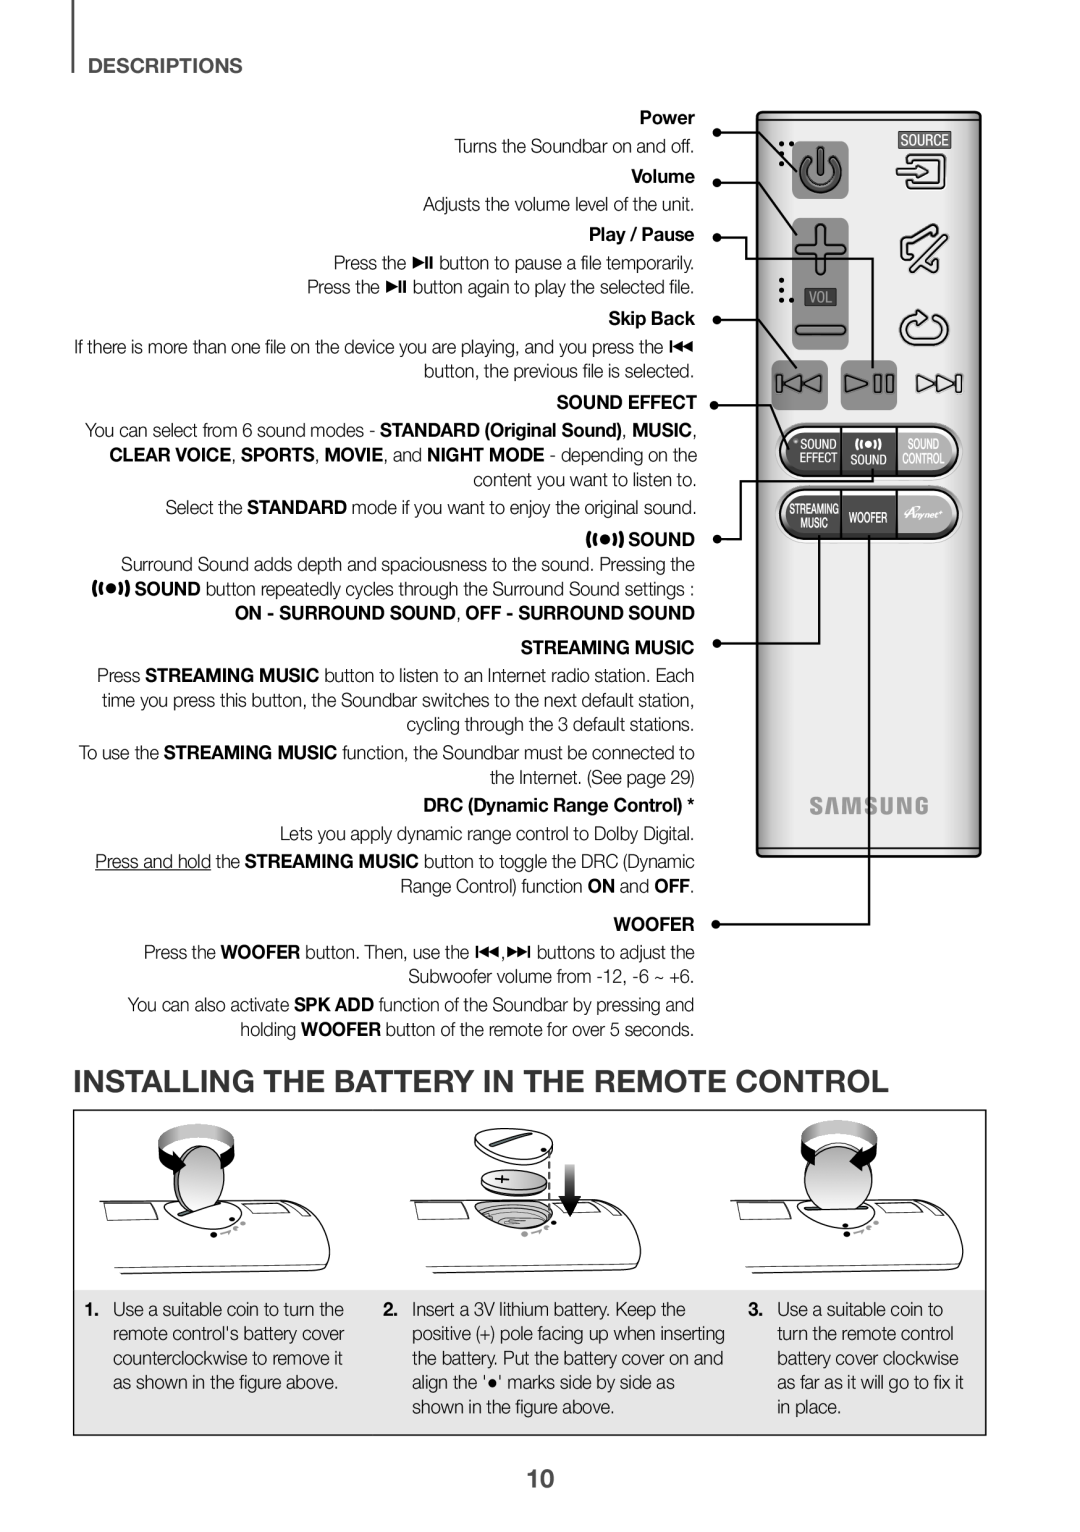
PowerTurns the Soundbar on and off.VolumeAdjusts the volume level of the unit.Play / Pause Press the p button to pause a file temporarily.Press the p button again to play the selected file.Skip Back If there is more than one file on the device you are playing, and you press the [ button, the previous file is selected.
SOUND EFFECT You can select from 6 sound modes - STANDARD (Original Sound), MUSIC, CLEAR VOICE, SPORTS, MOVIE, and NIGHT MODE - depending on the content you want to listen to.
Select the STANDARD mode if you want to enjoy the original sound.STREAMING MUSIC Press STREAMING MUSIC button to listen to an Internet radio station. Each time you press this button, the Soundbar switches to the next default station, cycling through the 3 default stations.
To use the STREAMING MUSIC function, the Soundbar must be connected to the Internet. (See page 29)
DRC (Dynamic Range Control) *Lets you apply dynamic range control to Dolby Digital.Press and hold the STREAMING MUSIC button to toggle the DRC (DynamicRange Control) function ON and OFF.WOOFER Press the WOOFER button. Then, use the [,] buttons to adjust the Subwoofer volume from
You can also activate SPK ADD function of the Soundbar by pressing and holding WOOFER button of the remote for over 5 seconds.
INSTALLING THE BATTERY IN THE REMOTE CONTROL
1.Use a suitable coin to turn the remote control's battery cover counterclockwise to remove it as shown in the figure above.
2.Insert a 3V lithium battery. Keep the positive (+) pole facing up when inserting the battery. Put the battery cover on and align the '●' marks side by side as shown in the figure above.
3.Use a suitable coin to turn the remote control battery cover clockwise as far as it will go to fix it in place.
10
