 www.samsung.com/register
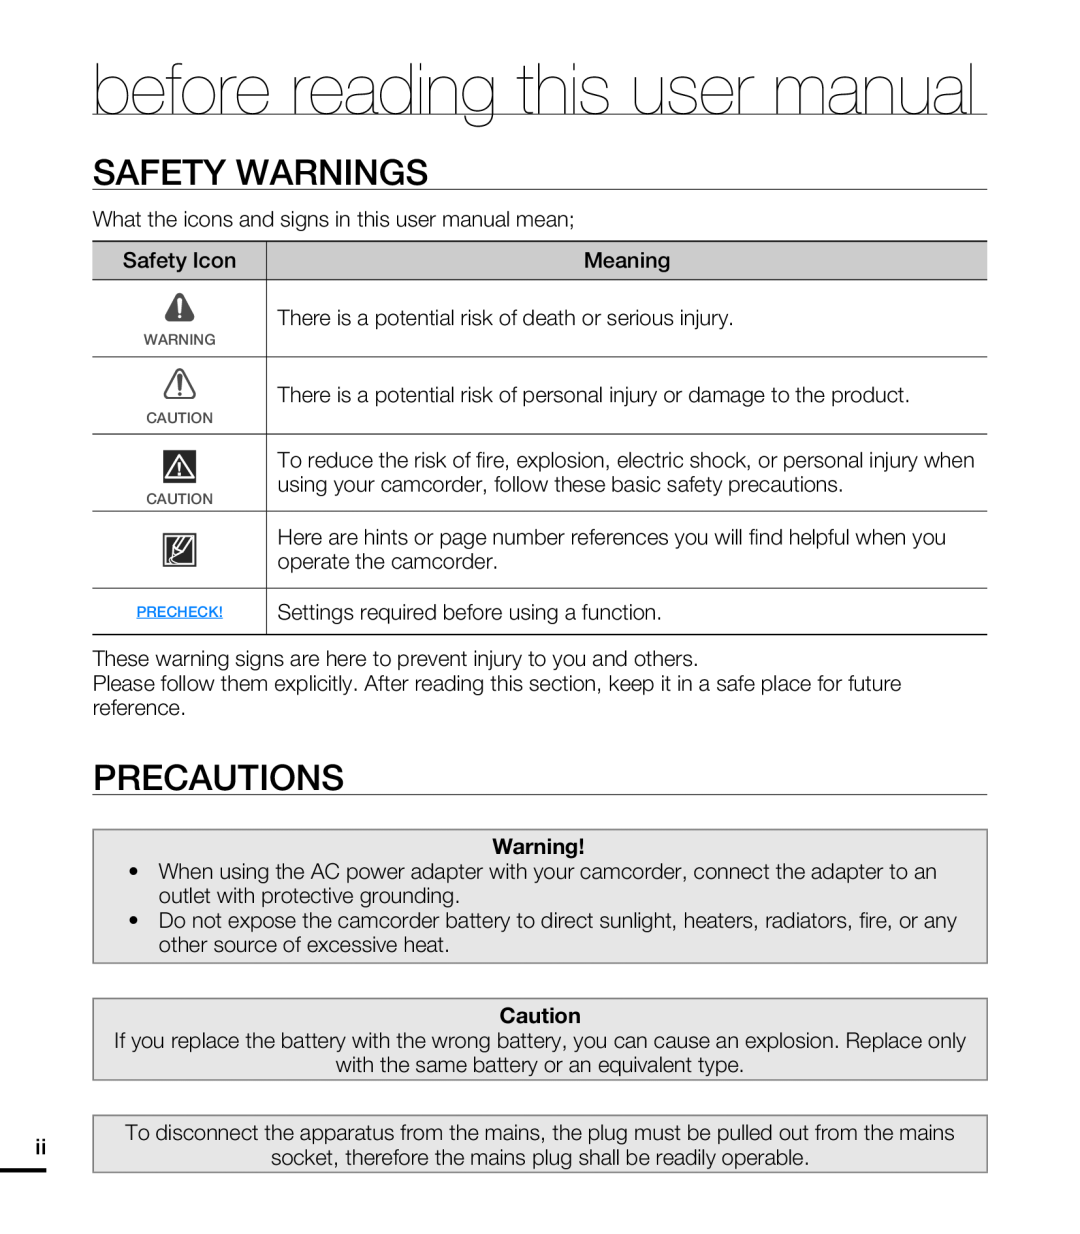 SAFETY WARNINGS
PRECAUTIONS
 IMPORTANT INFORMATION ON USE
About this user manual
Before using this camcorder
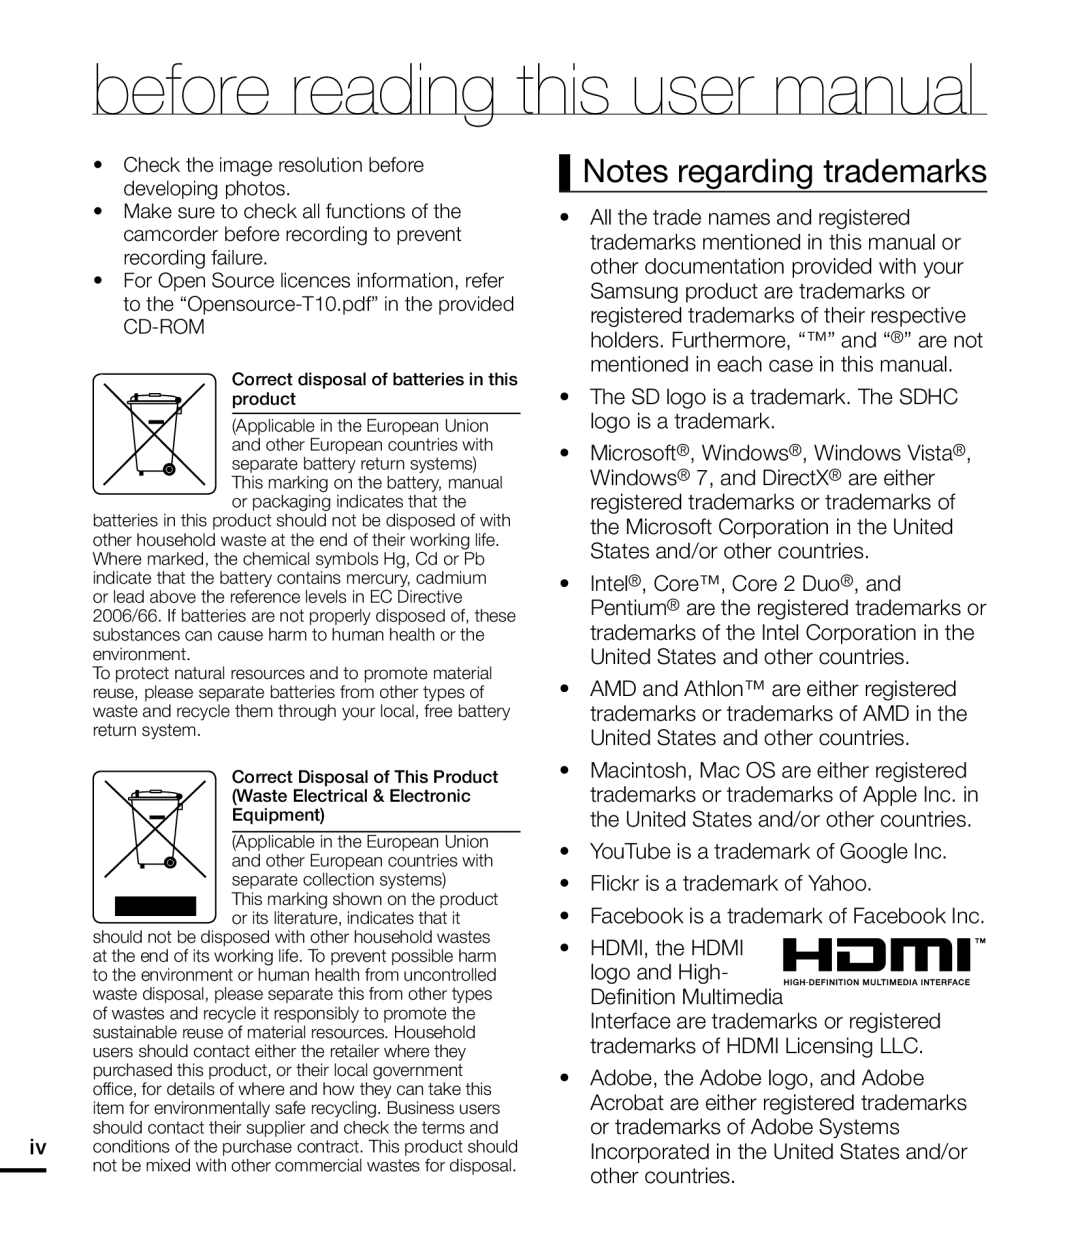 Notes regarding trademarks
 safety information
WARNING
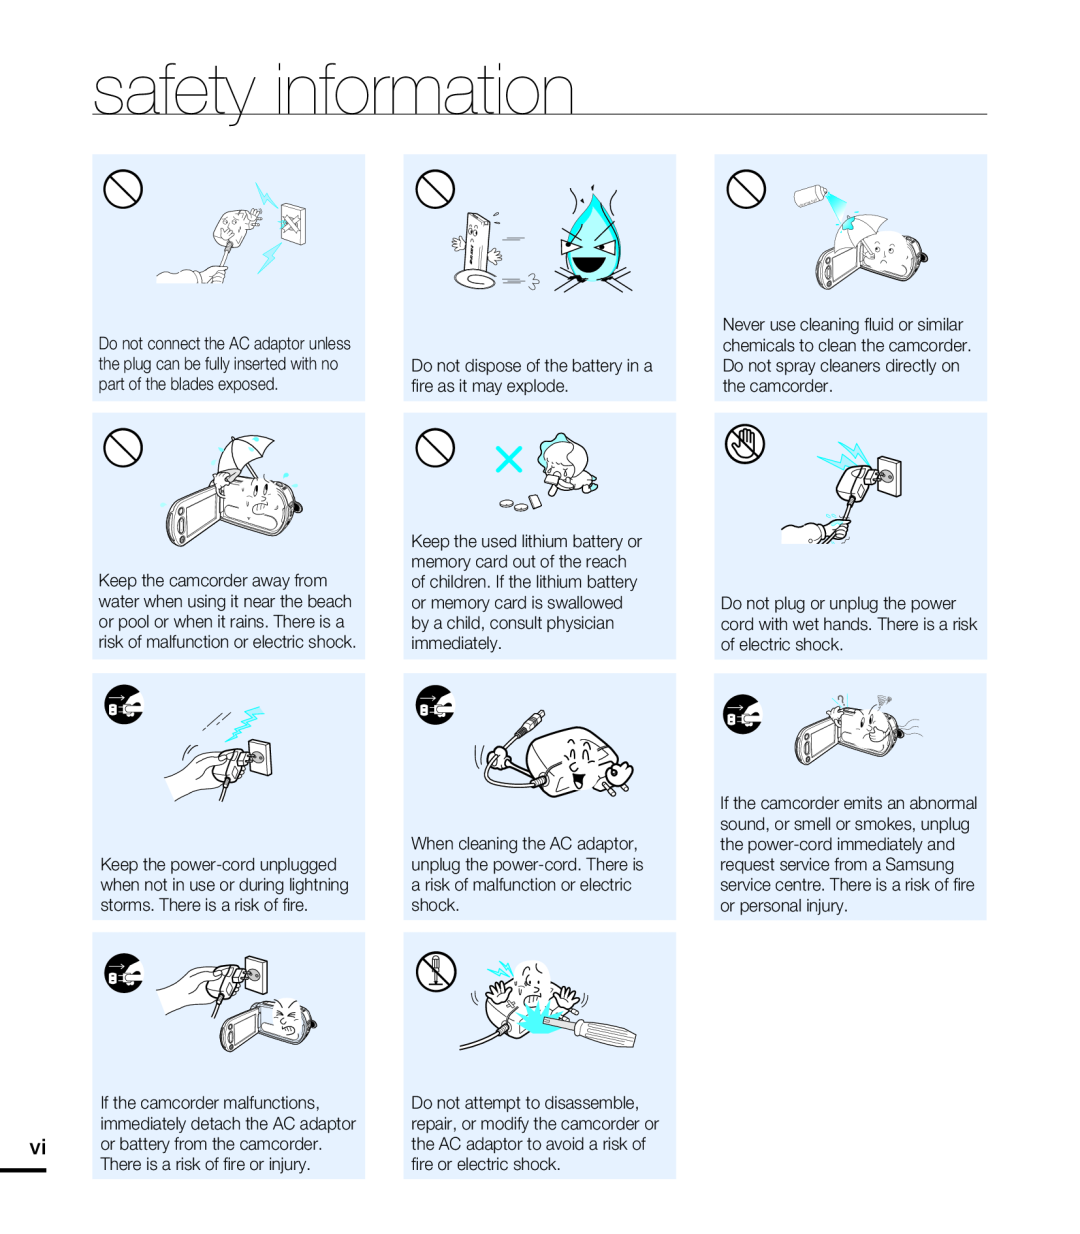 safety information
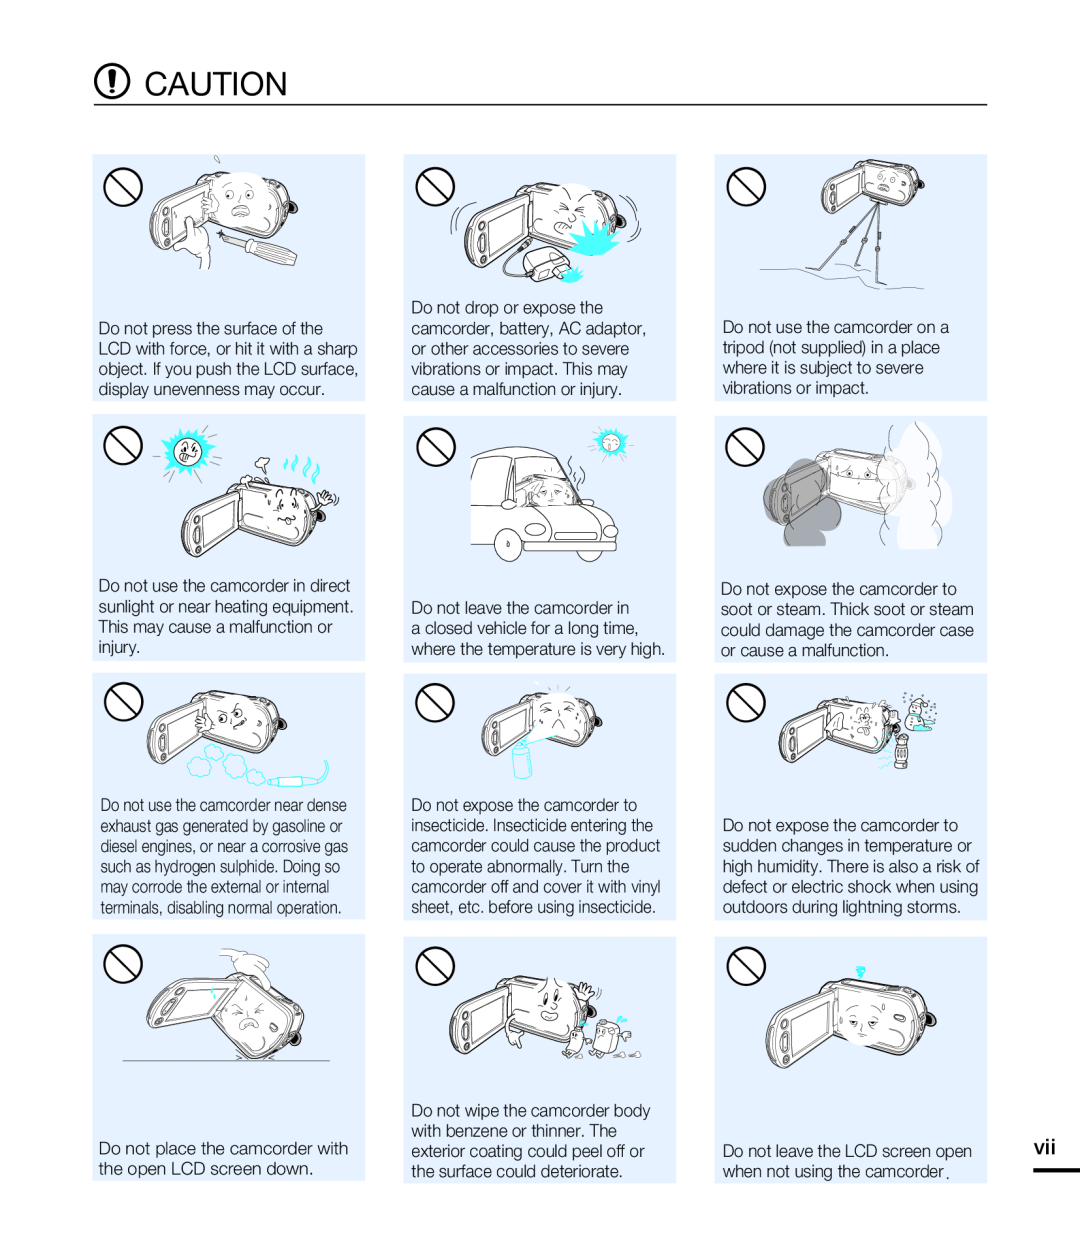 CAUTION
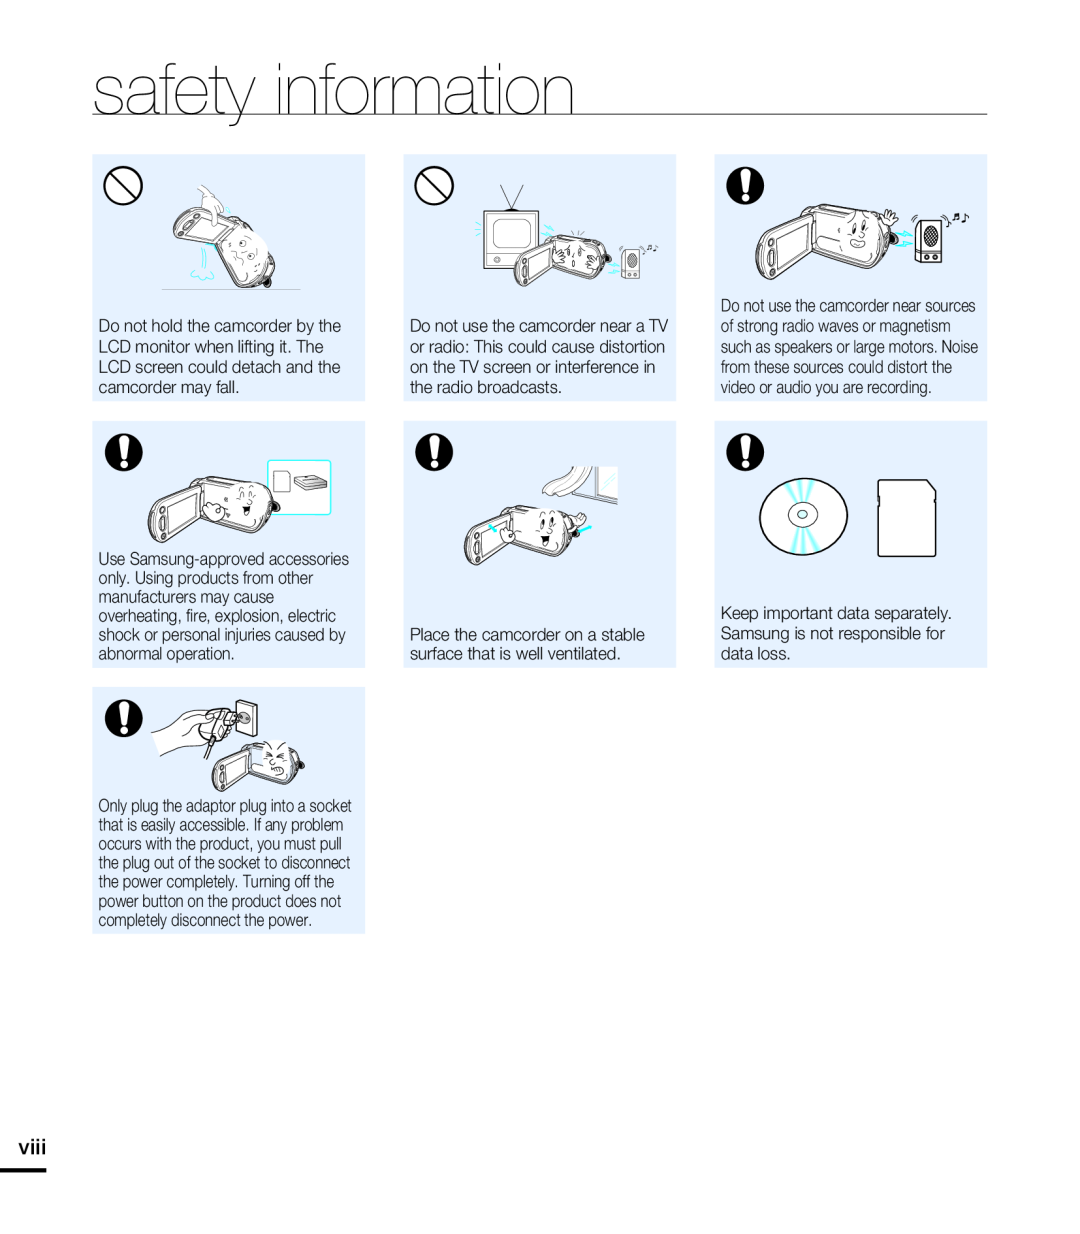 safety information
 contents
QUICK START GUIDE
GETTING TO KNOW THE CAMCORDER
GETTING STARTED
BASIC OPERATION OF THE CAMCORDER
FIRST TIME SETTINGS
 BASIC PLAYBACK
USING THE MENU ITEMS
ADVANCED RECORDING
 ADVANCED PLAYBACK
EDITING FILES
SYSTEM SETTING
 CONNECTING TO A TV
DUBBING VIDEOS
PRINTING PHOTOS
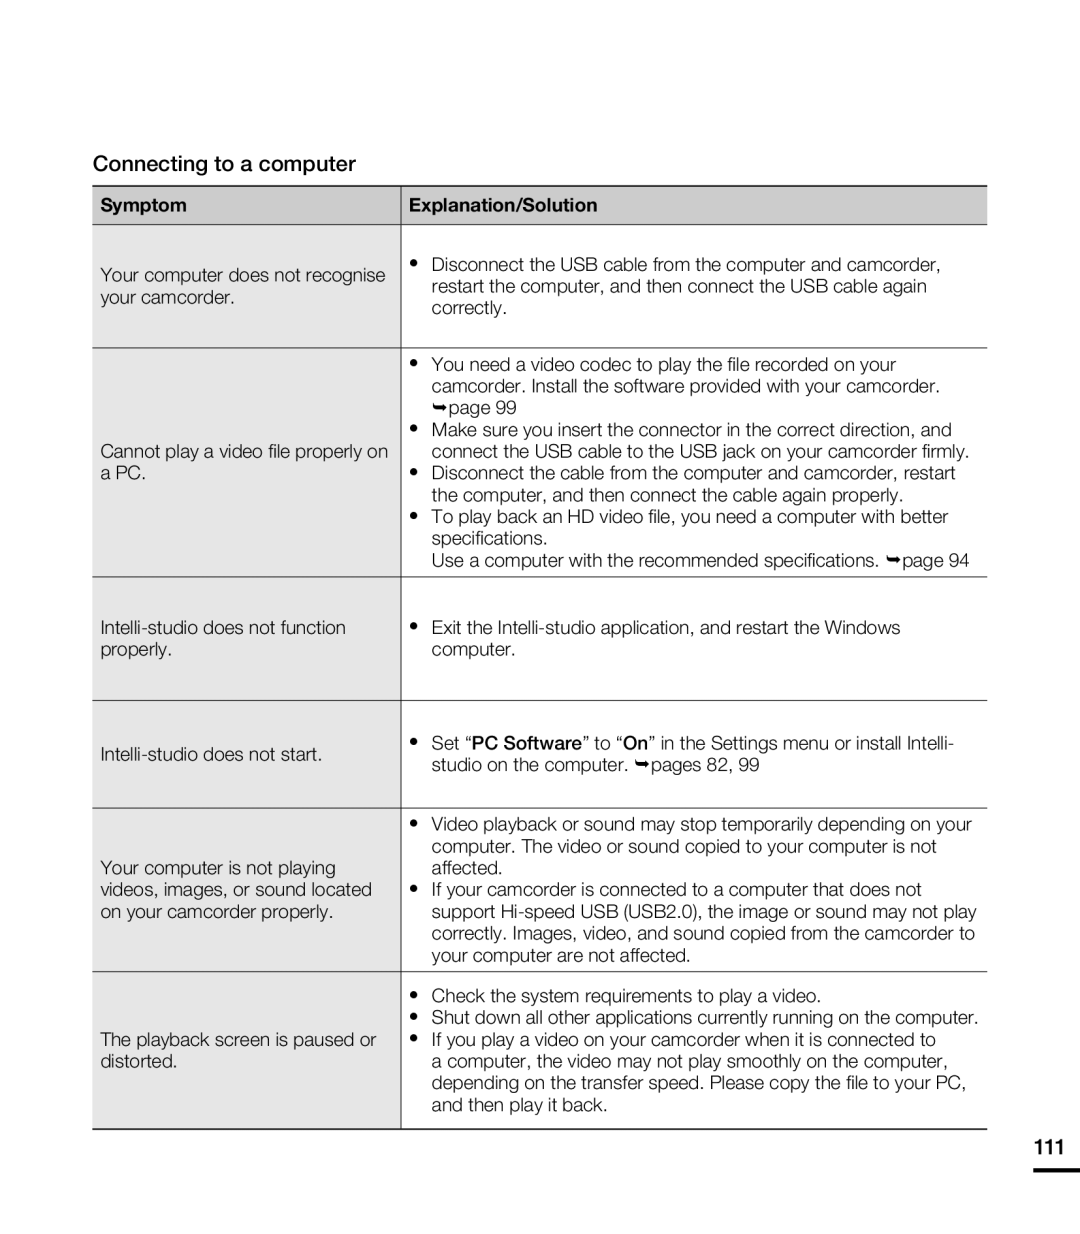
USING WITH A WINDOWS COMPUTER
TROUBLESHOOTING
MAINTENANCE & ADDITIONAL INFORMATION
SPECIFICATIONS
 quick start guide
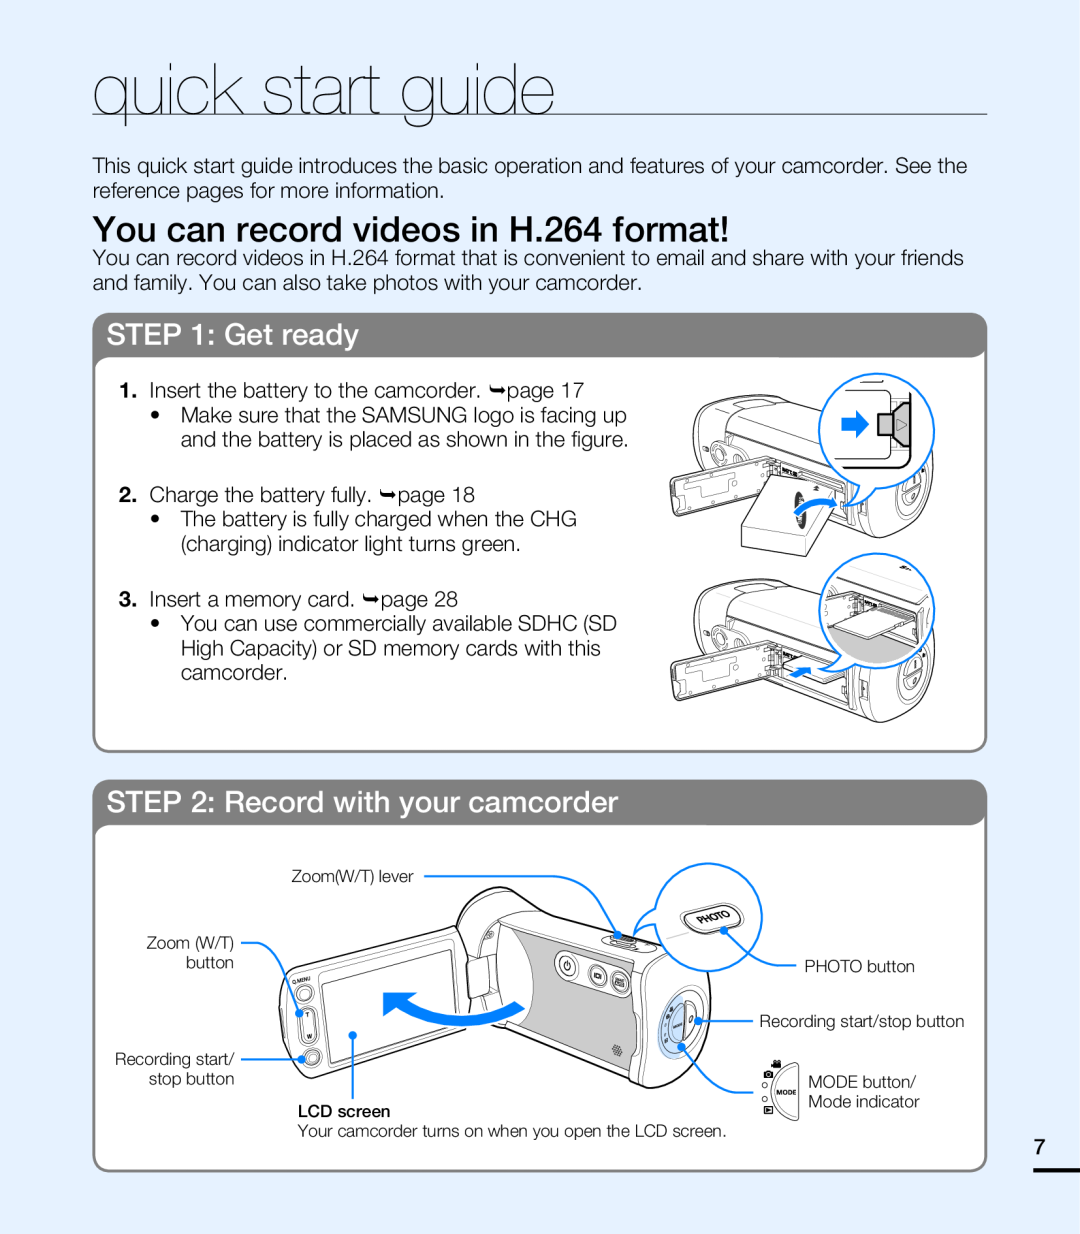
You can record videos in H.264 format
STEP 1: Get ready
STEP 2: Record with your camcorder
 Recording videos
Recording photos
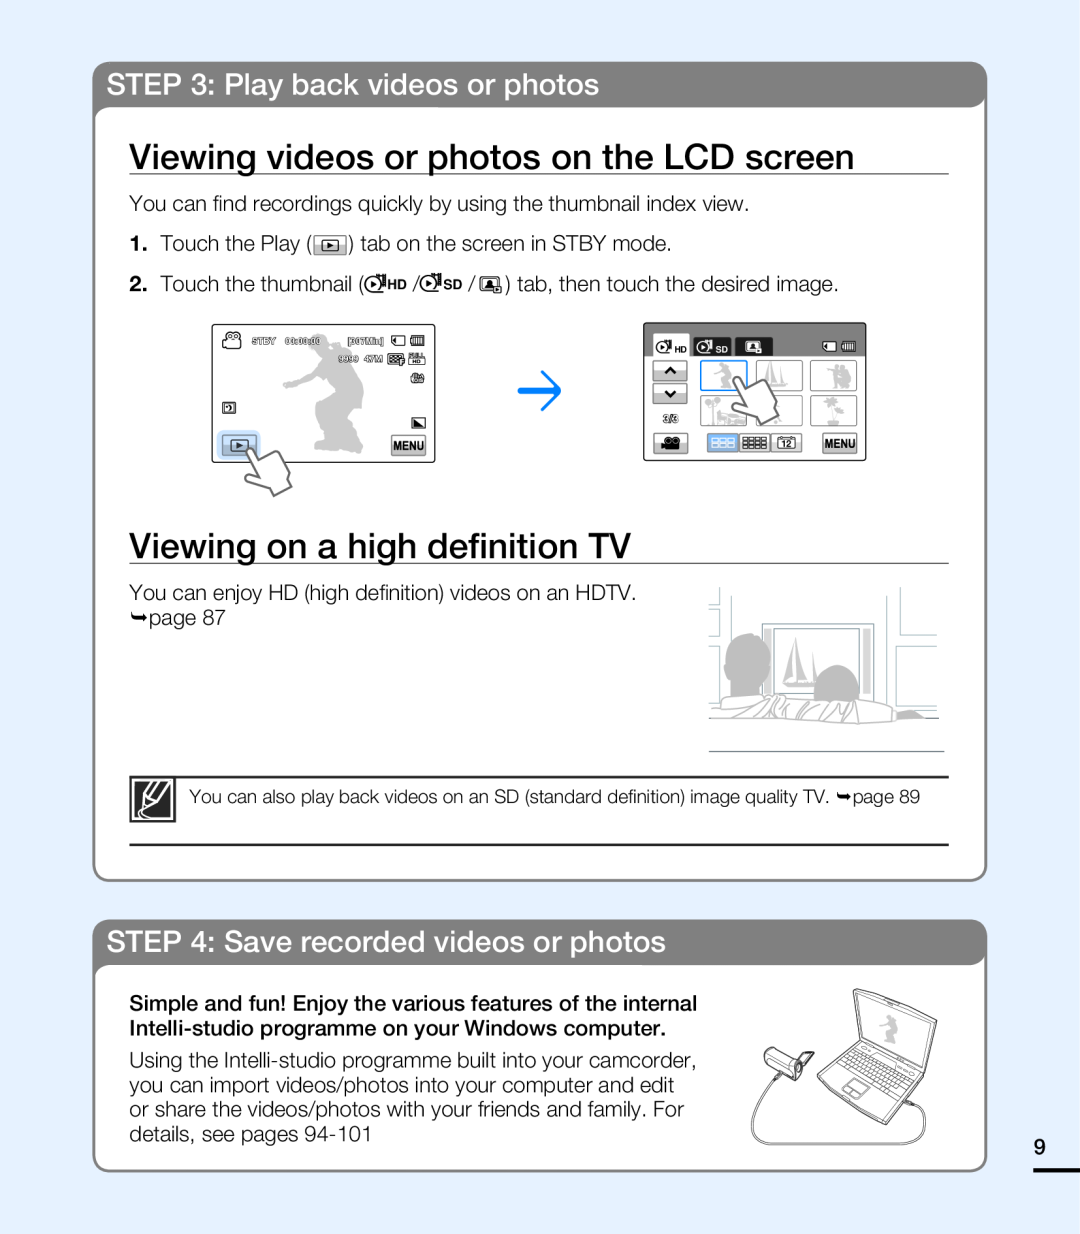 STEP 3: Play back videos or photos
Viewing videos or photos on the LCD screen
Viewing on a high definition TV
STEP 4: Save recorded videos or photos
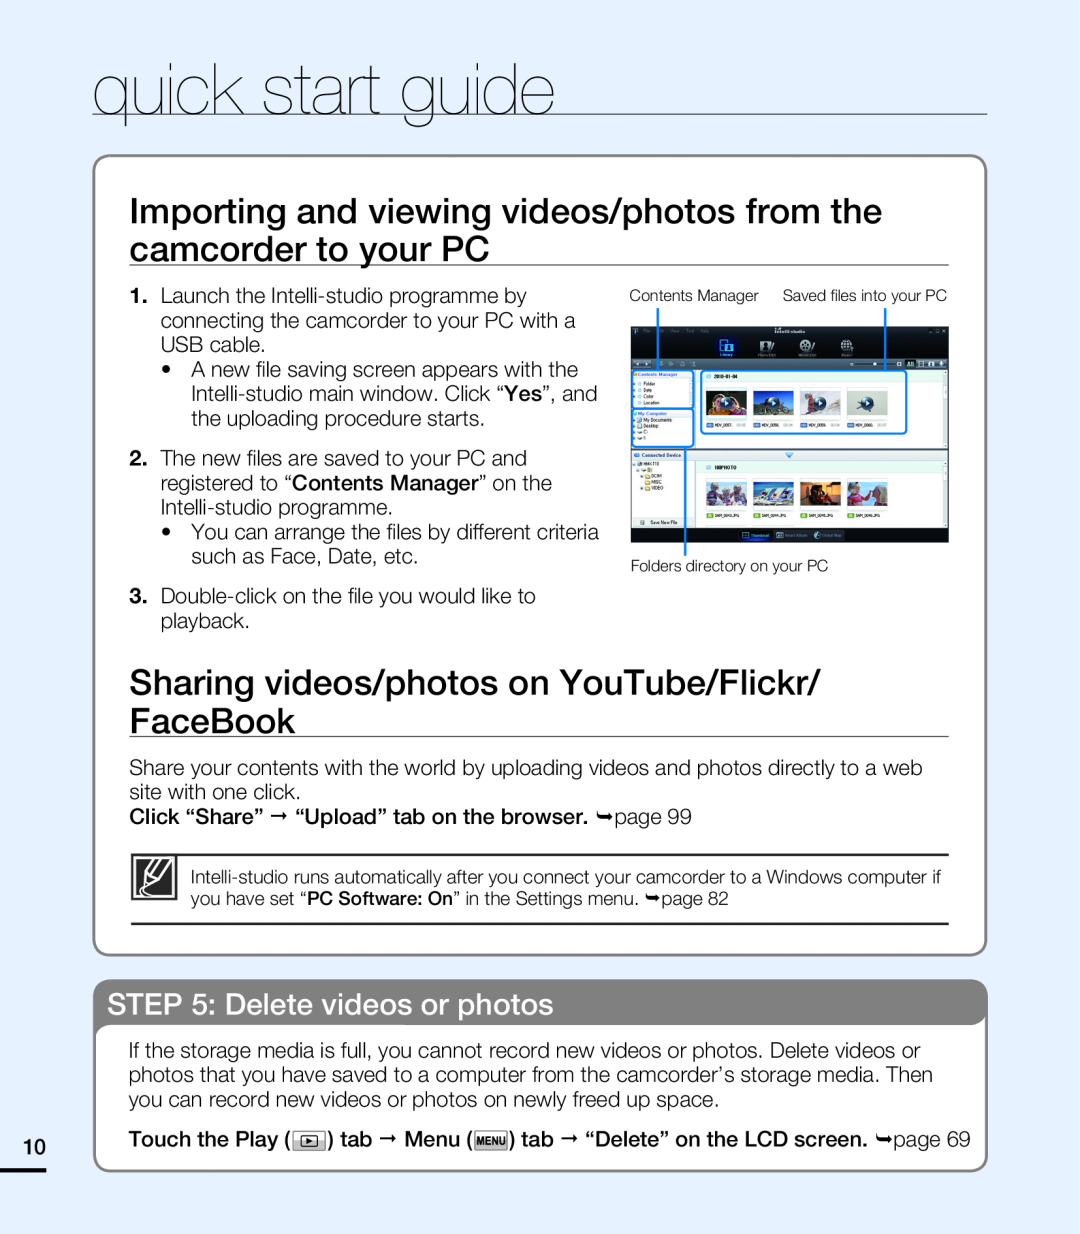 Importing and viewing videos/photos from the camcorder to your PC
Sharing videos/photos on YouTube/Flickr
STEP 5: Delete videos or photos
 getting to know the camcorder
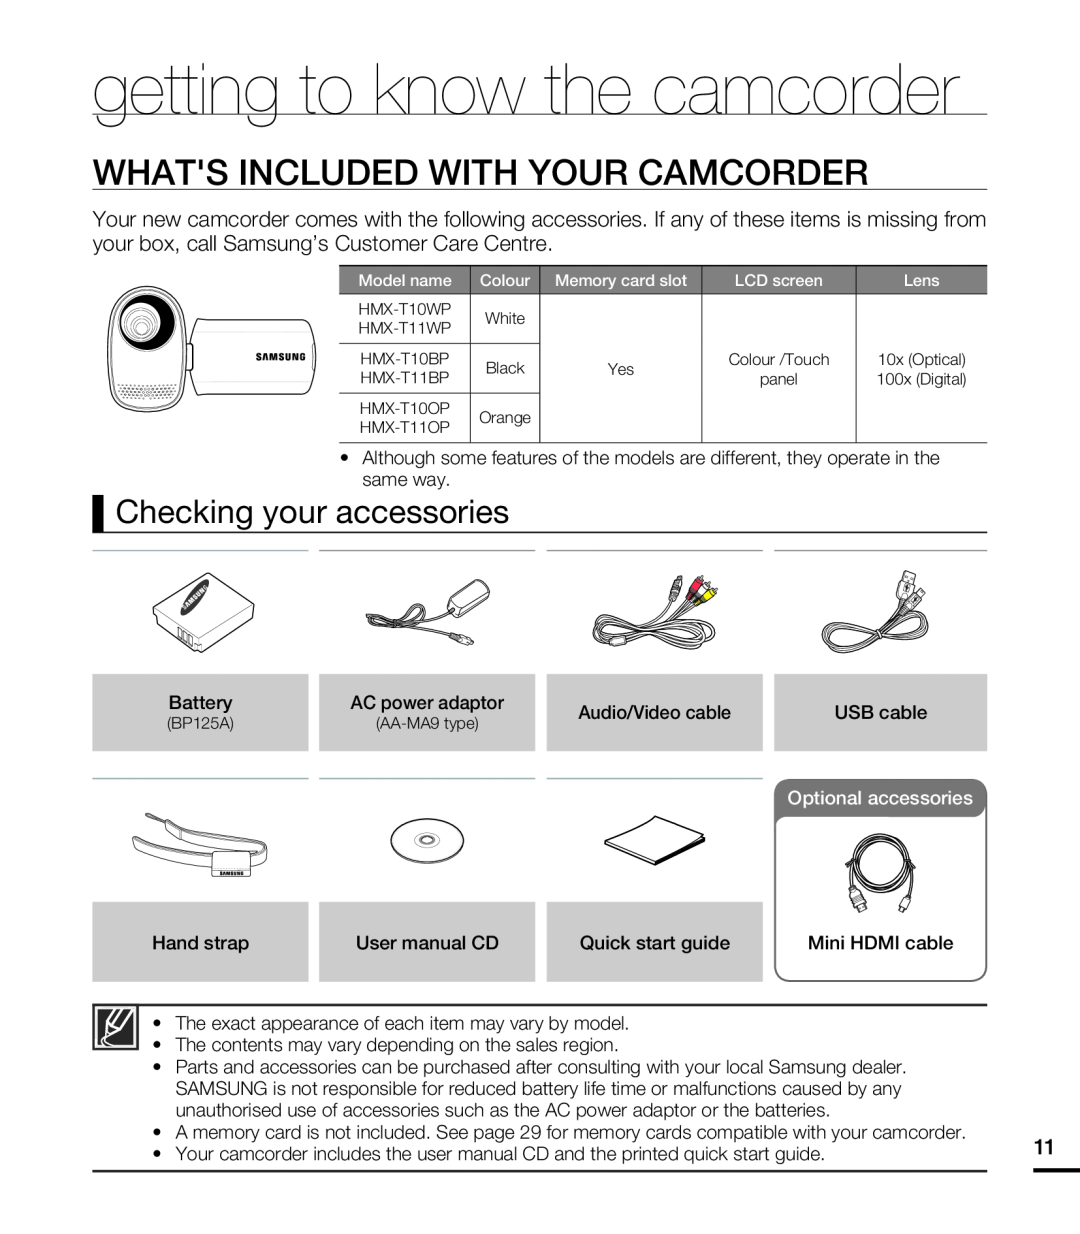
WHAT'S INCLUDED WITH YOUR CAMCORDER
Checking your accessories
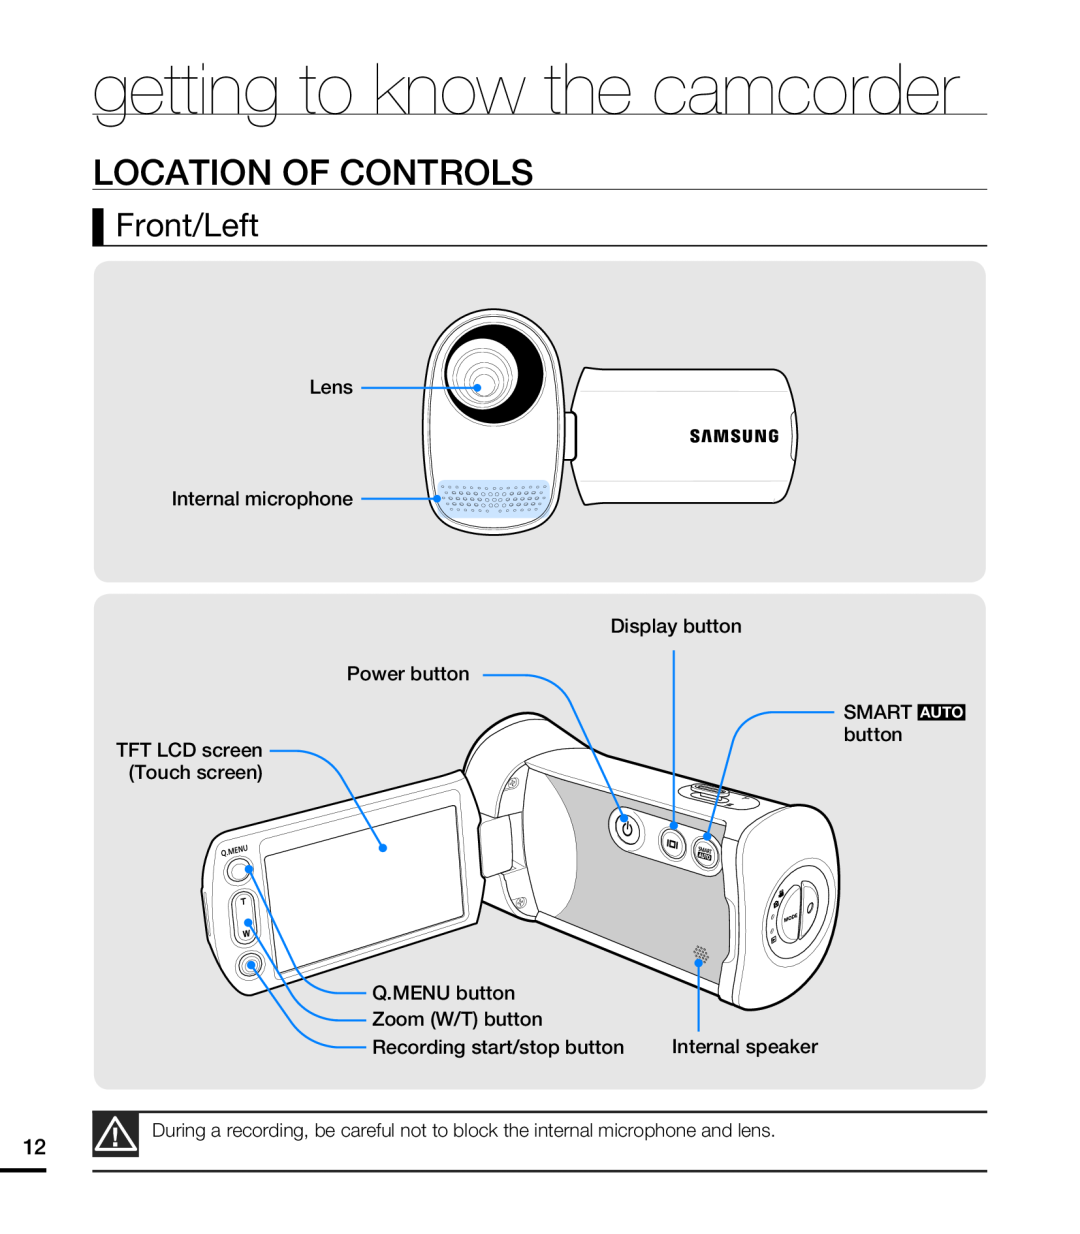 LOCATION OF CONTROLS
Front/Left
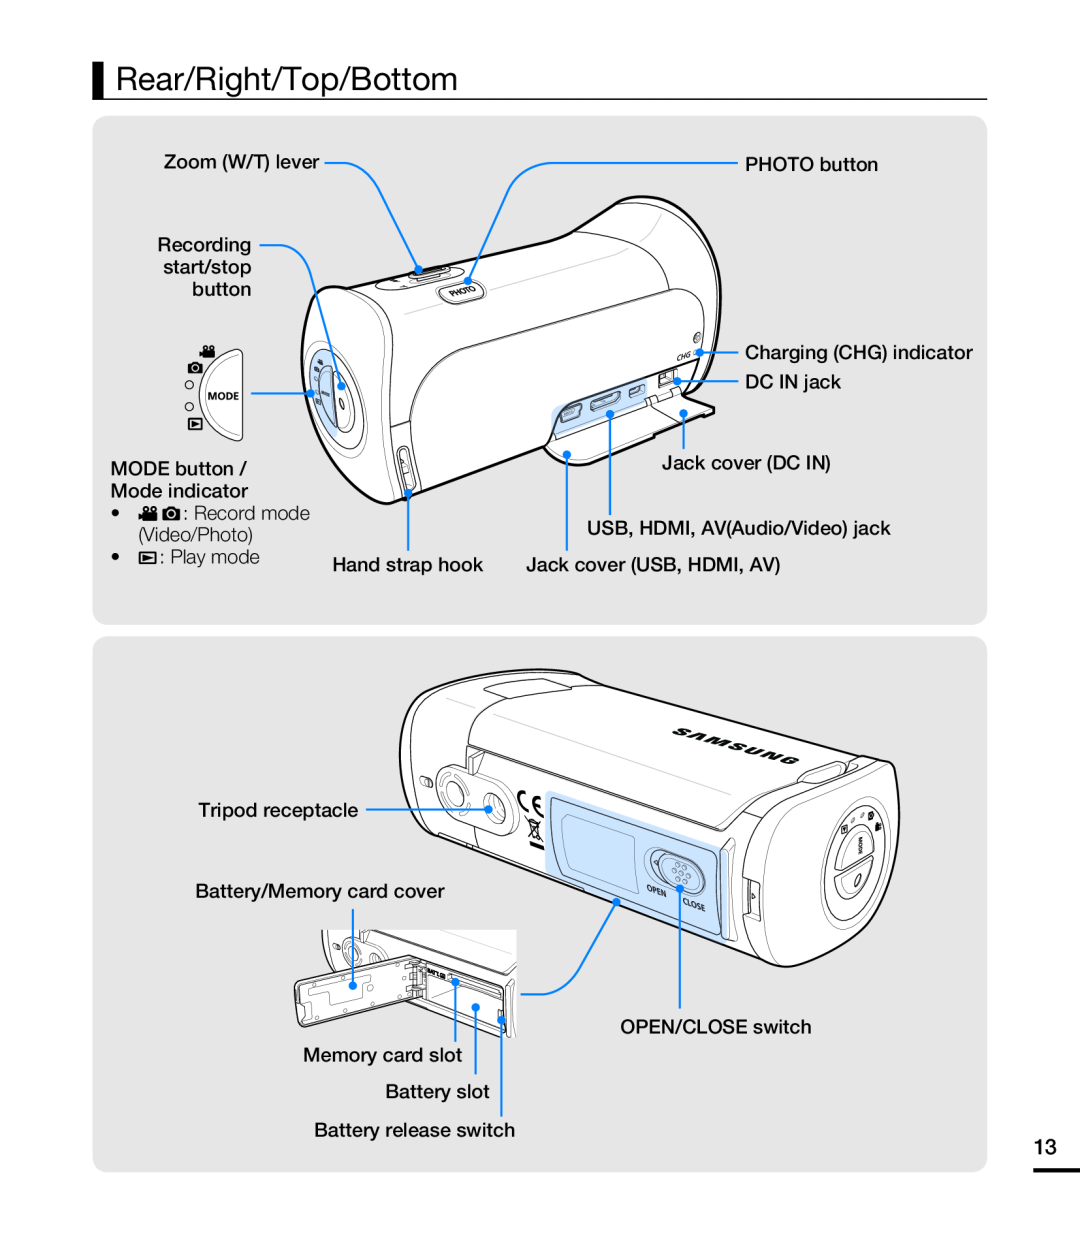 Rear/Right/Top/Bottom
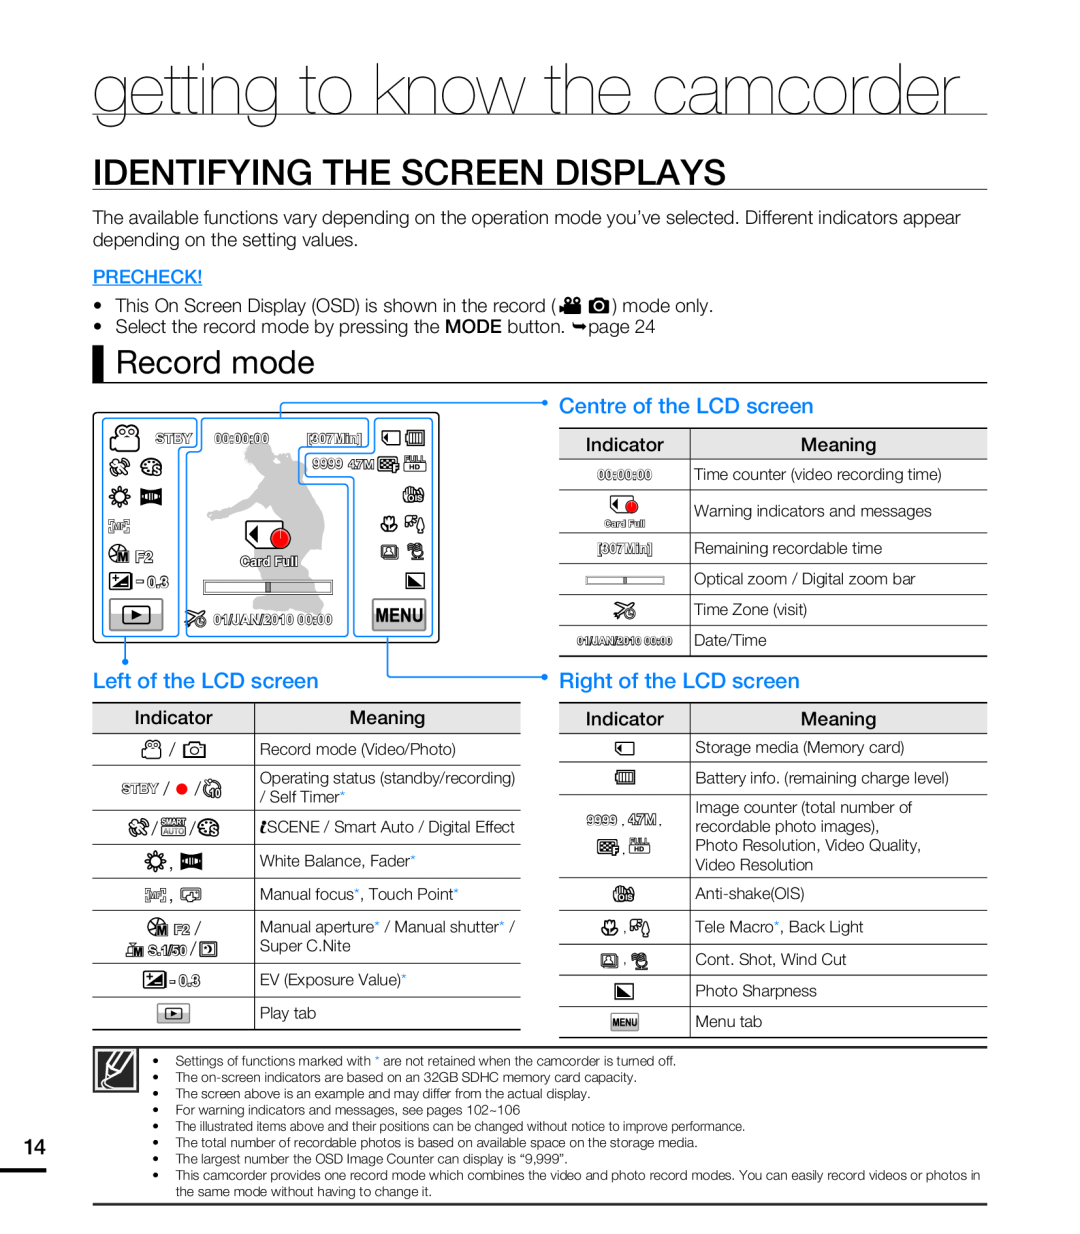 IDENTIFYING THE SCREEN DISPLAYS
Record mode
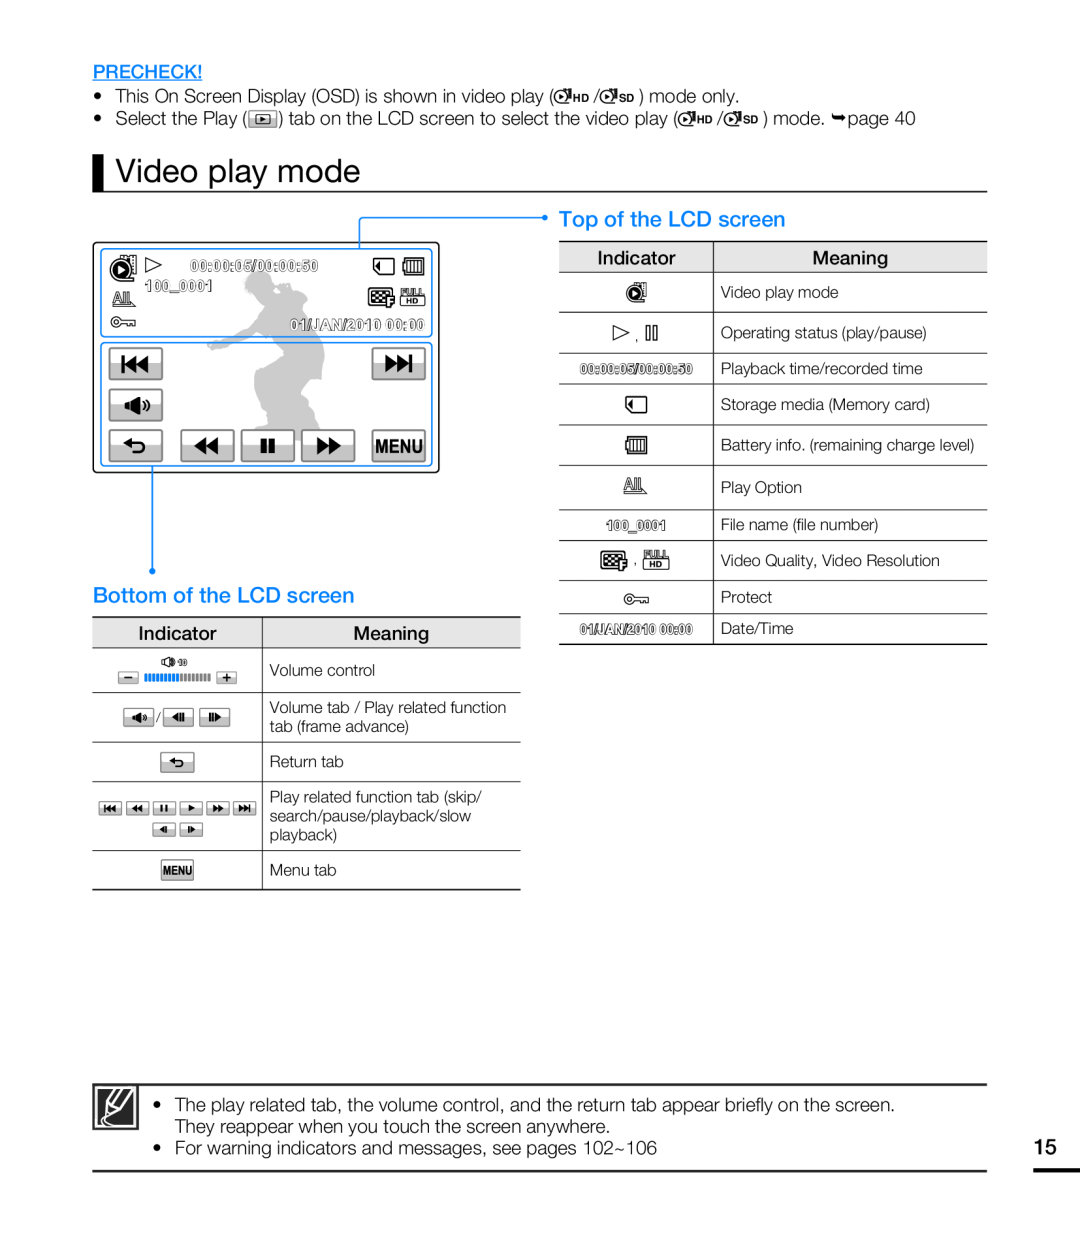 Video play mode
 Photo play mode
 getting started
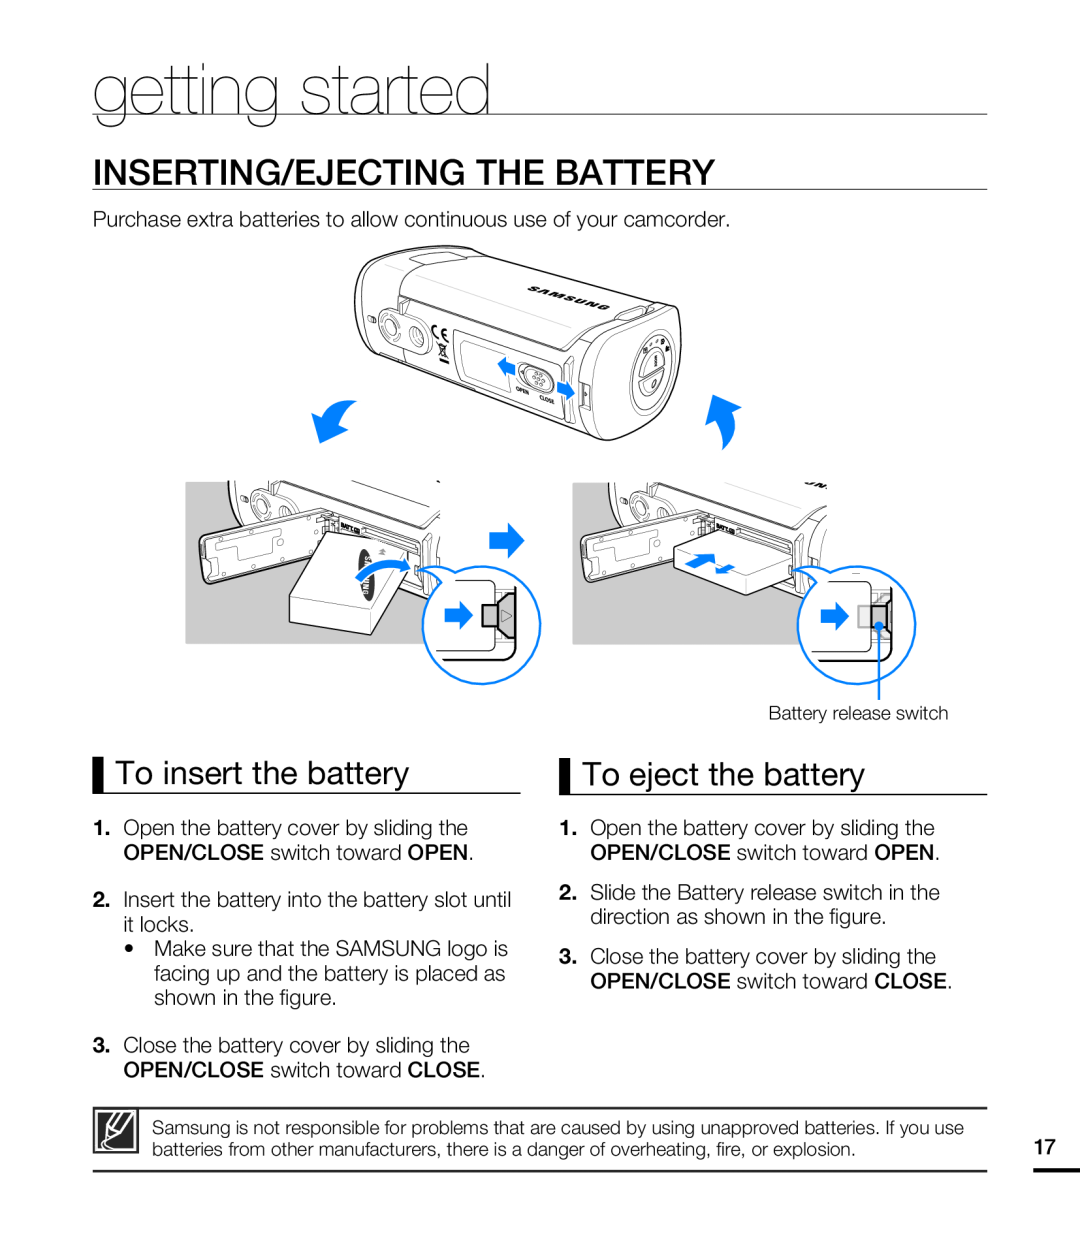
INSERTING/EJECTING THE BATTERY
To insert the battery
To eject the battery
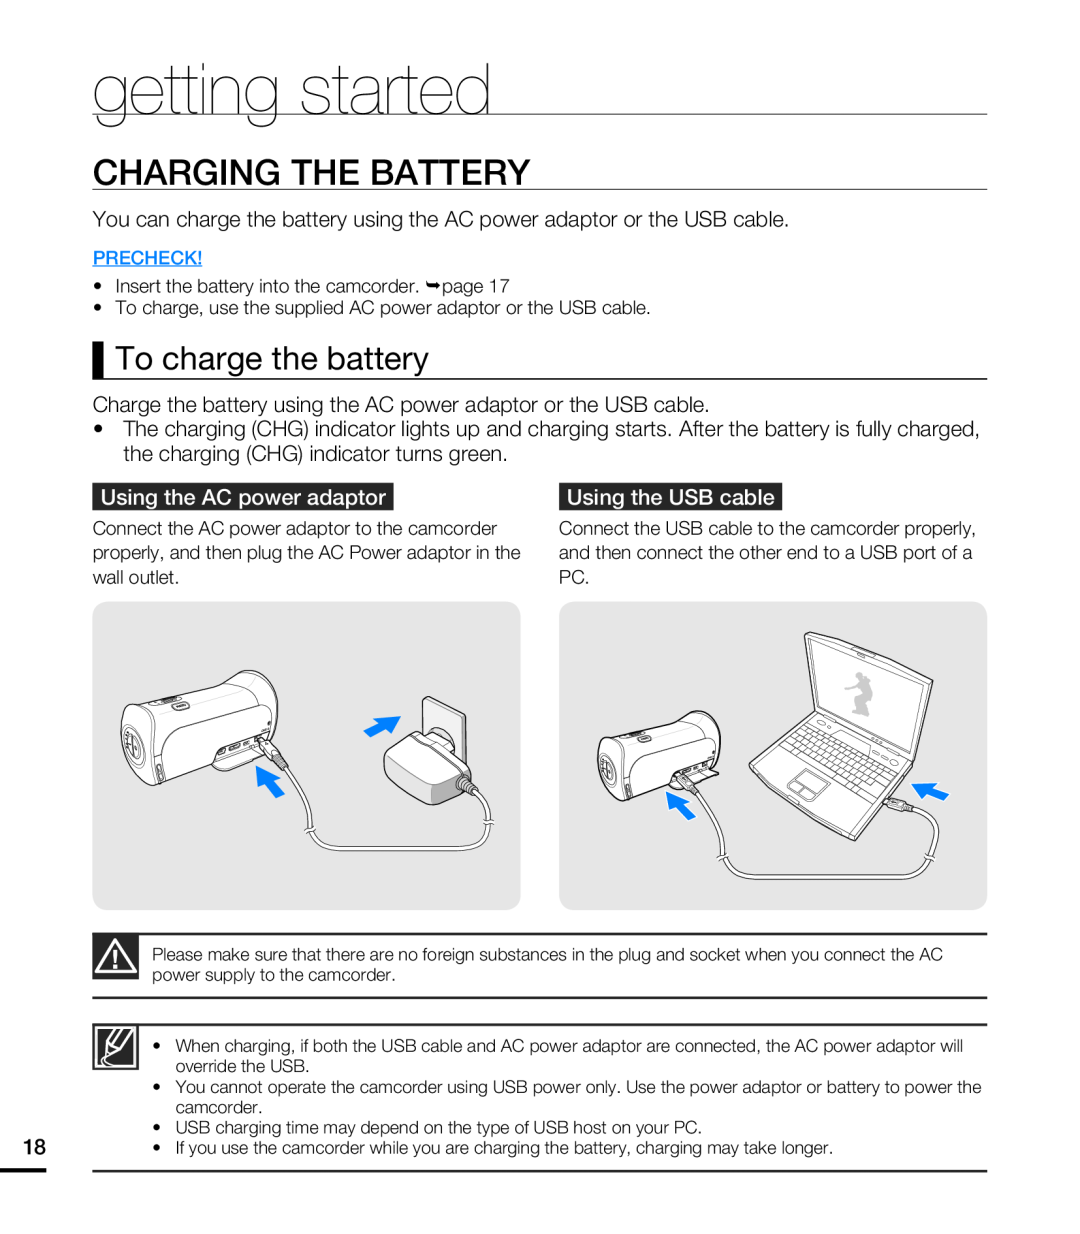 CHARGING THE BATTERY
To charge the battery
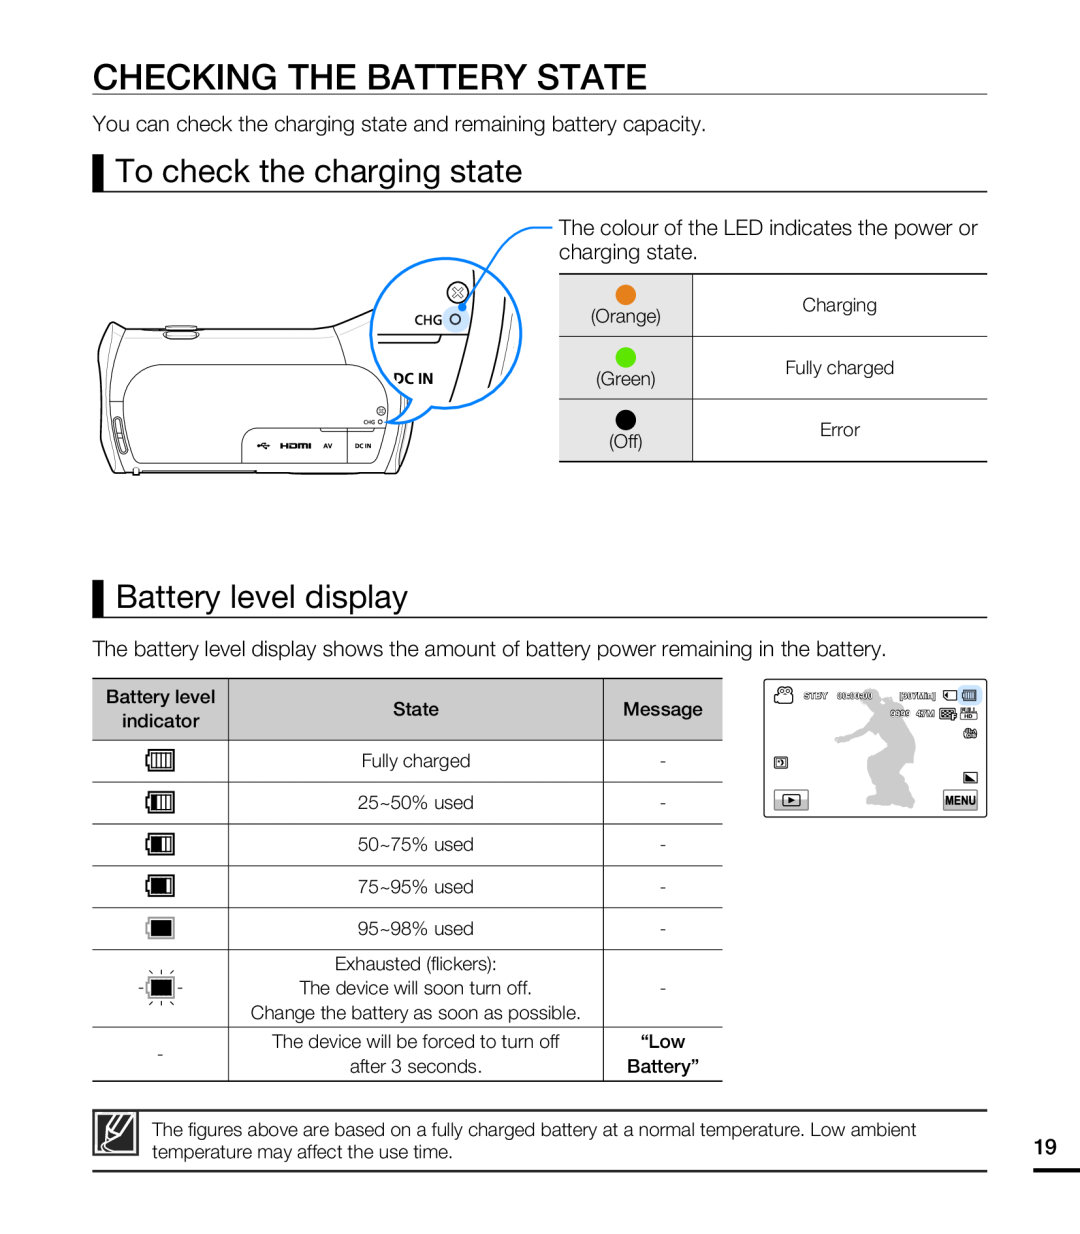 CHECKING THE BATTERY STATE
To check the charging state
Battery level display
 getting started
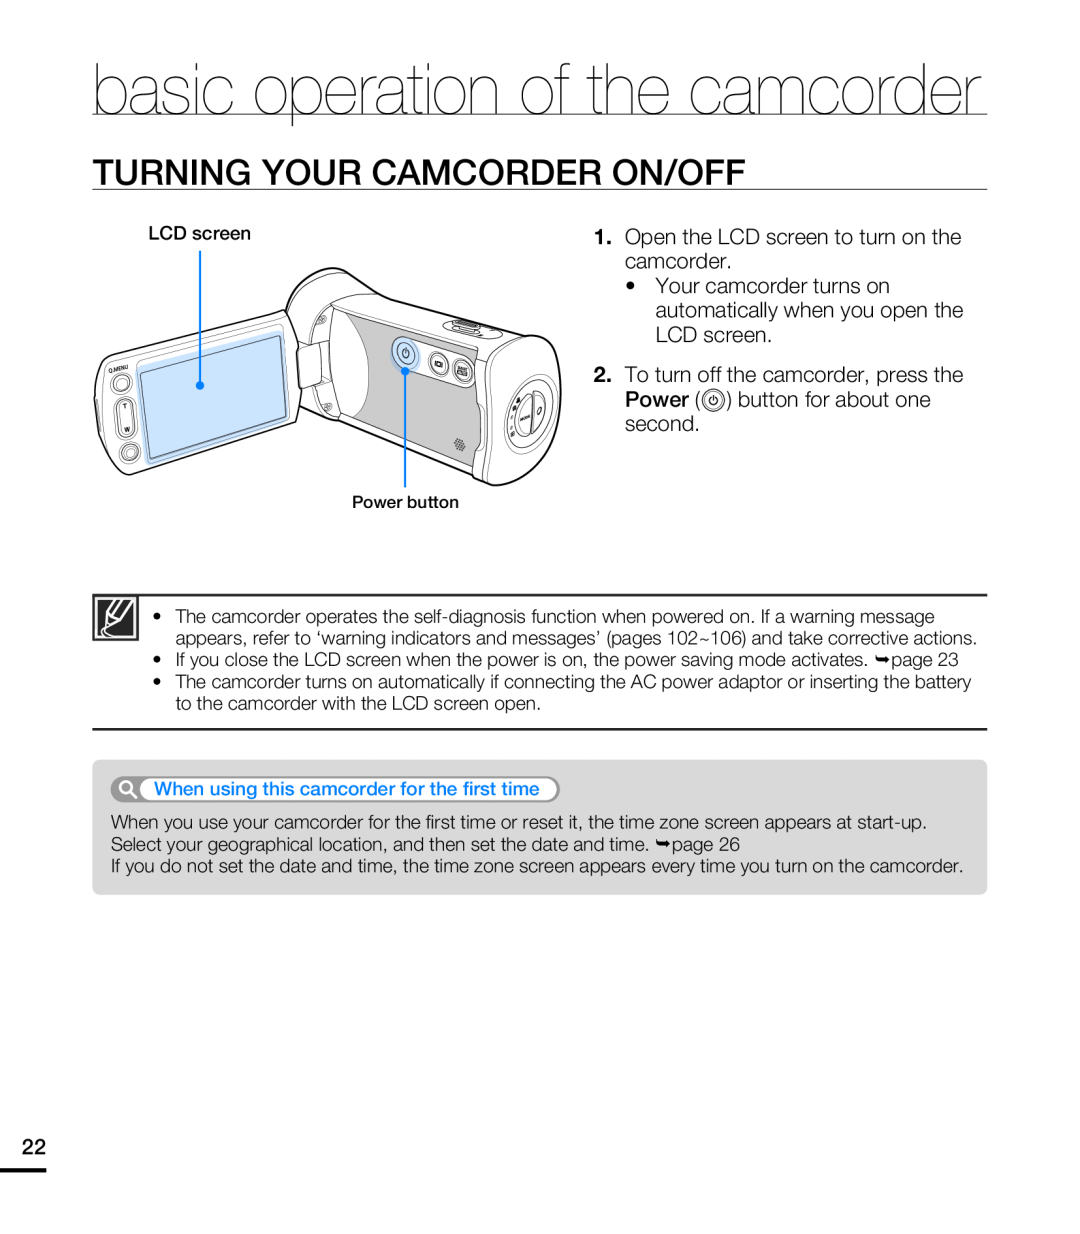 TURNING YOUR CAMCORDER ON/OFF
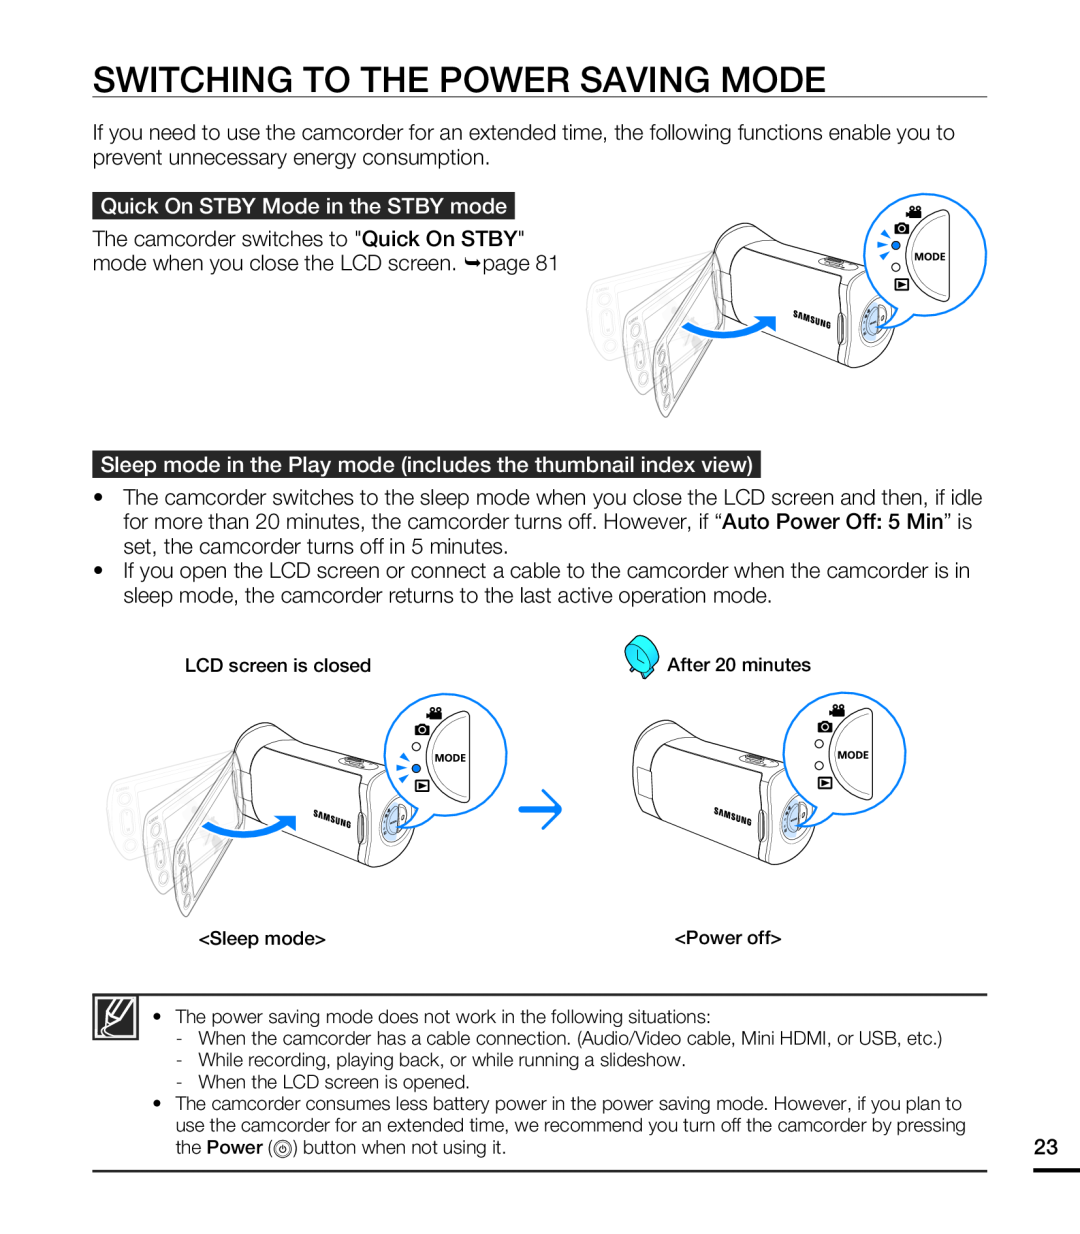 SWITCHING TO THE POWER SAVING MODE
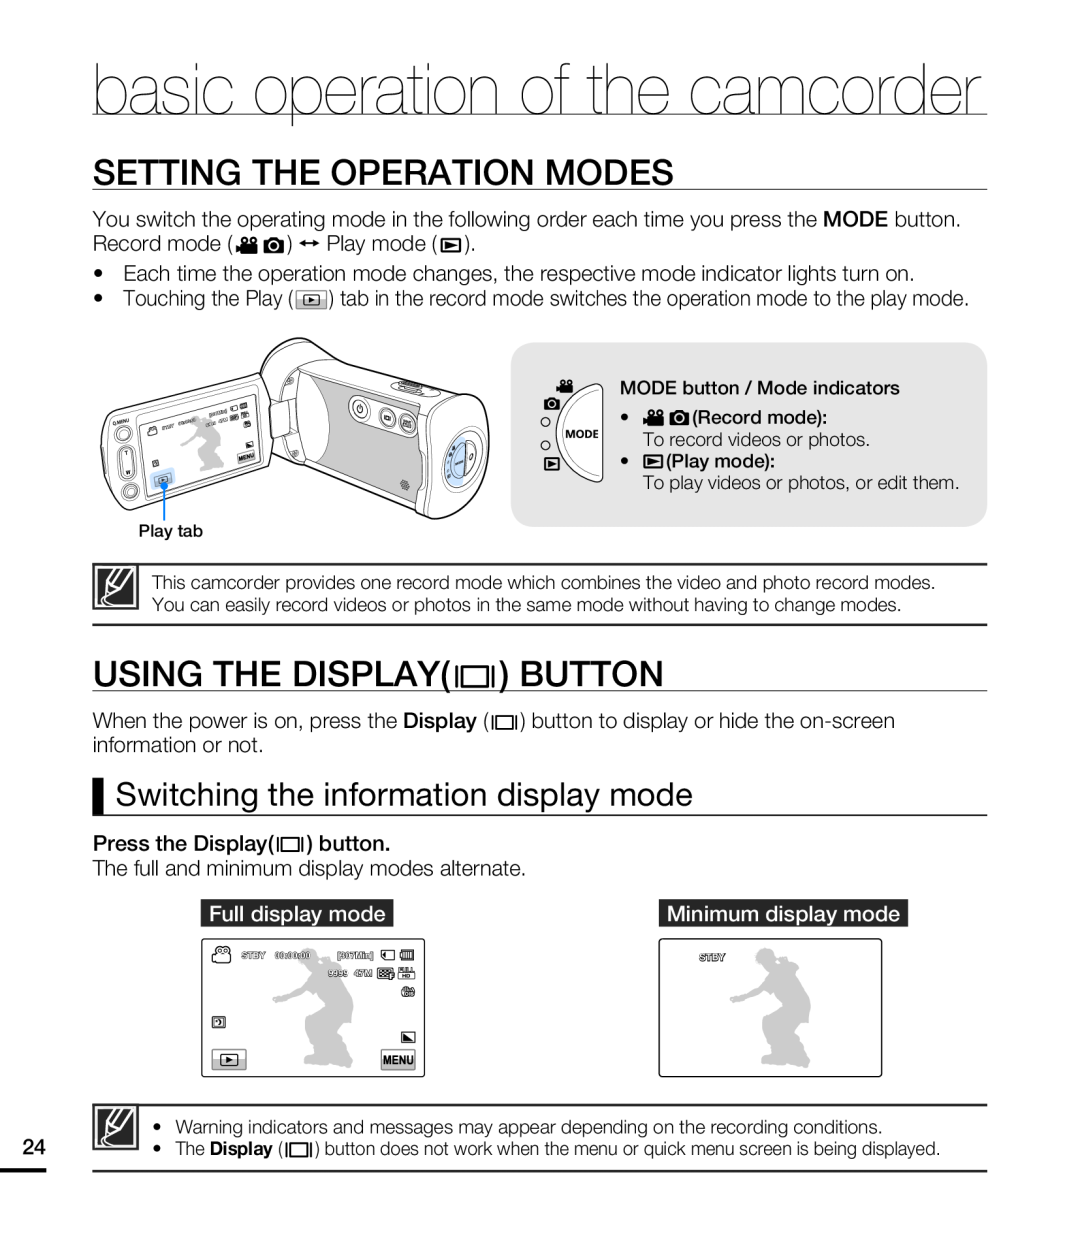 SETTING THE OPERATION MODES
USING THE DISPLAY( ) BUTTON
Switching the information display mode
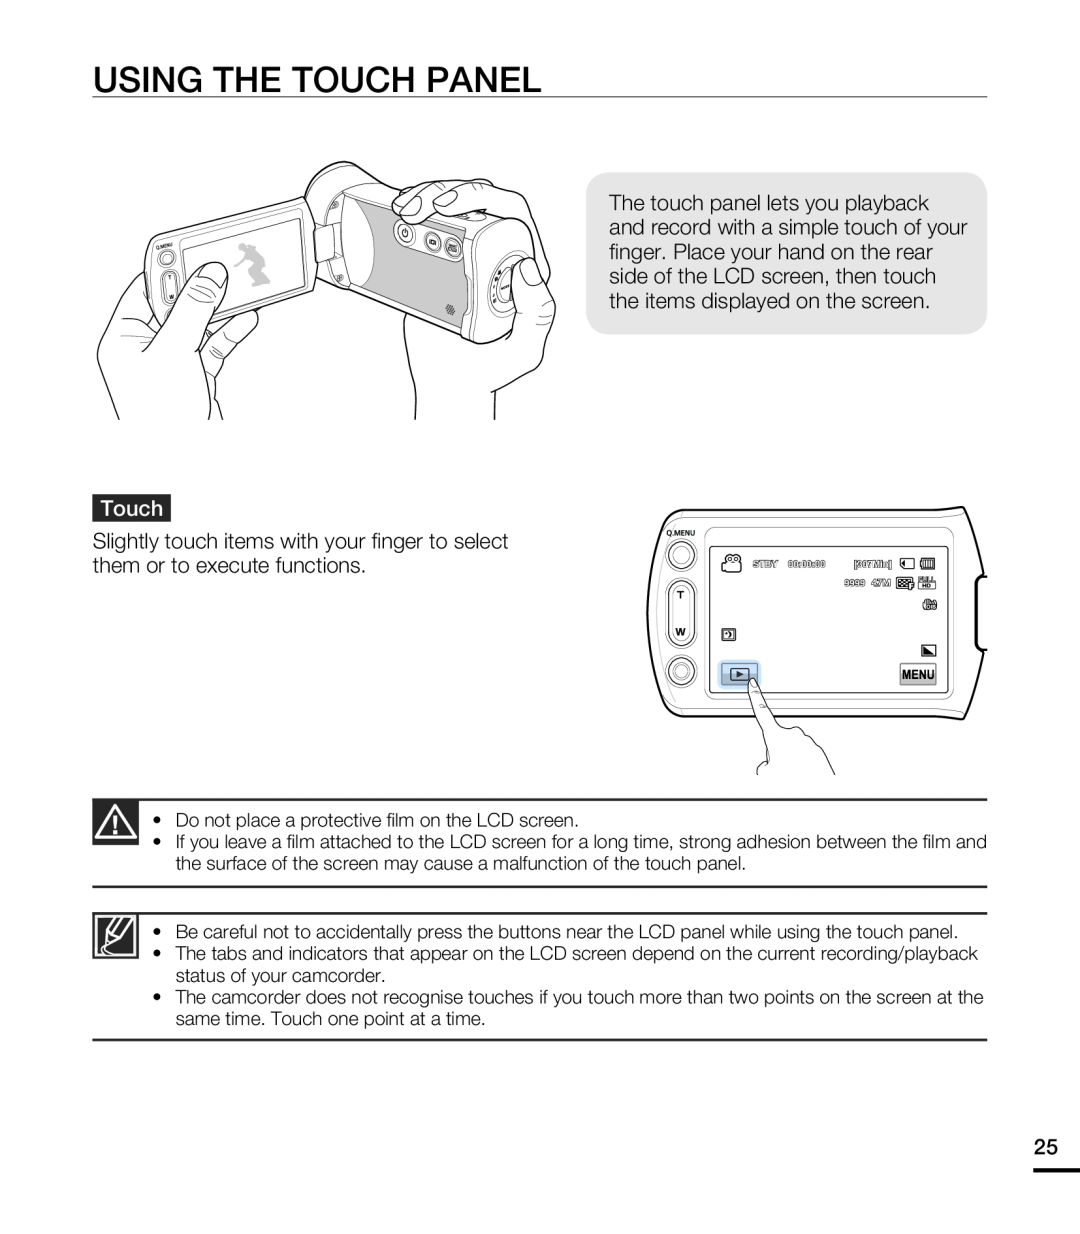 USING THE TOUCH PANEL
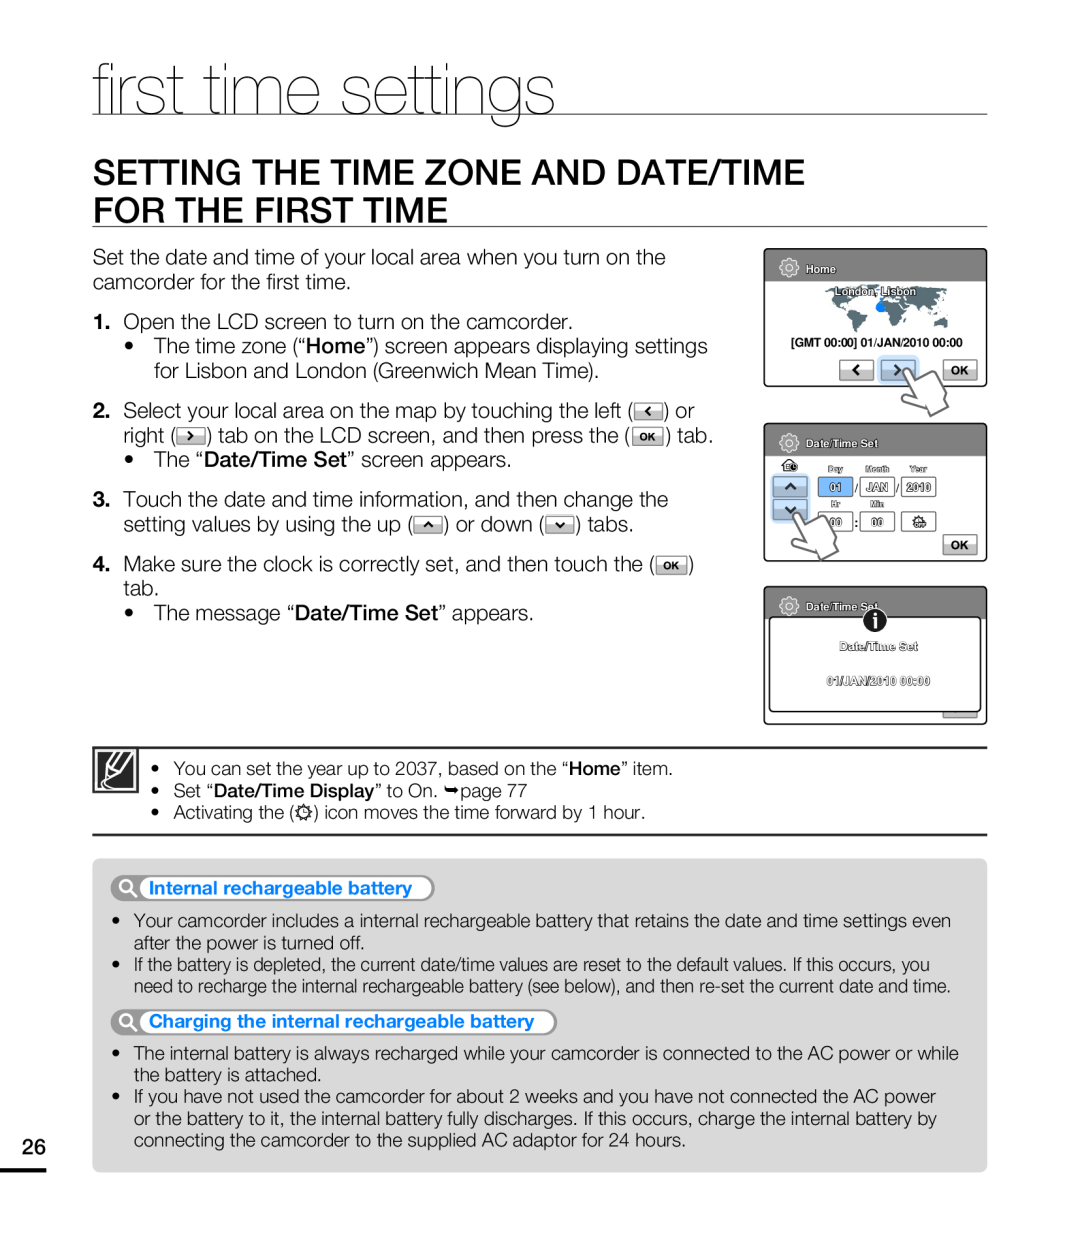 fi rst time settings
SETTING THE TIME ZONE AND DATE/TIME FOR THE FIRST TIME
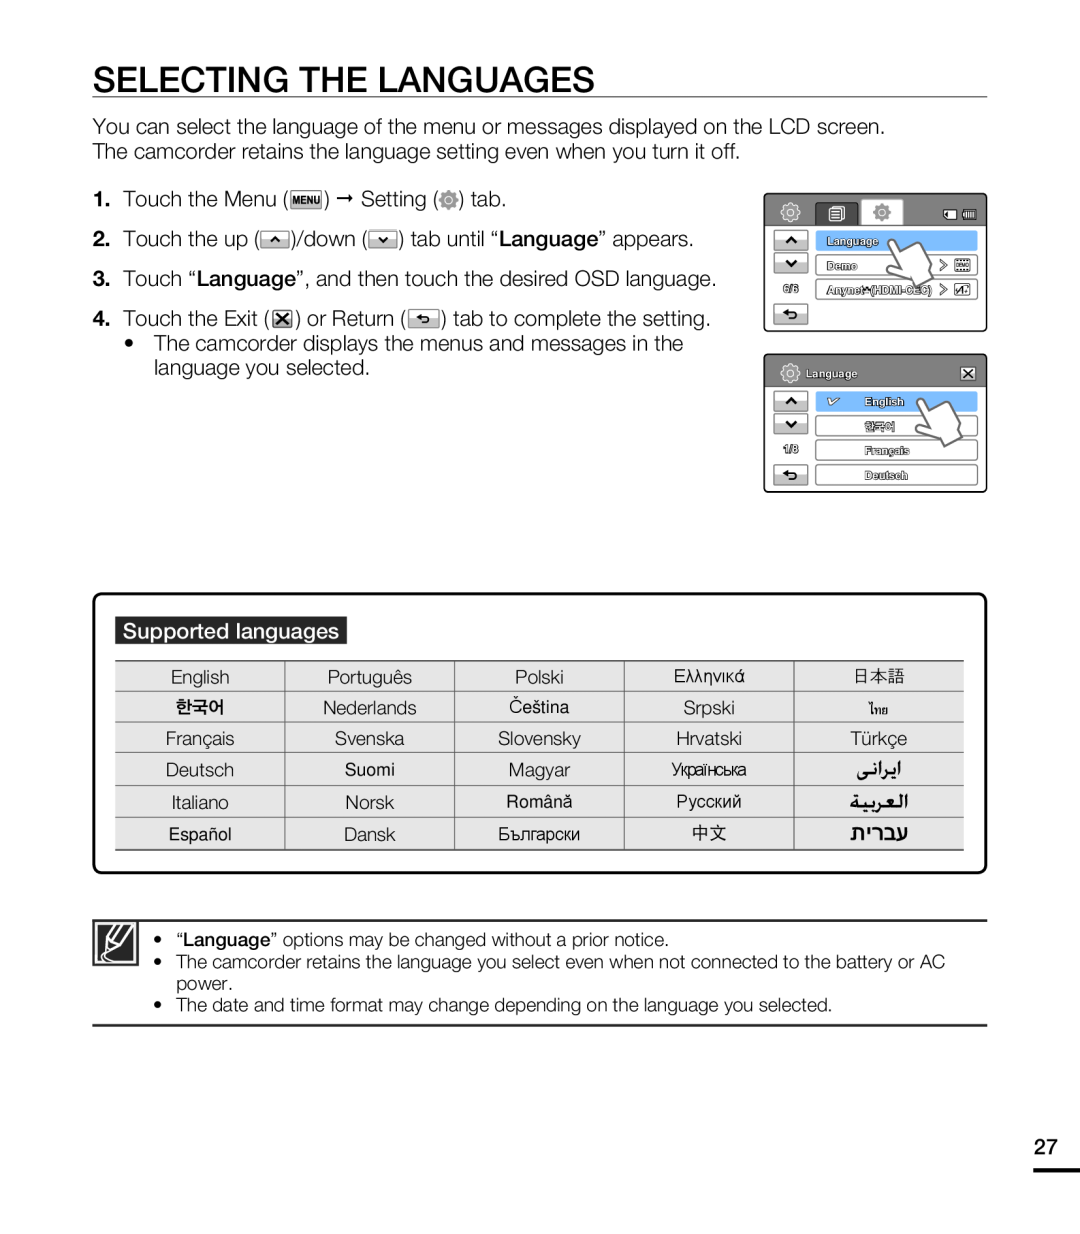 SELECTING THE LANGUAGES
 getting ready to start recording
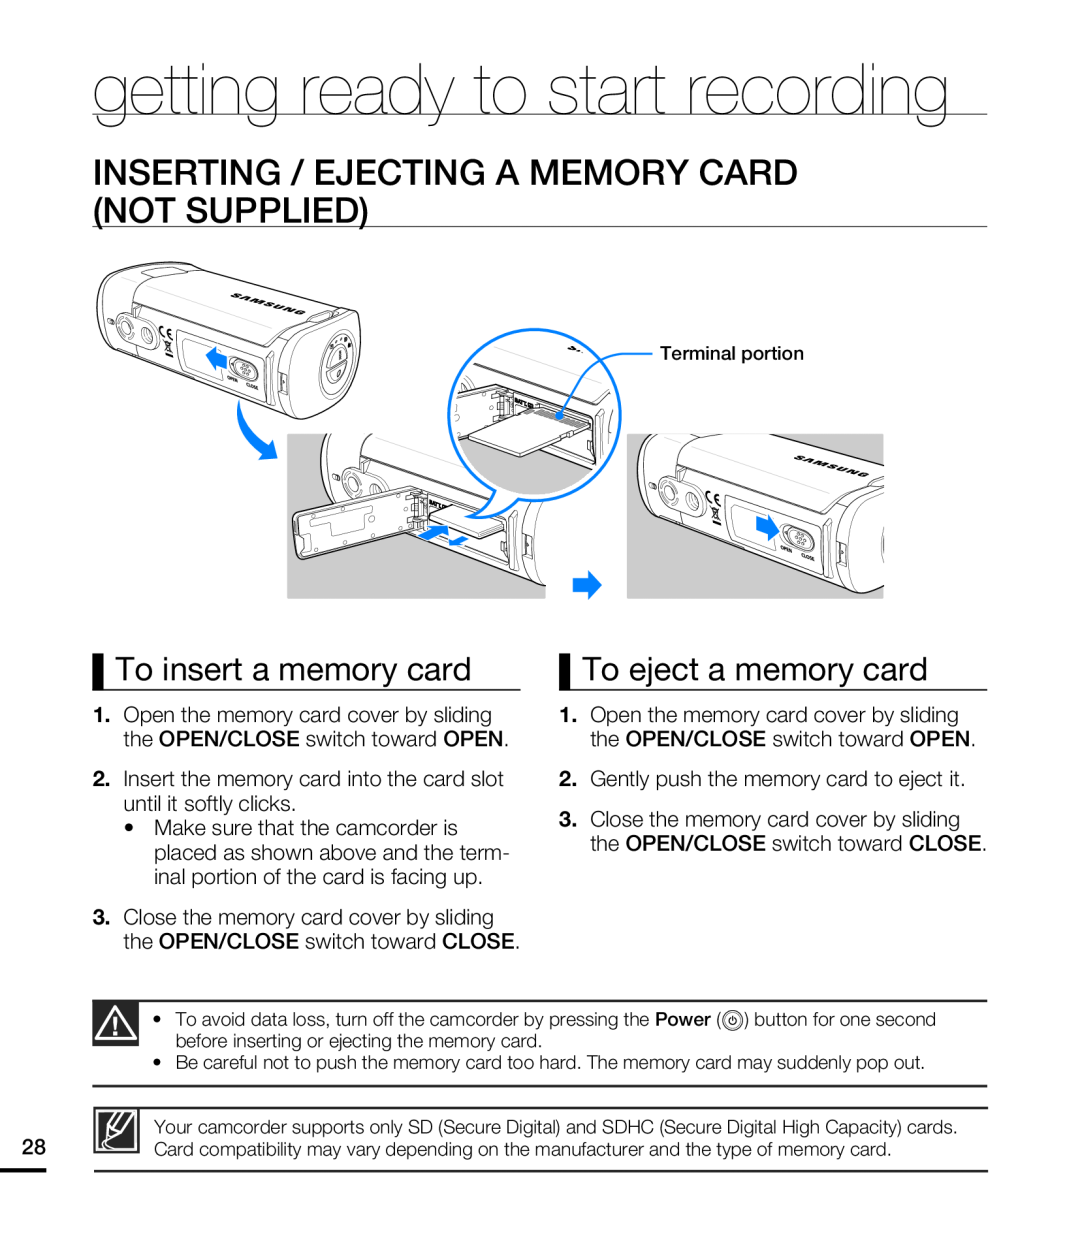
INSERTING / EJECTING A MEMORY CARD (NOT SUPPLIED)
To insert a memory card
To eject a memory card
 SELECTING A SUITABLE MEMORY CARD (NOT SUPPLIED)
 getting ready to start recording
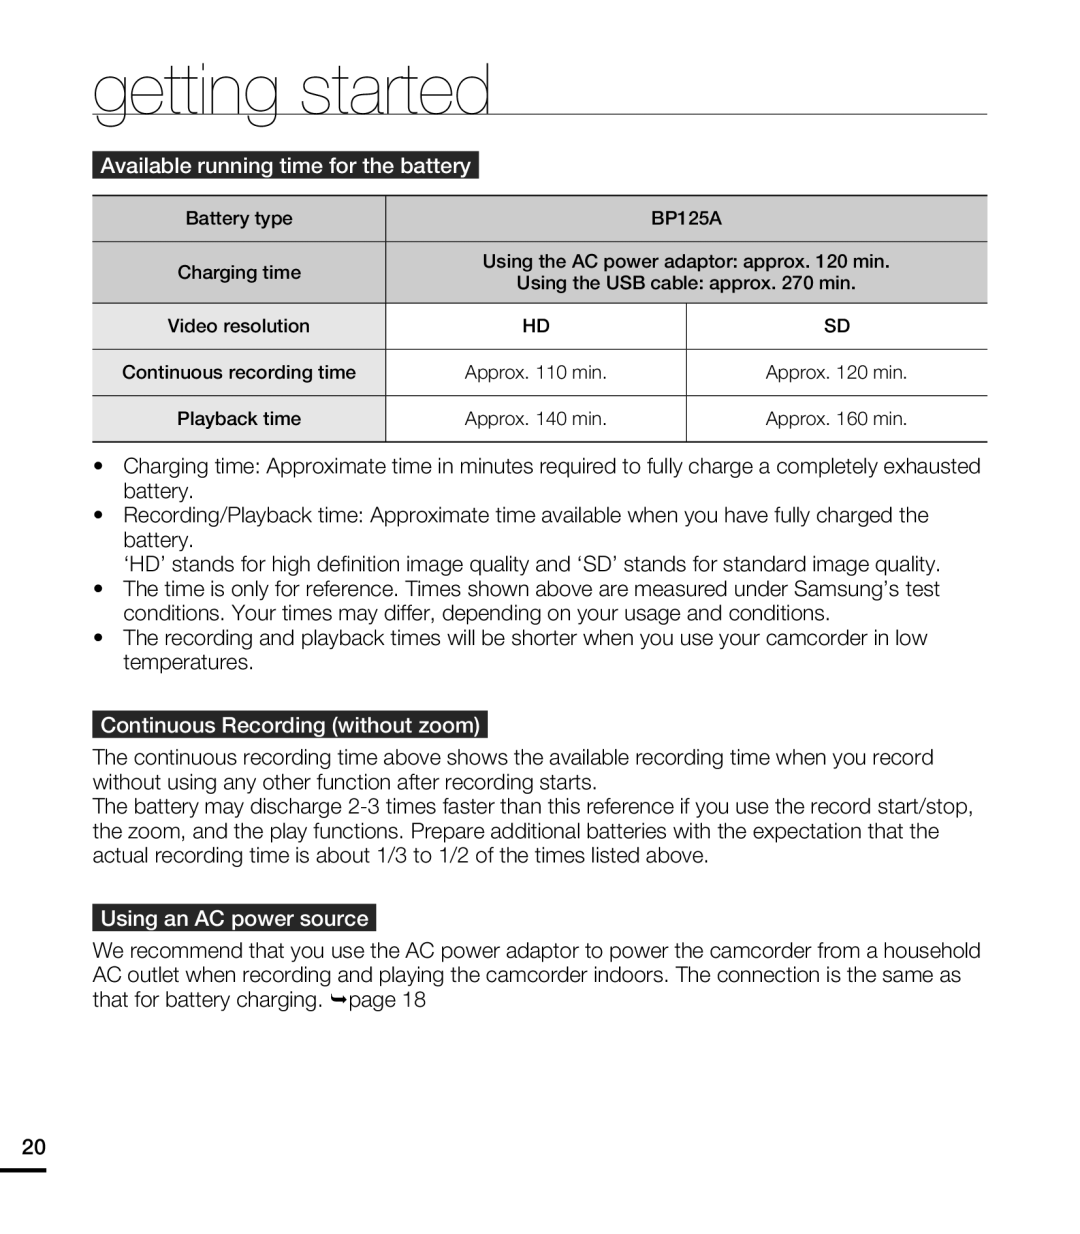
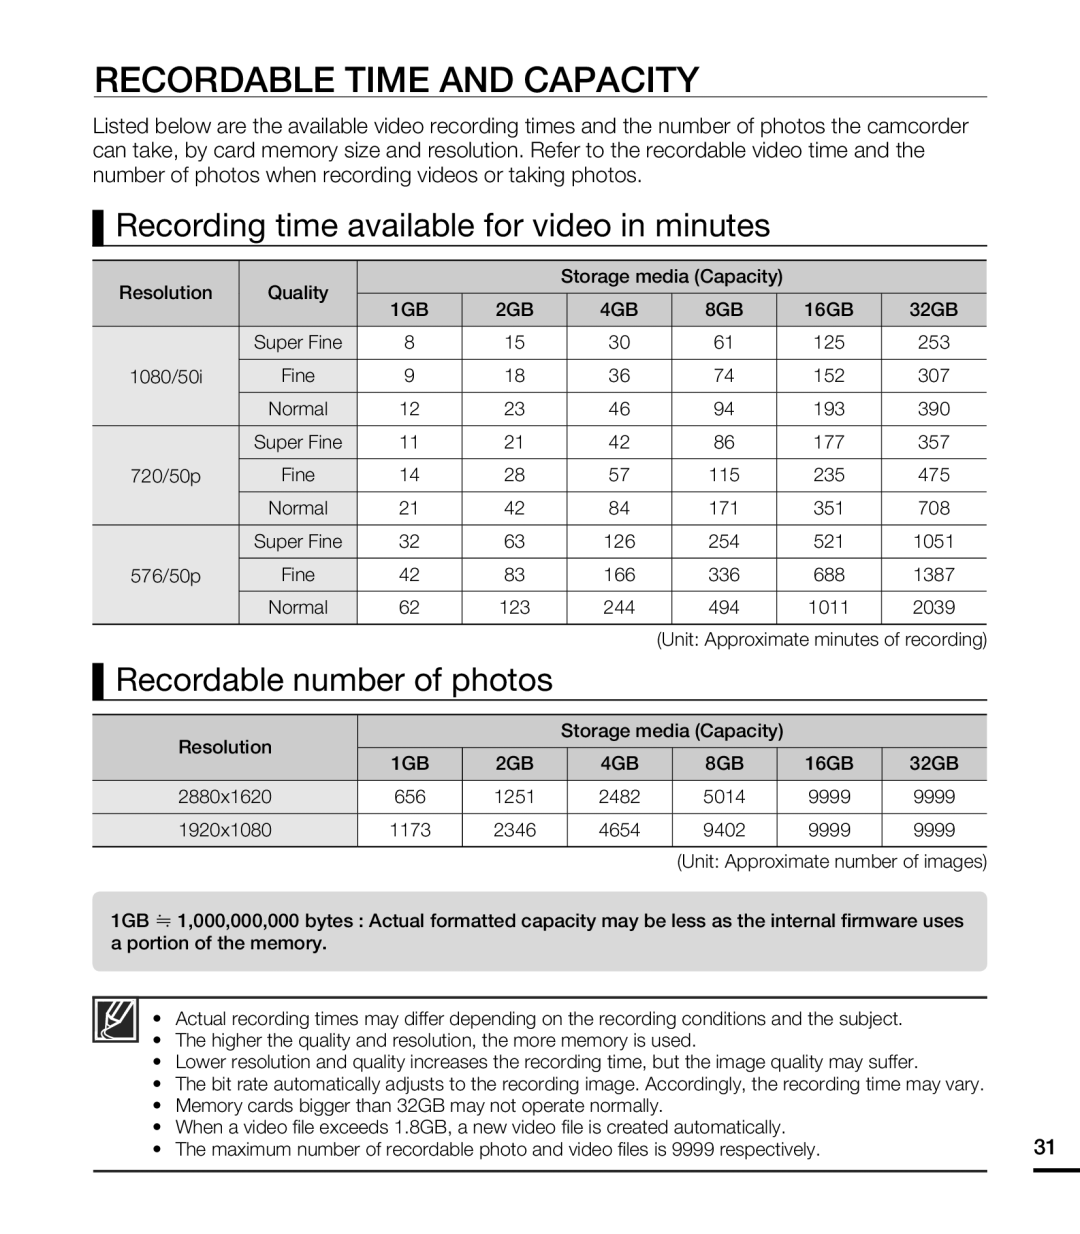 RECORDABLE TIME AND CAPACITY
Recording time available for video in minutes
Recordable number of photos
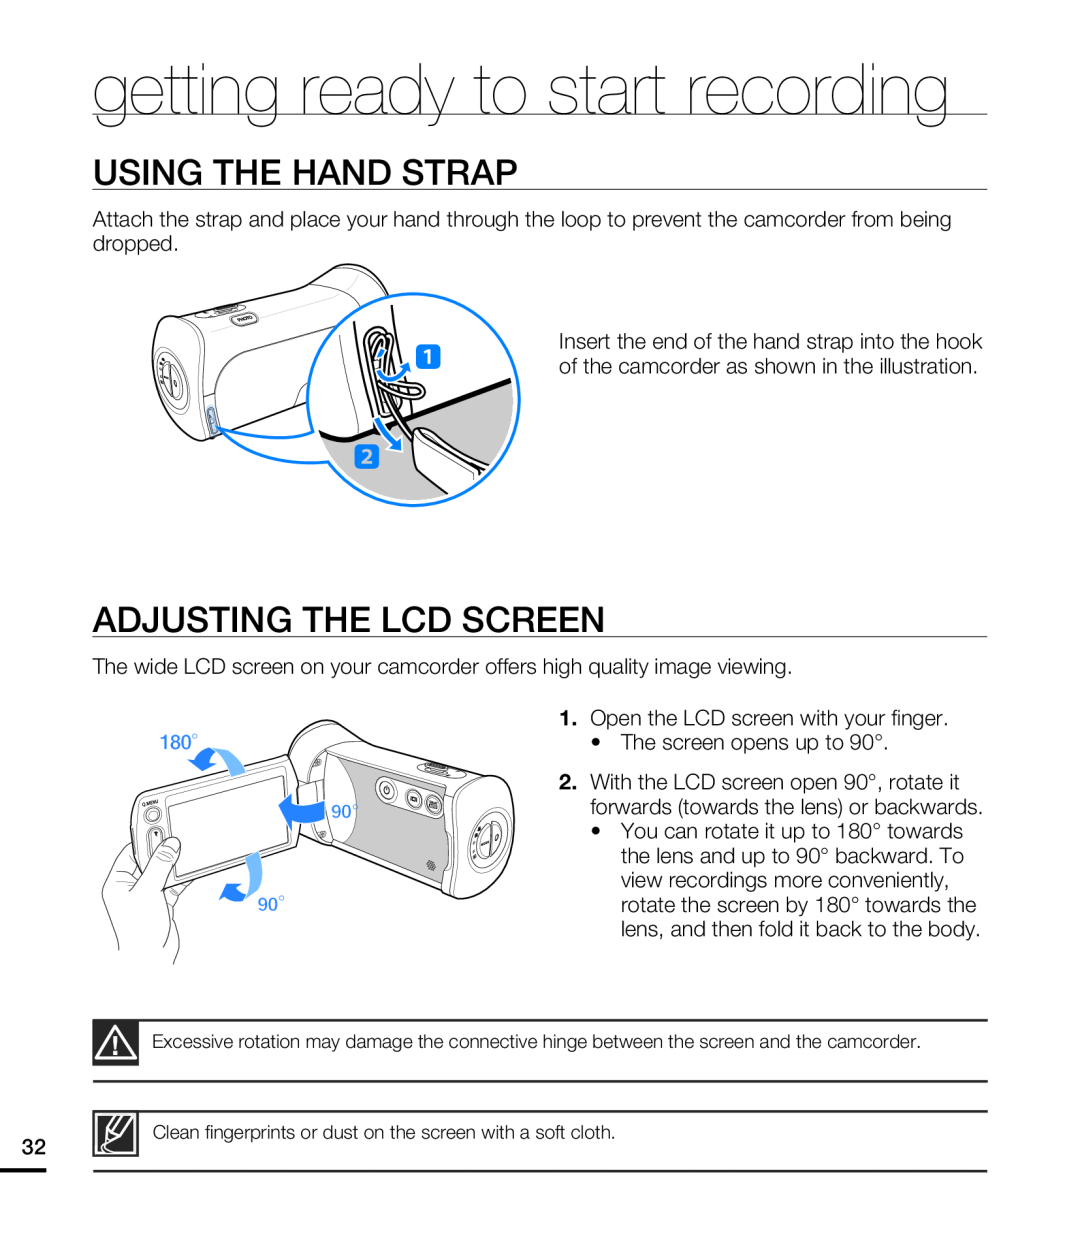 USING THE HAND STRAP
ADJUSTING THE LCD SCREEN
 BASIC CAMCORDER POSITIONING
Adjusting the shooting angle
 basic recording
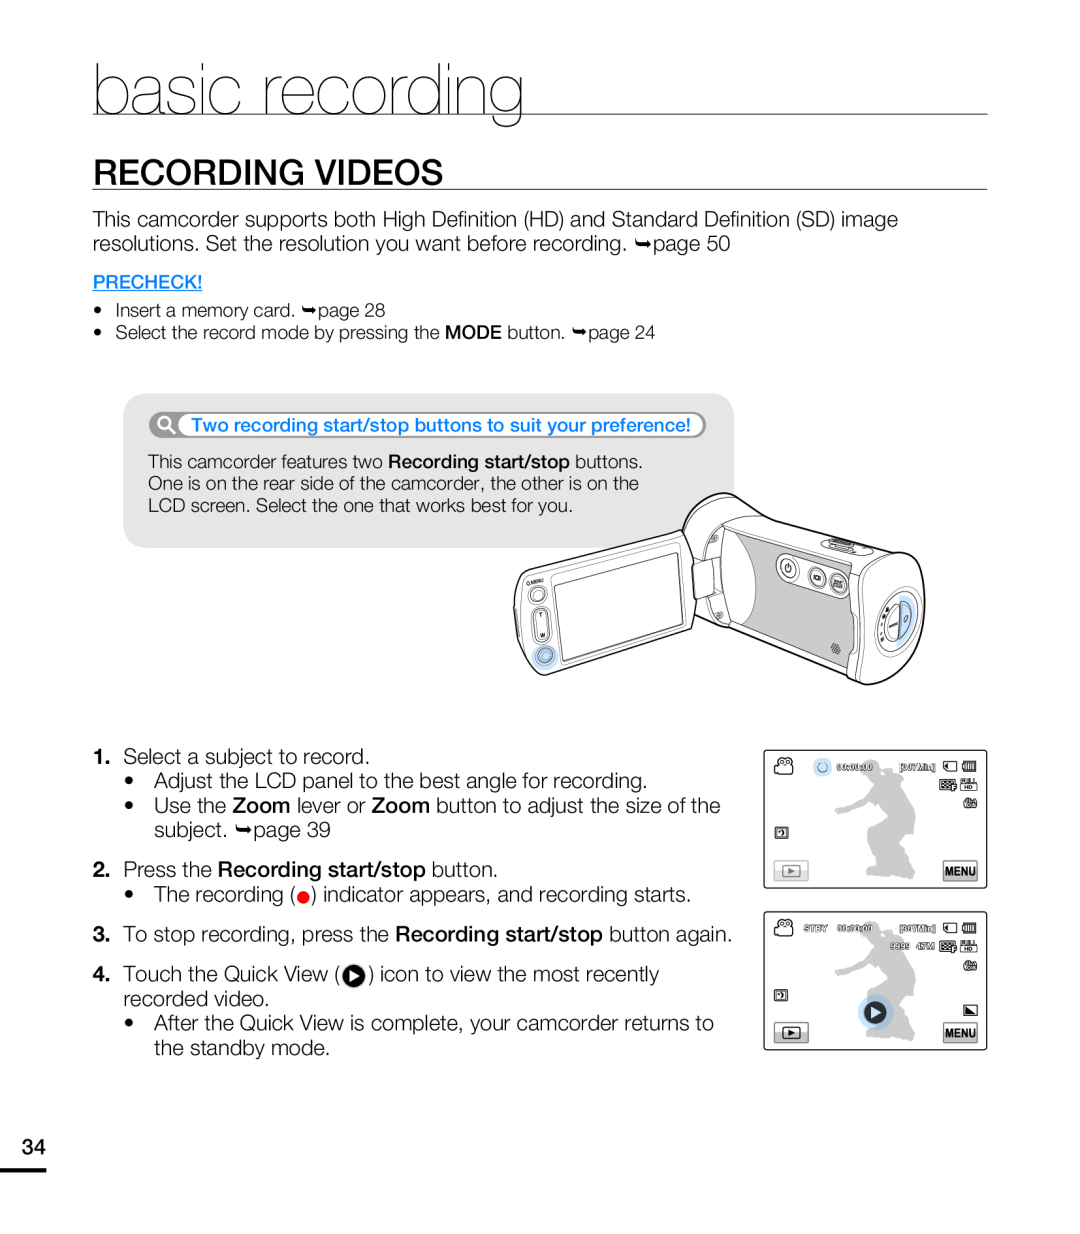
RECORDING VIDEOS
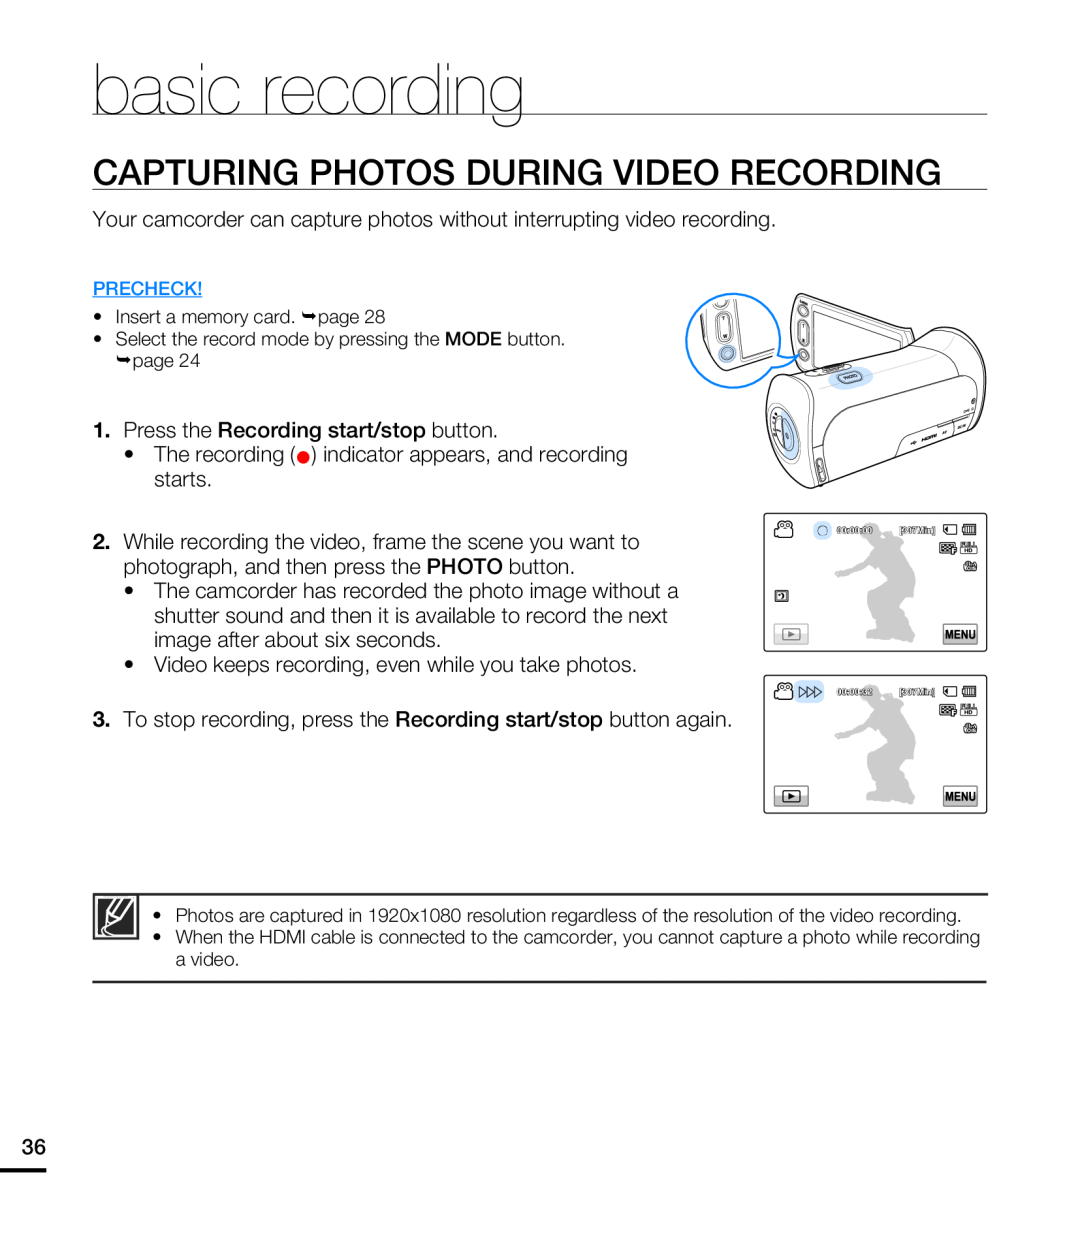 CAPTURING PHOTOS DURING VIDEO RECORDING
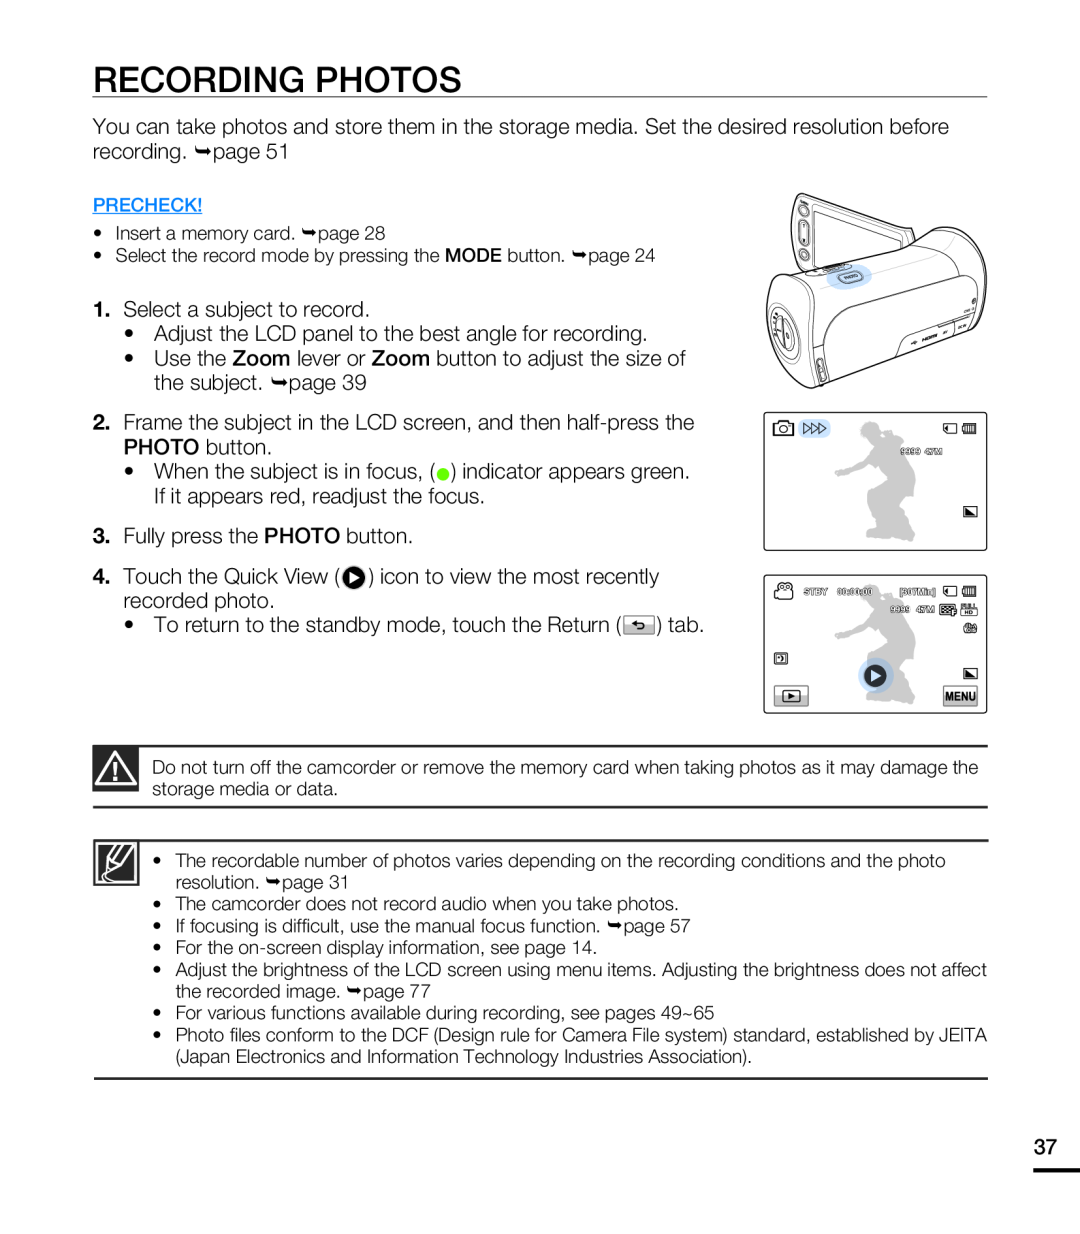 RECORDING PHOTOS
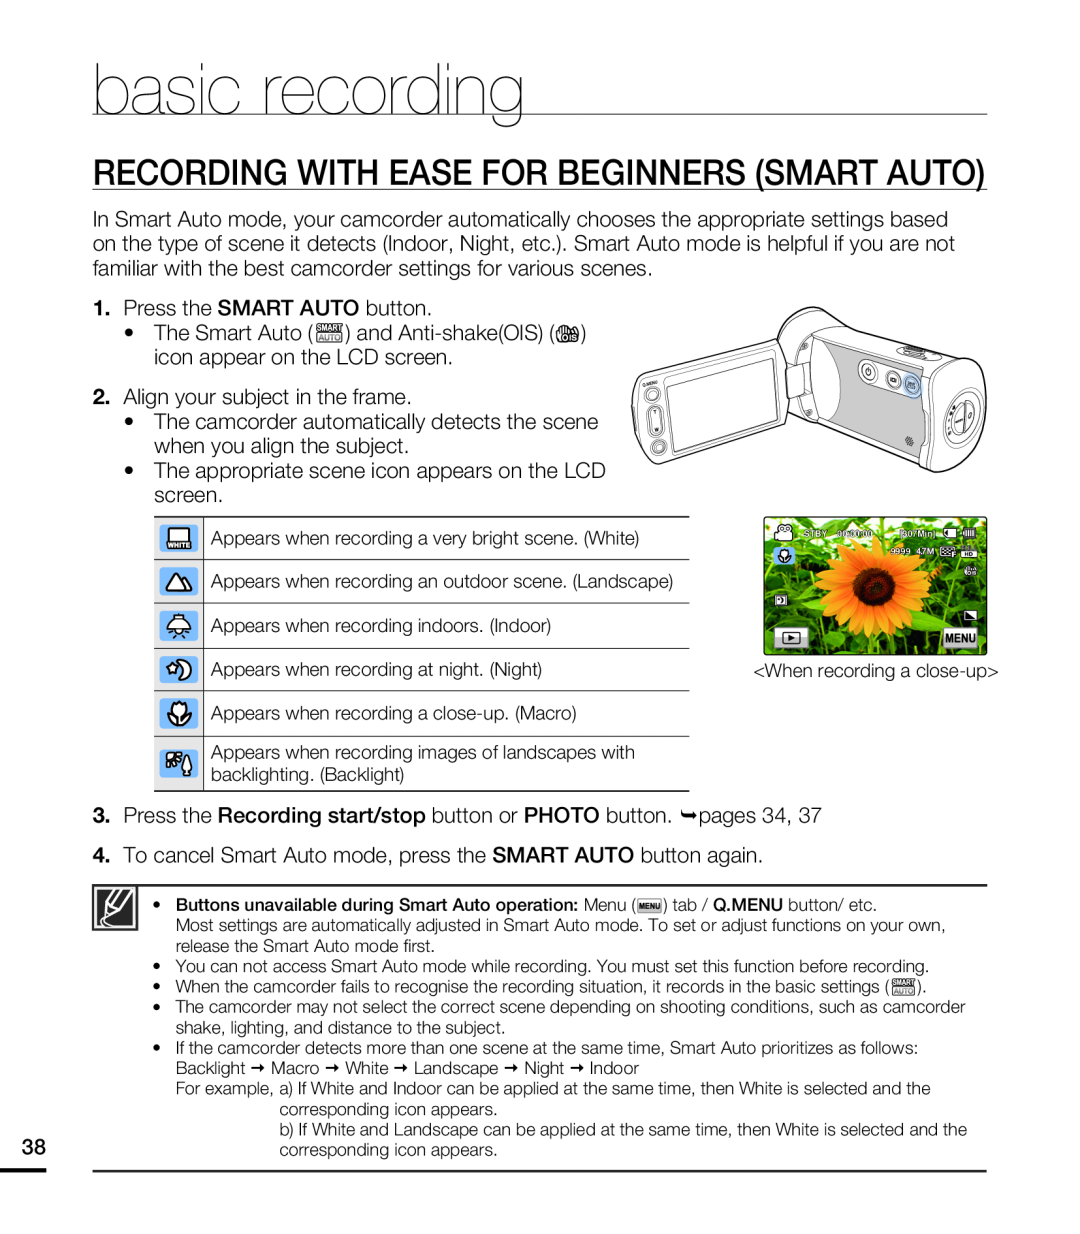 RECORDING WITH EASE FOR BEGINNERS (SMART AUTO)
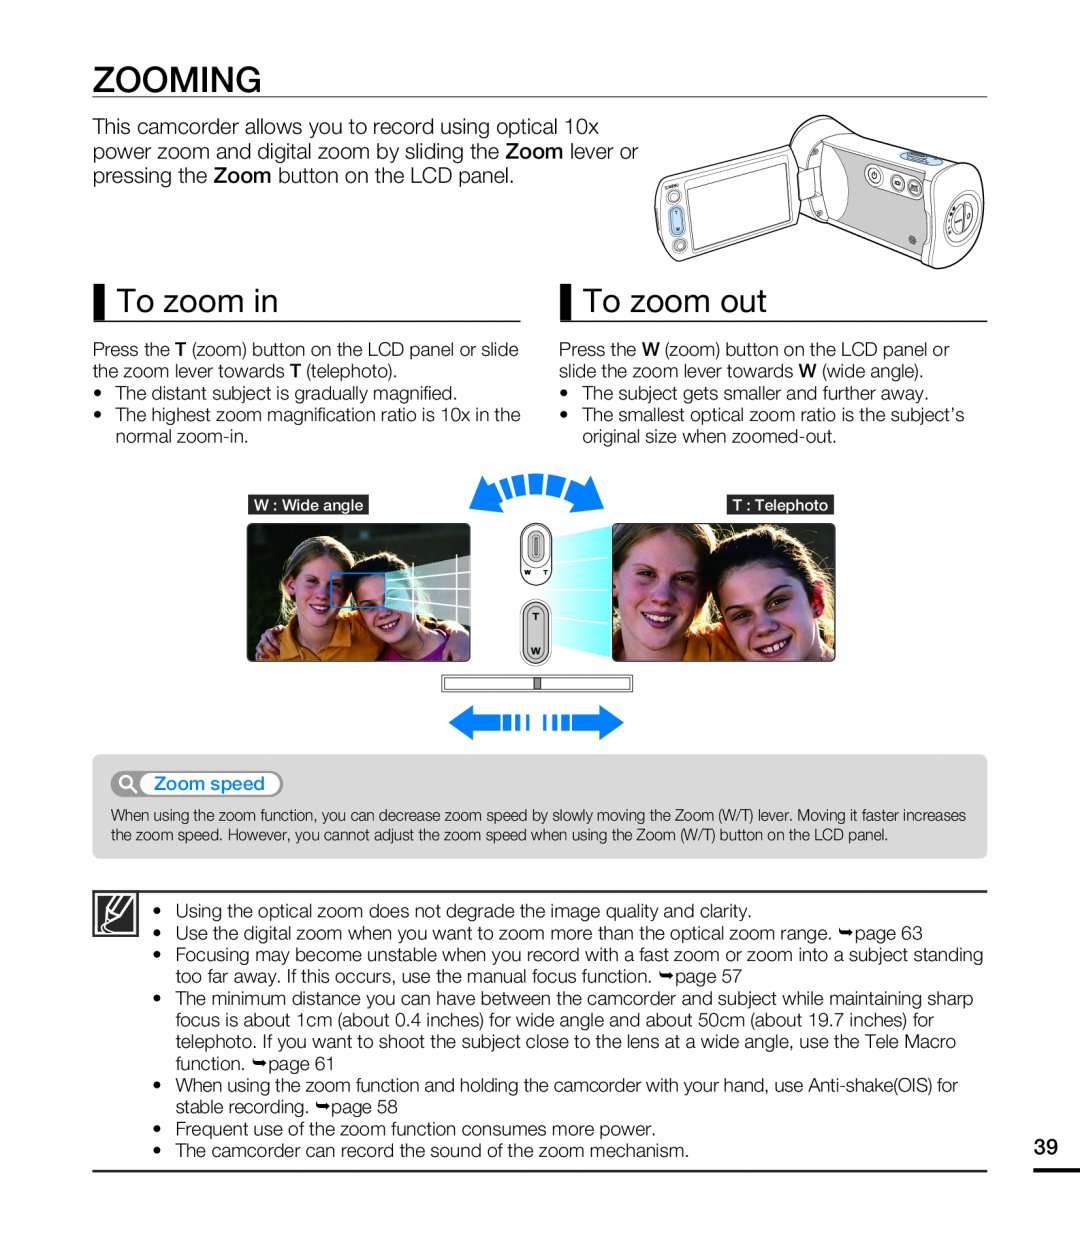 ZOOMING
To zoom in
To zoom out
 basic playback
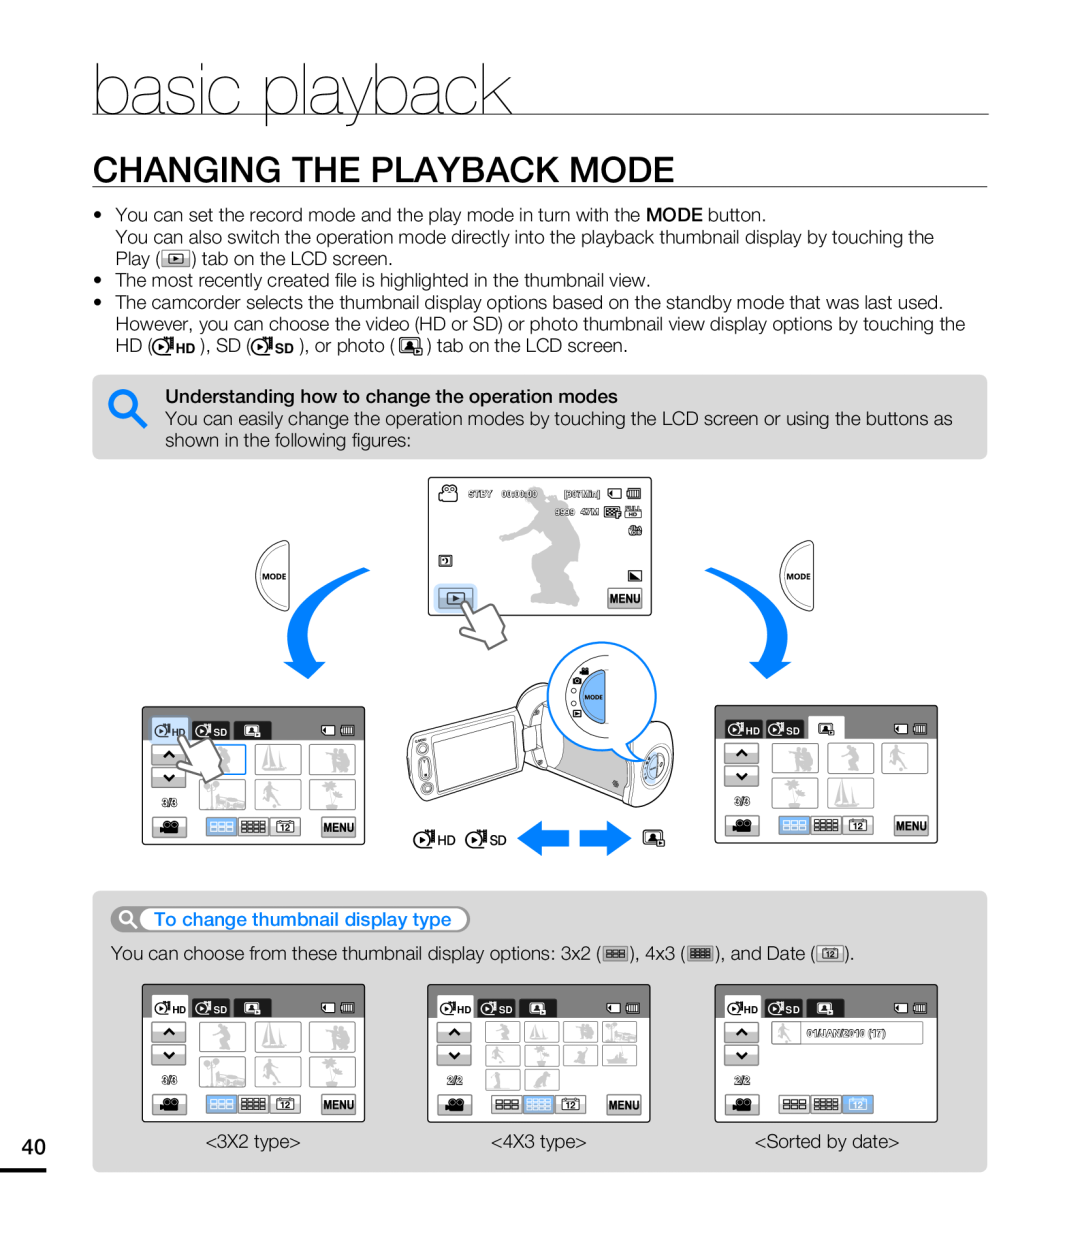
CHANGING THE PLAYBACK MODE
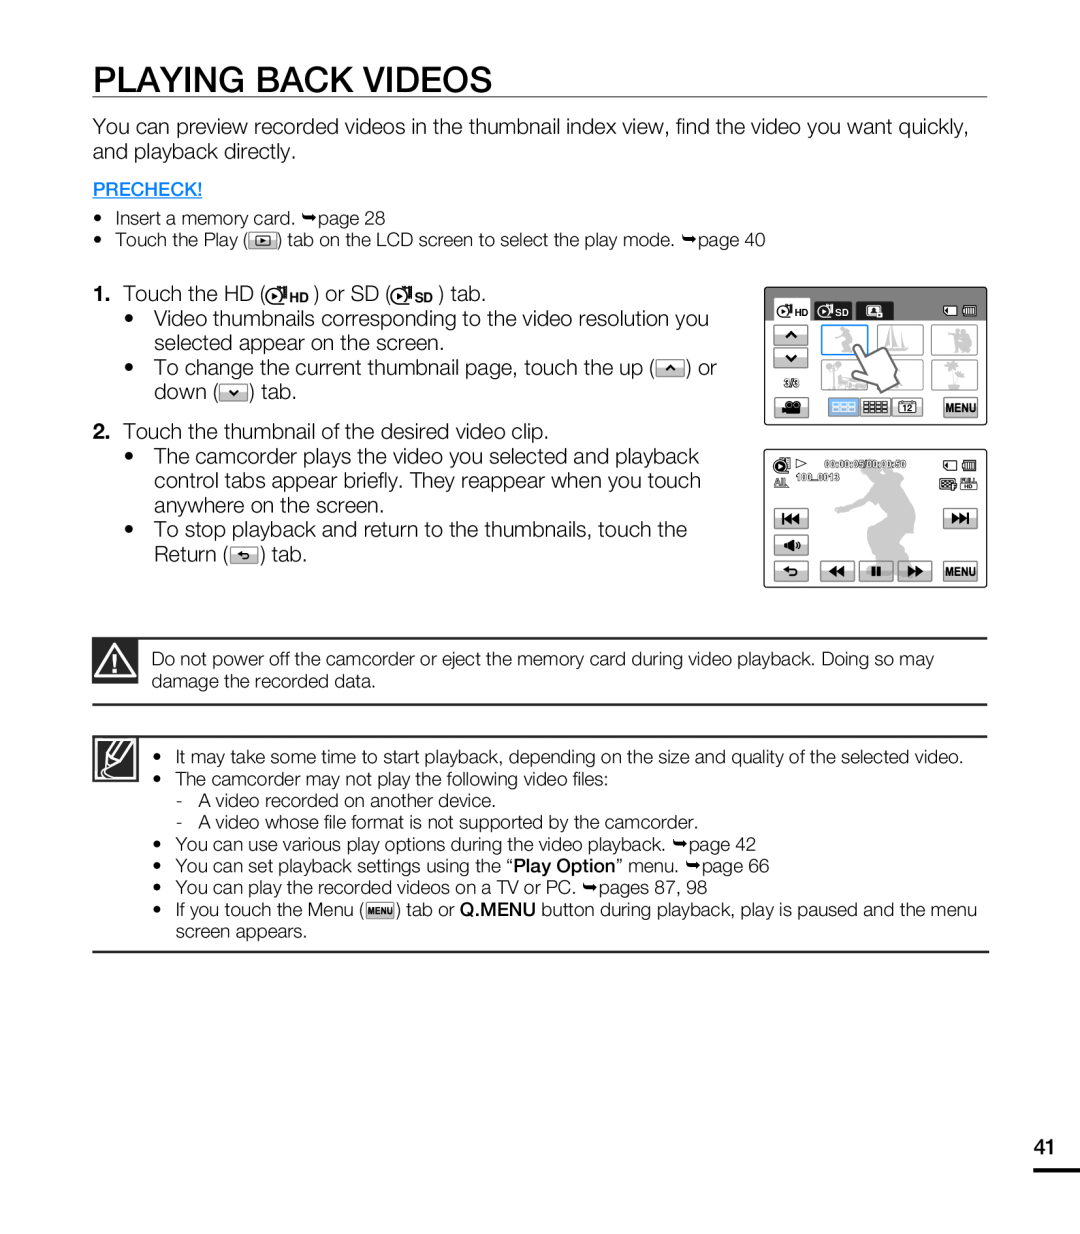 PLAYING BACK VIDEOS
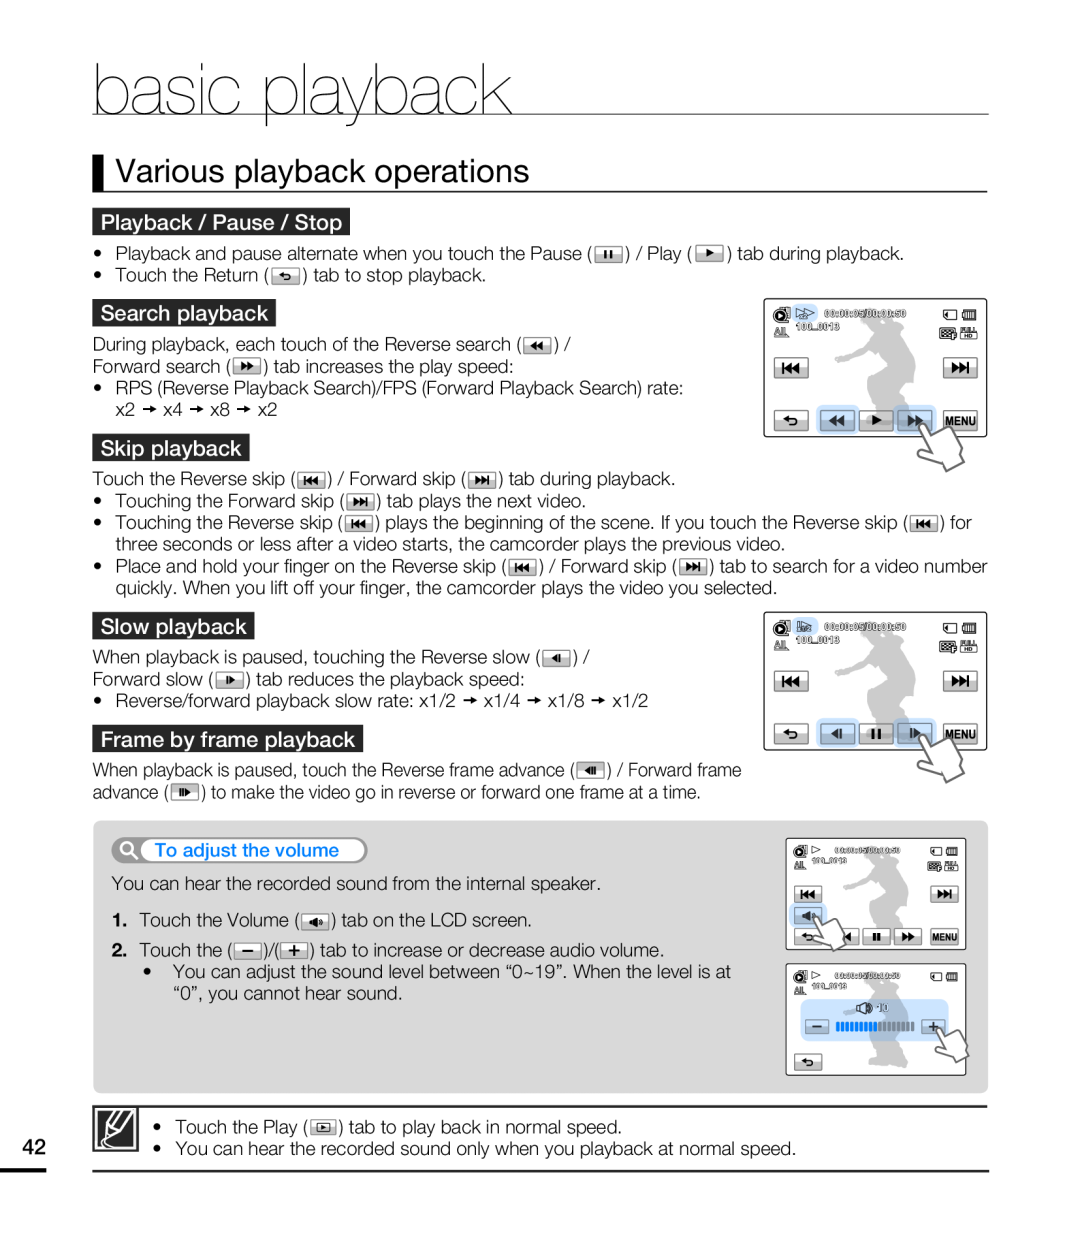 Various playback operations
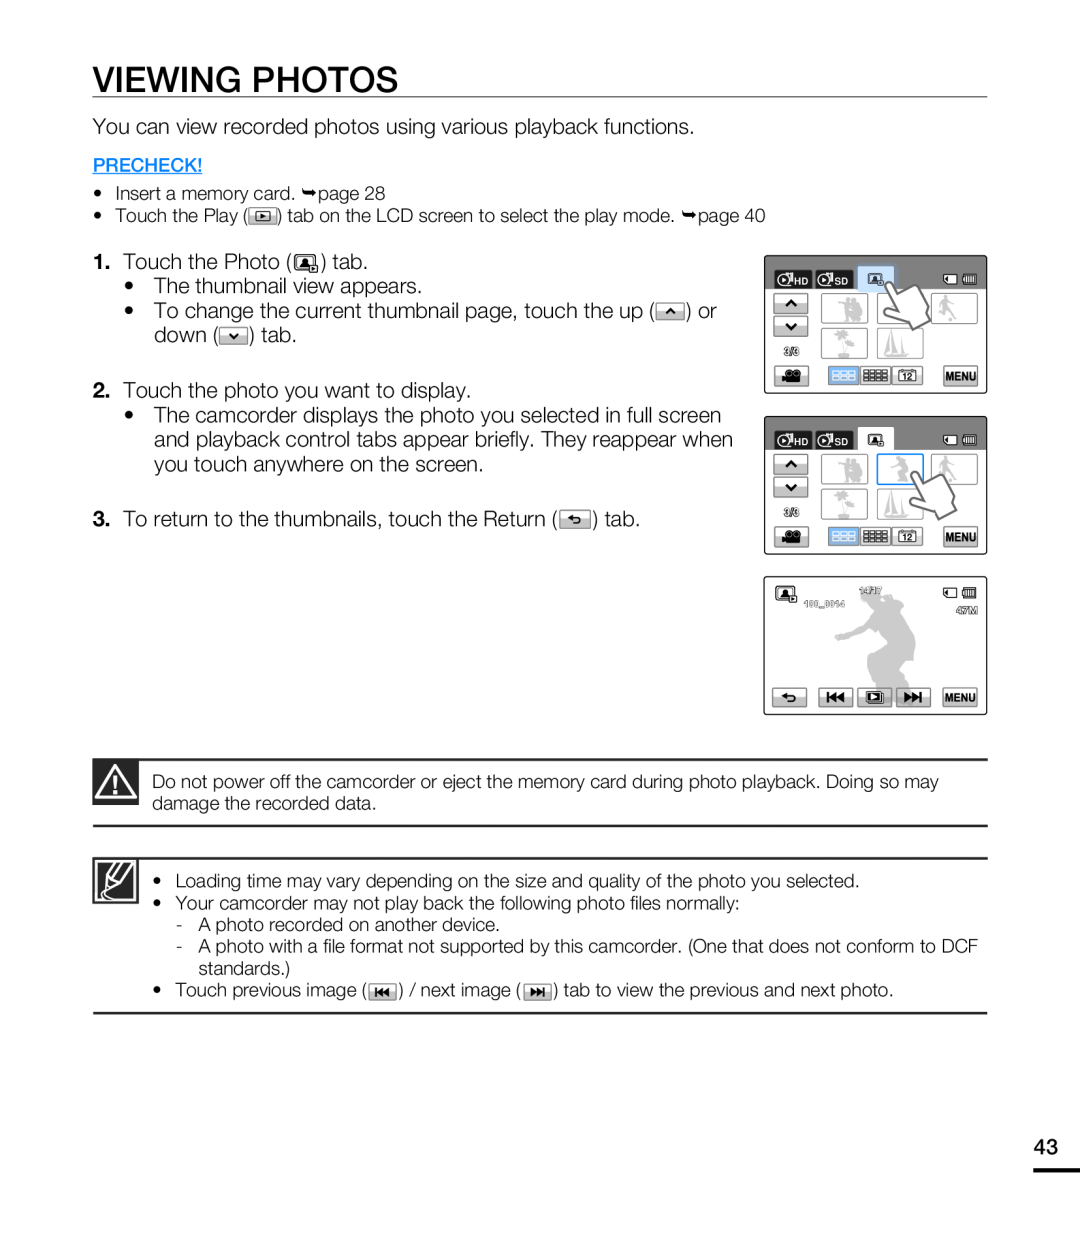 VIEWING PHOTOS
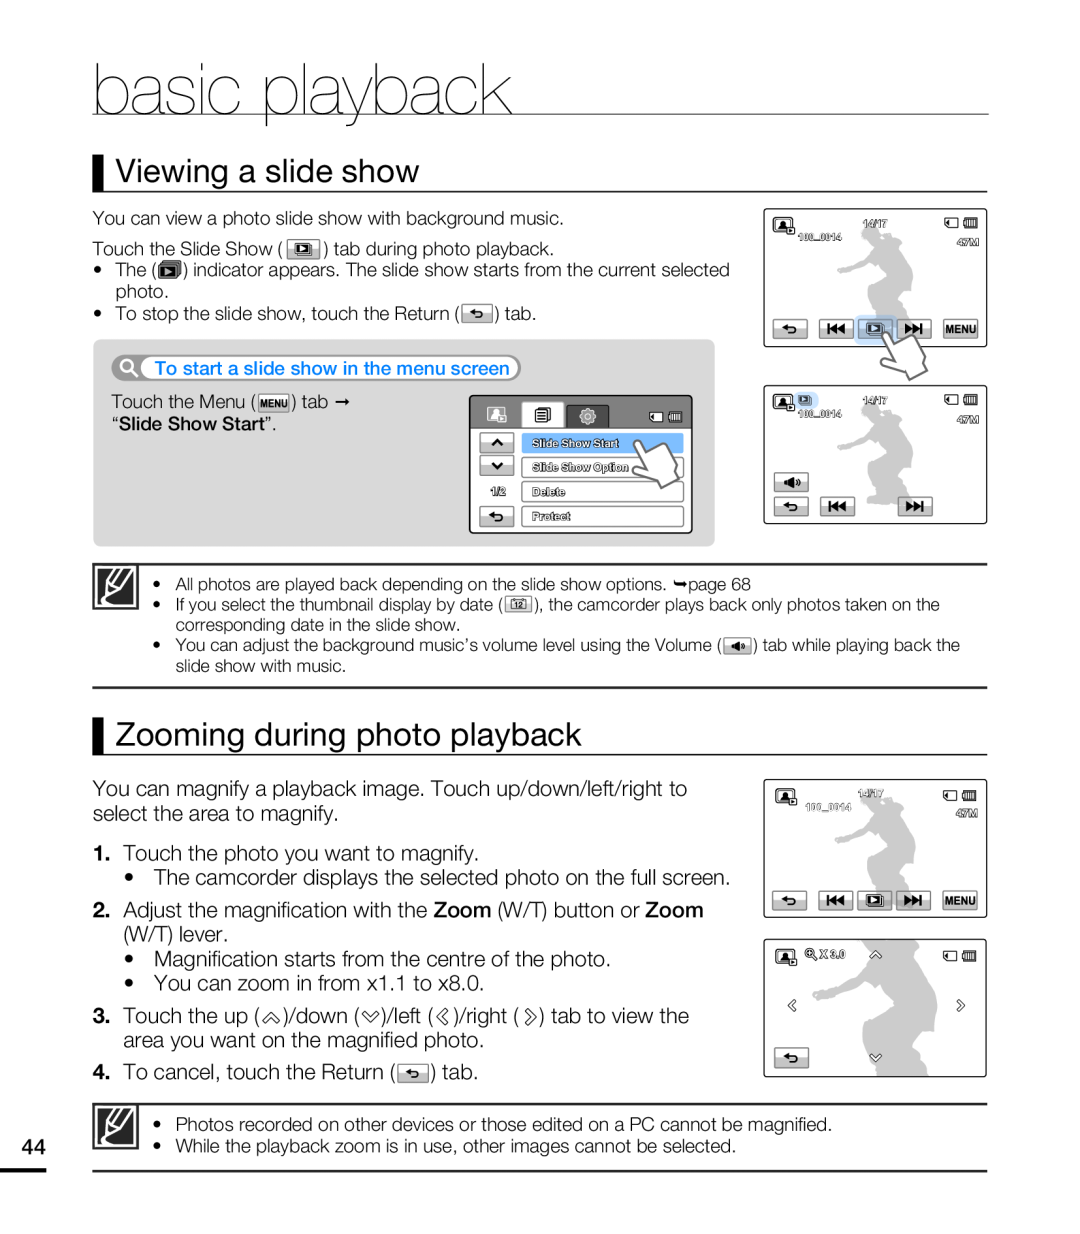 Viewing a slide show
Zooming during photo playback
 using the menu items
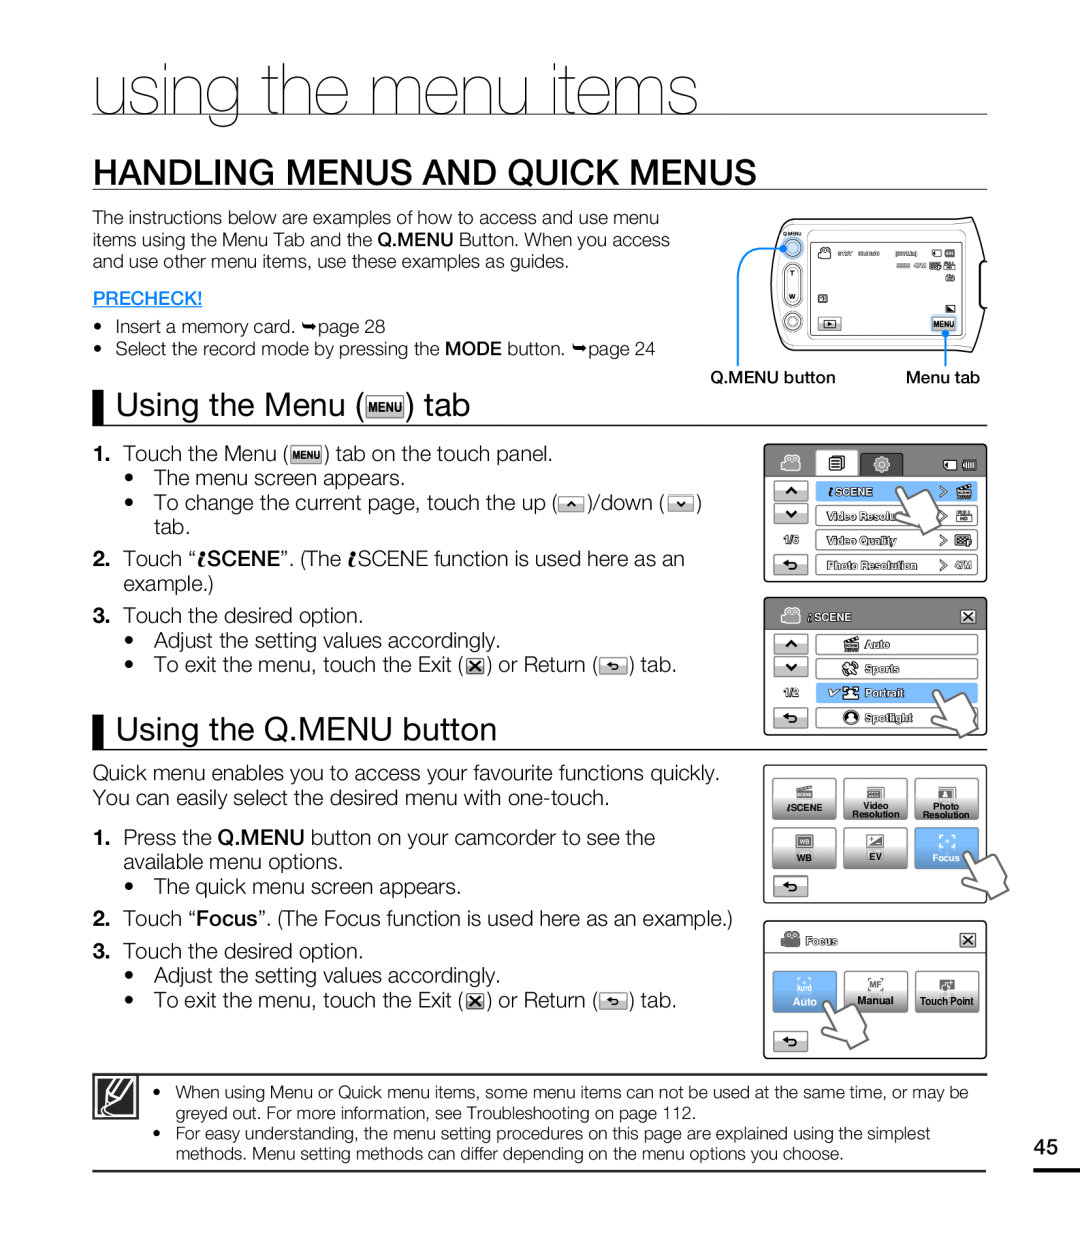
HANDLING MENUS AND QUICK MENUS
Using the Menu () tab
Using the Q.MENU button
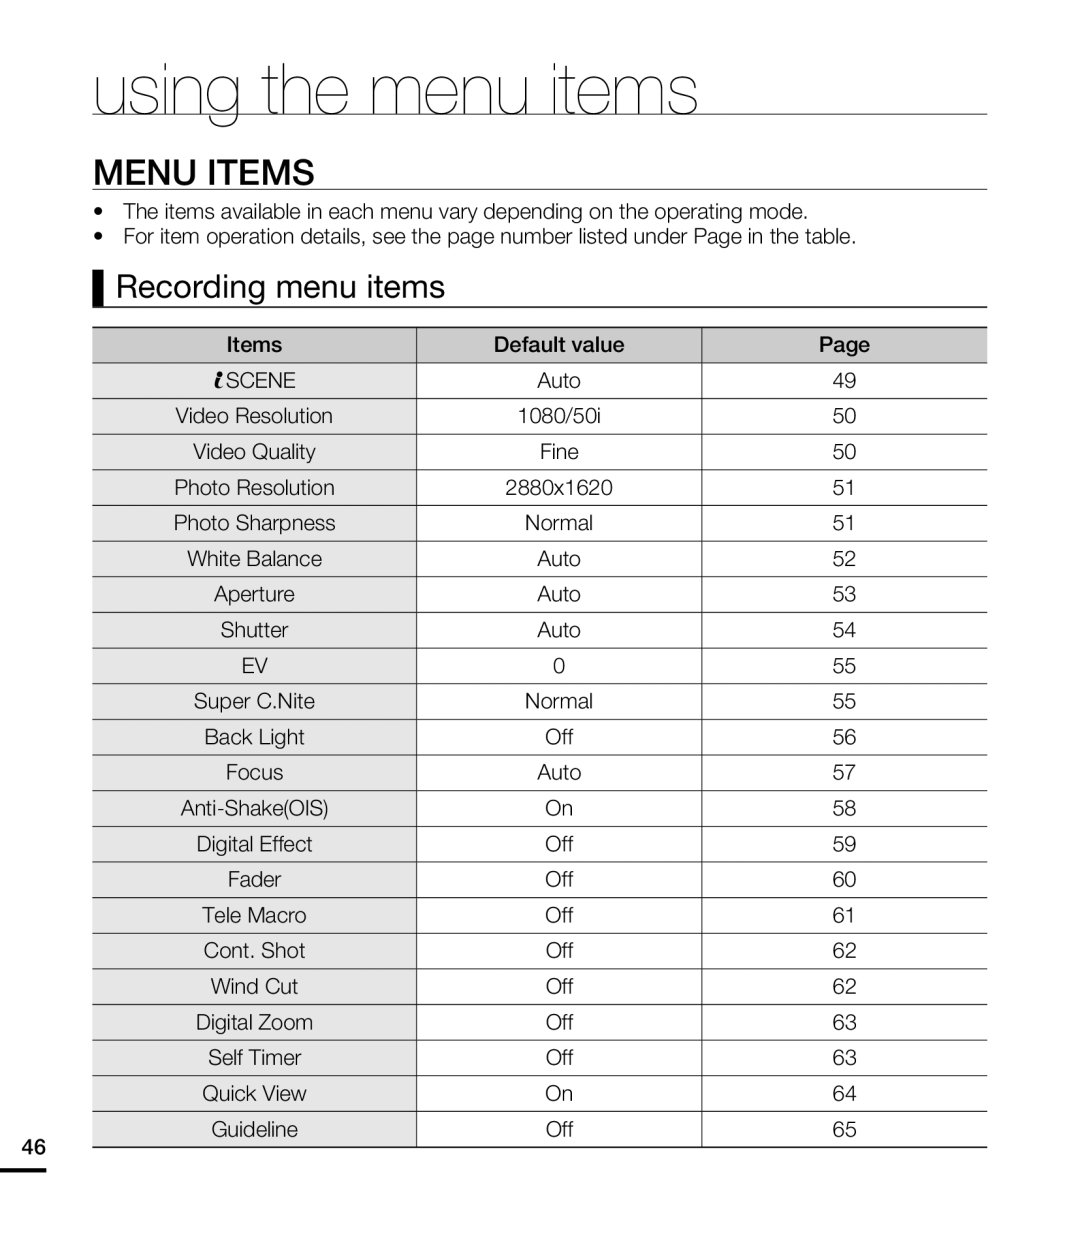 MENU ITEMS
Recording menu items
 Playback menu items
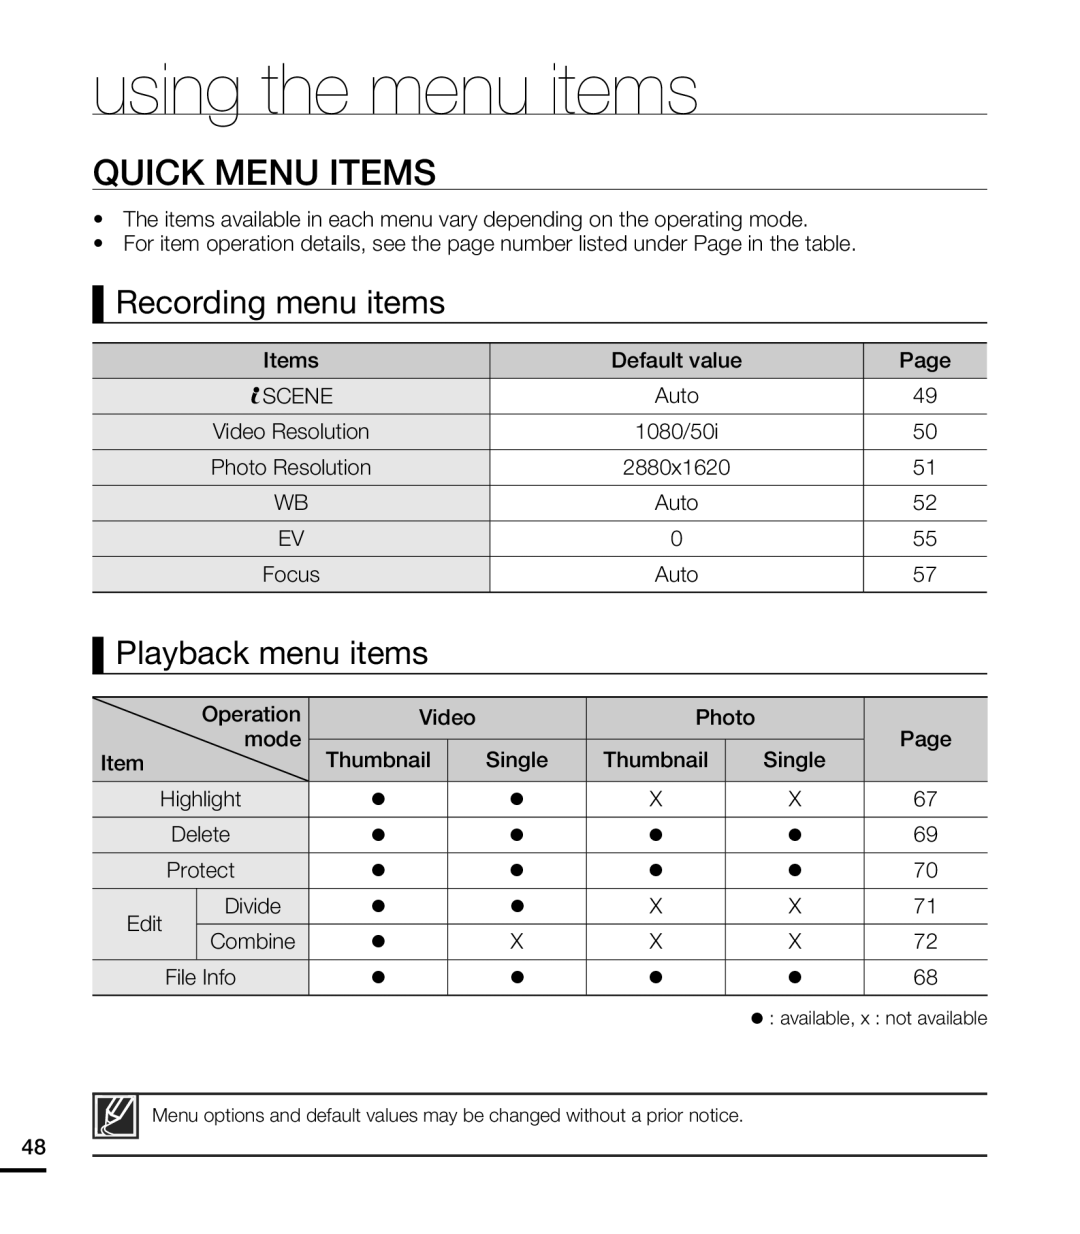 QUICK MENU ITEMS
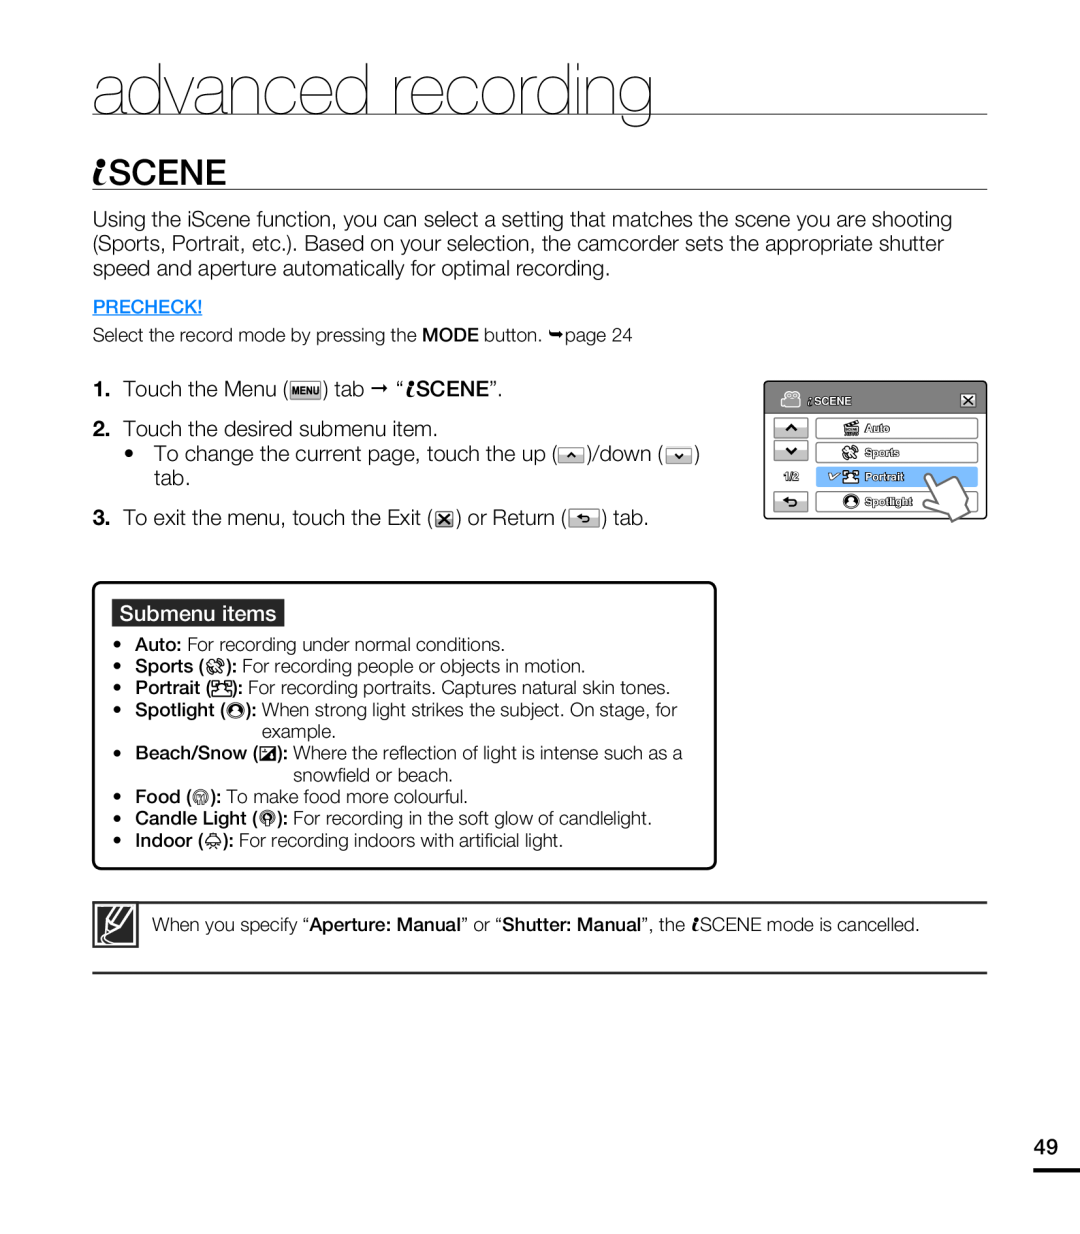 advanced recording
SCENE
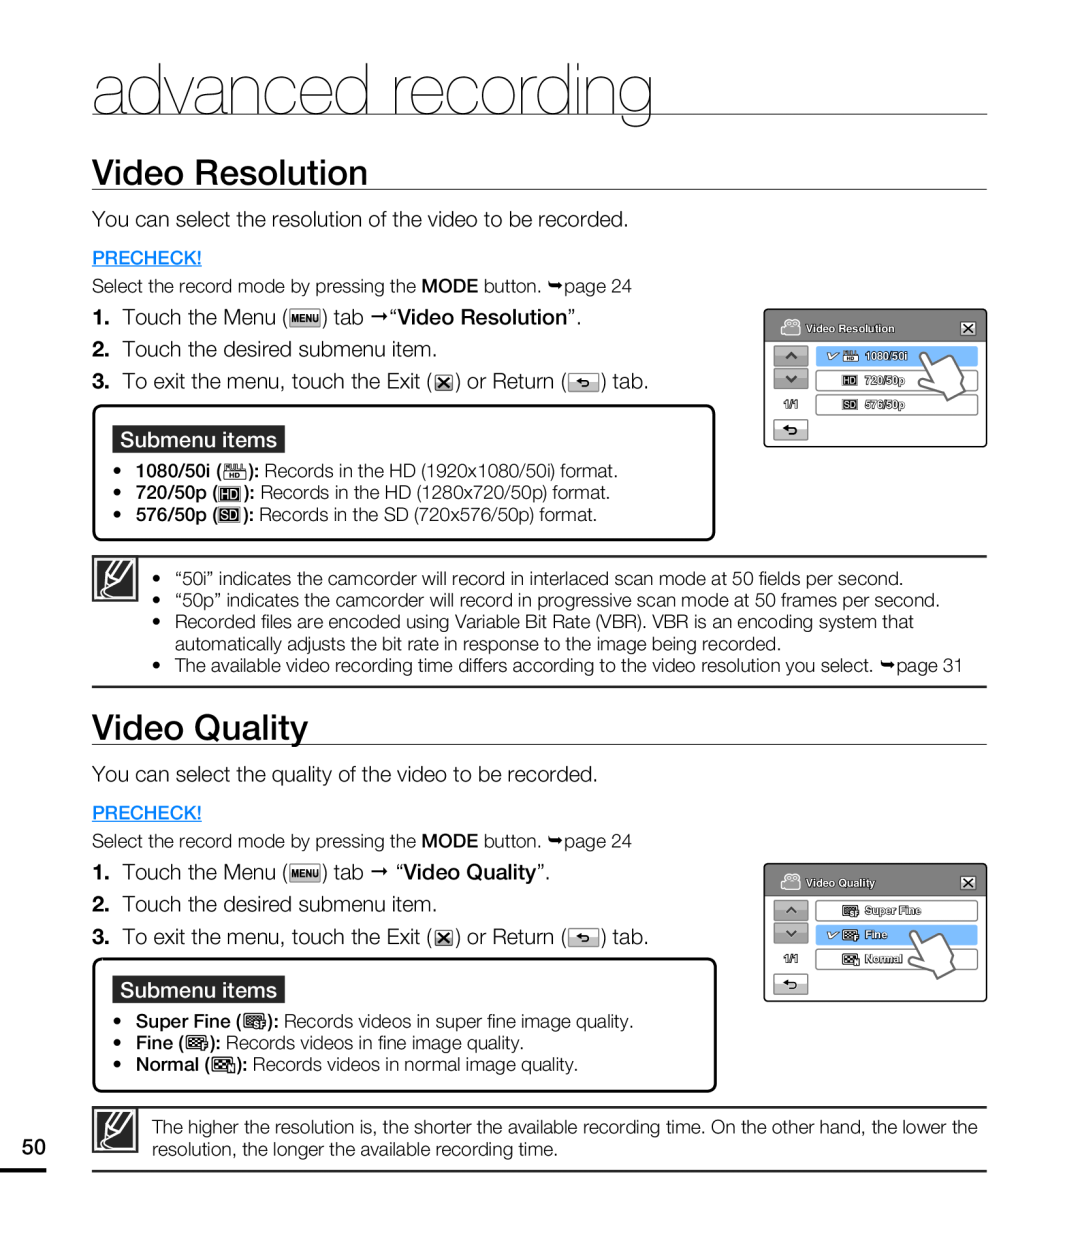 Video Resolution
Video Quality
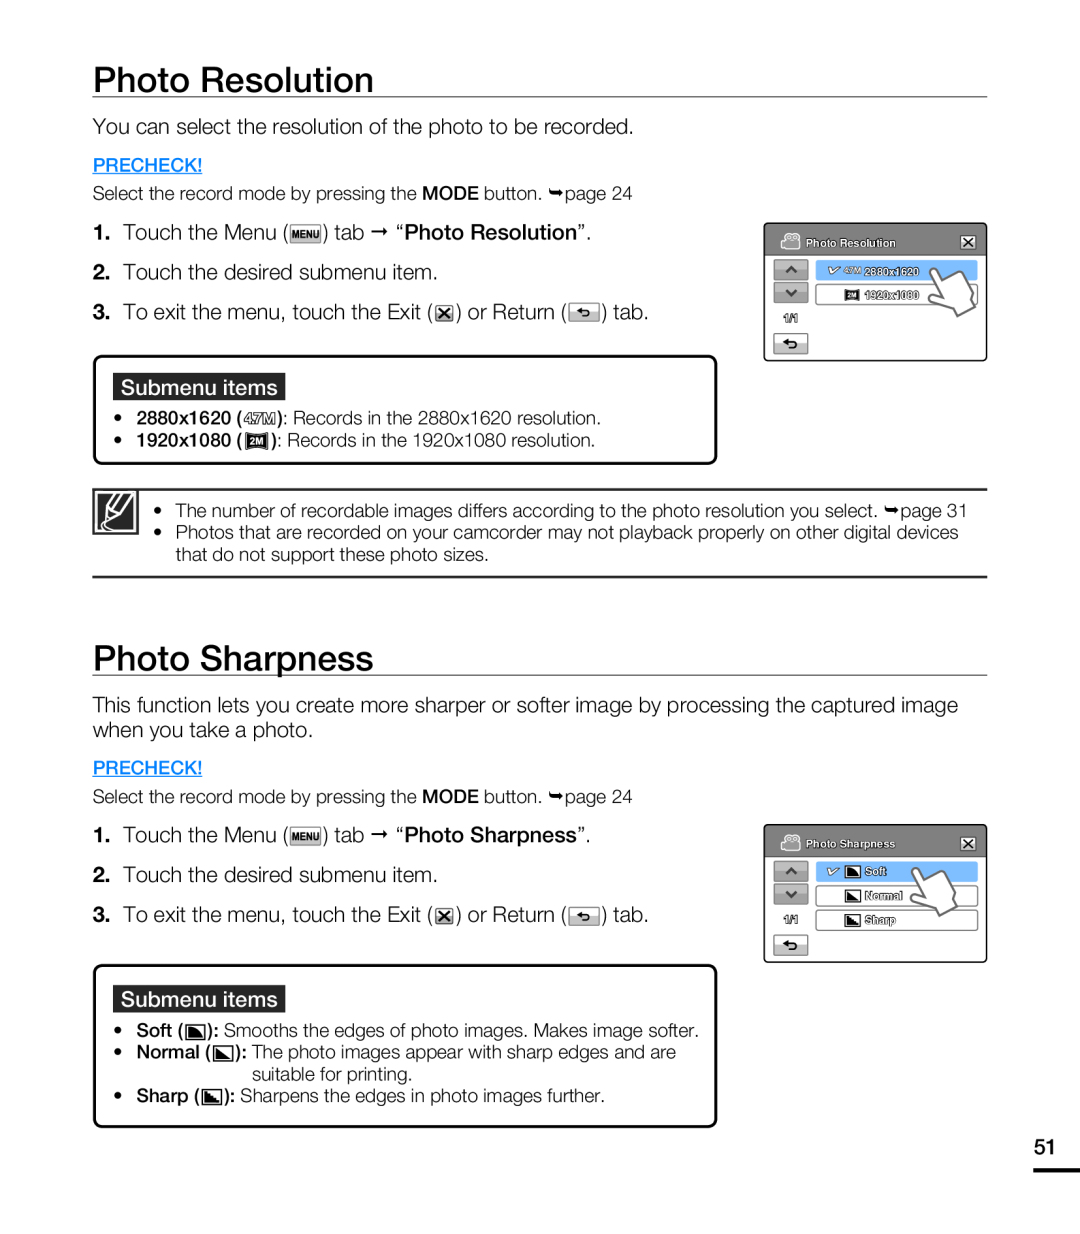 Photo Resolution
Photo Sharpness
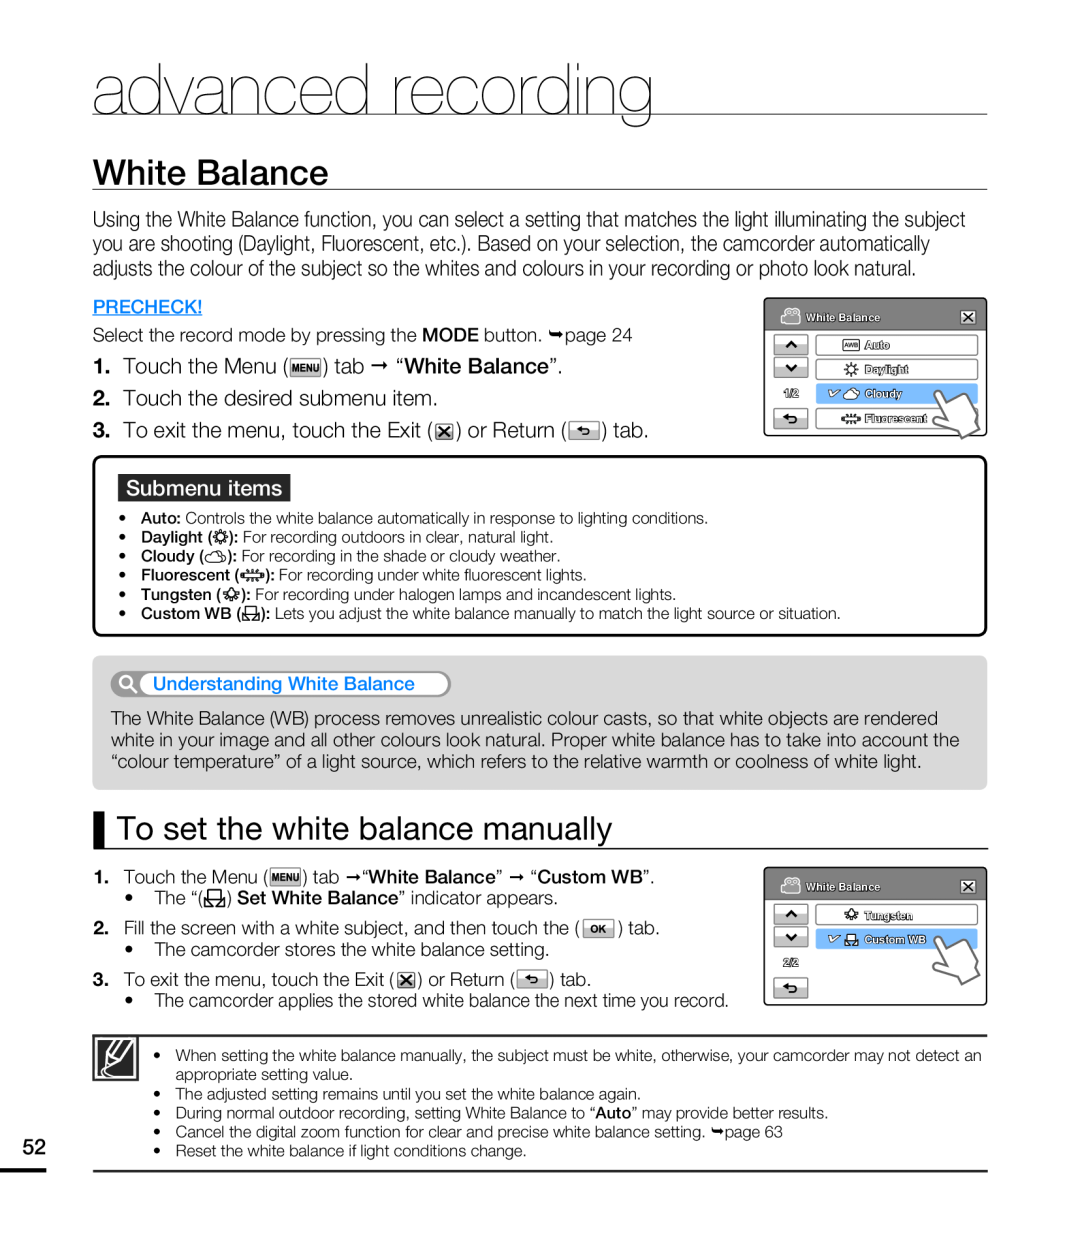 White Balance
To set the white balance manually
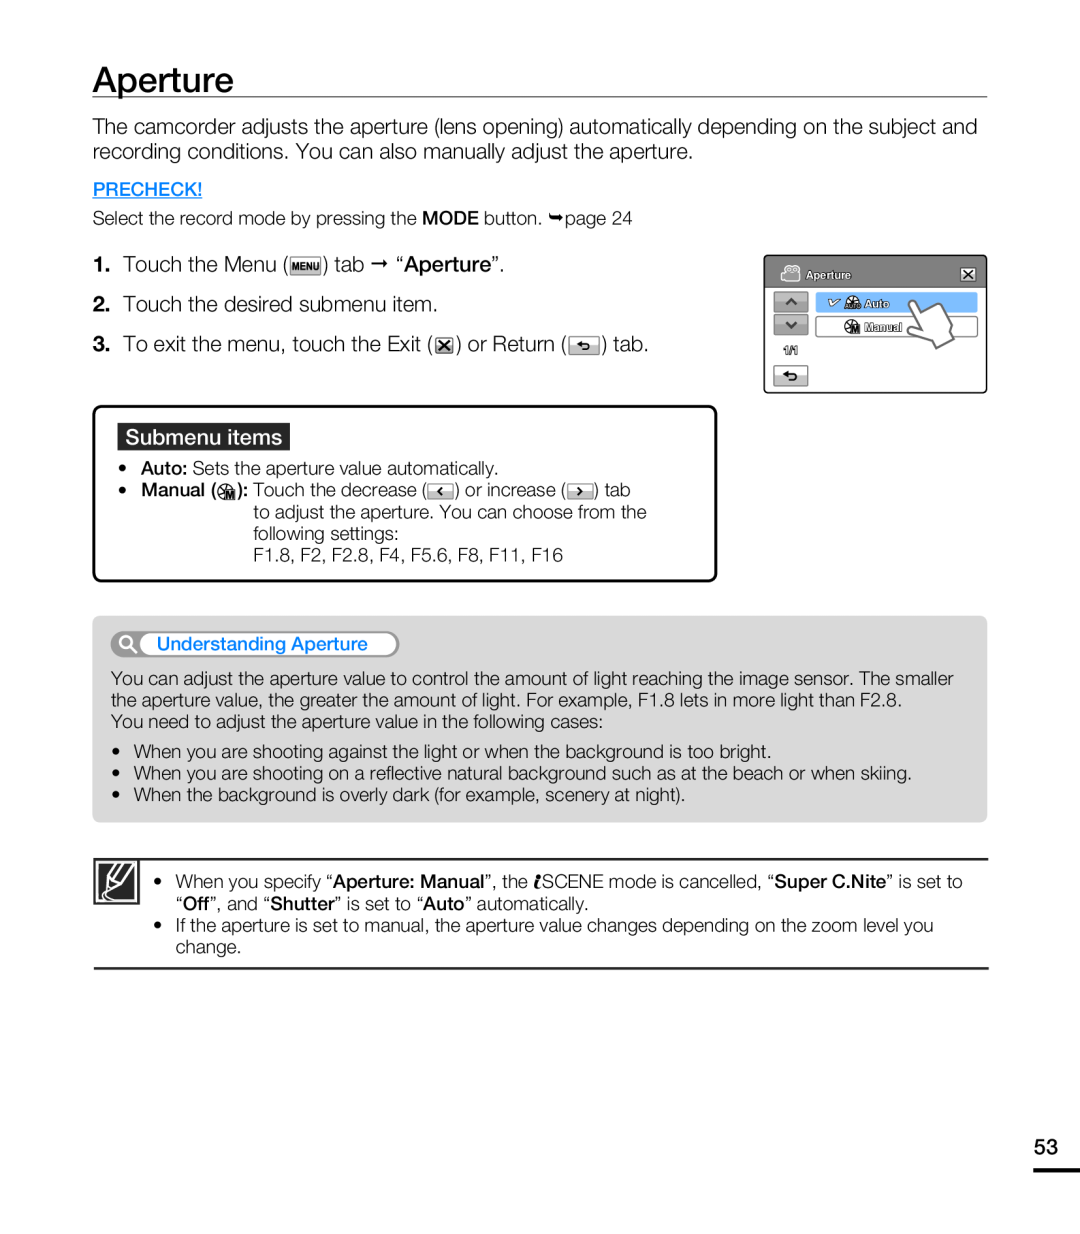 Aperture
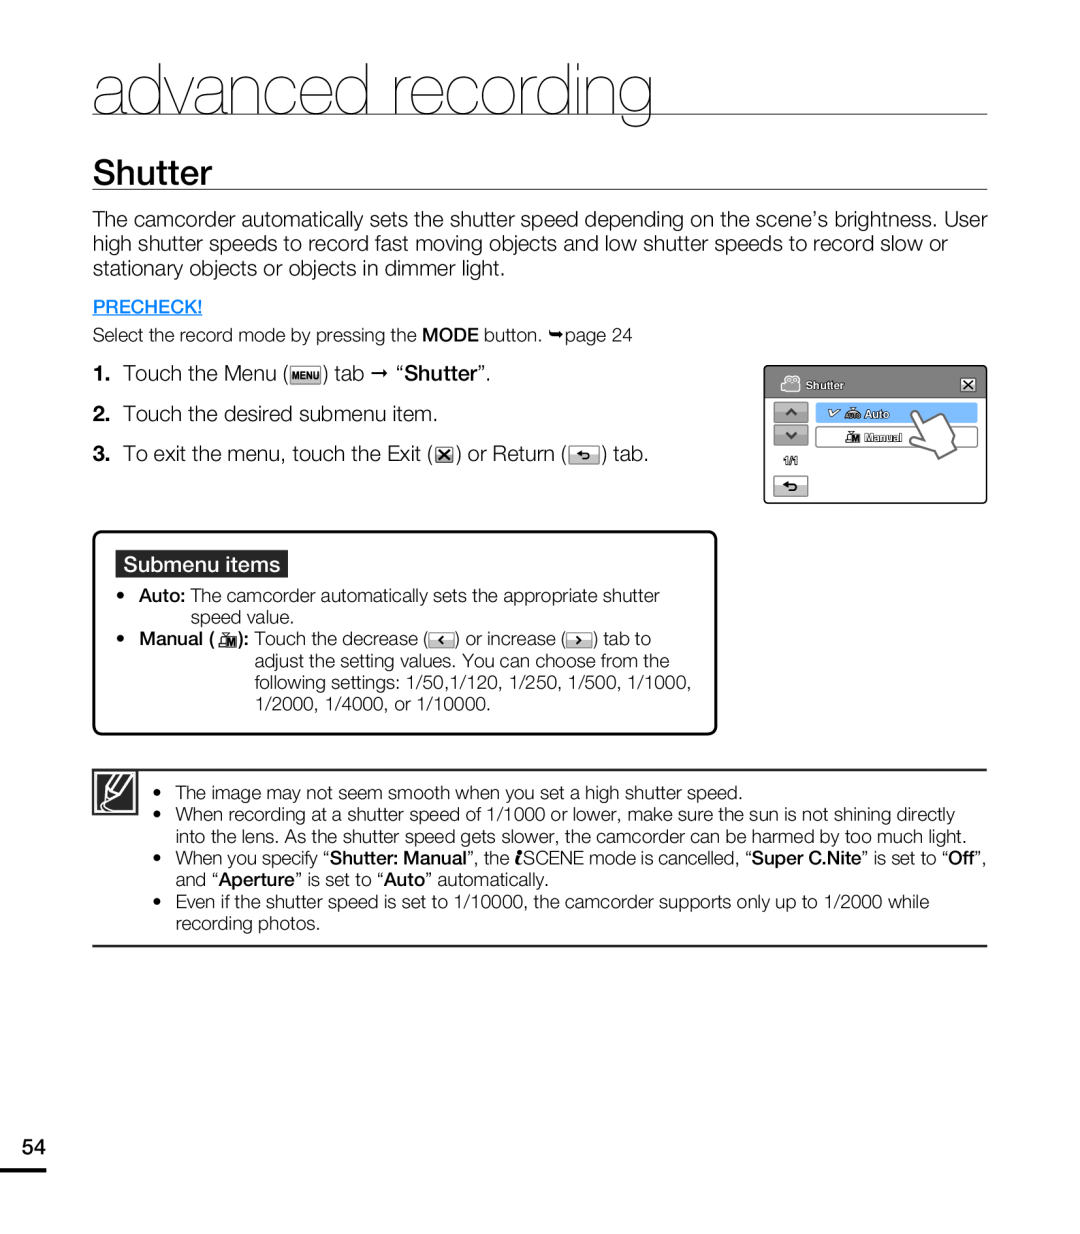 Shutter
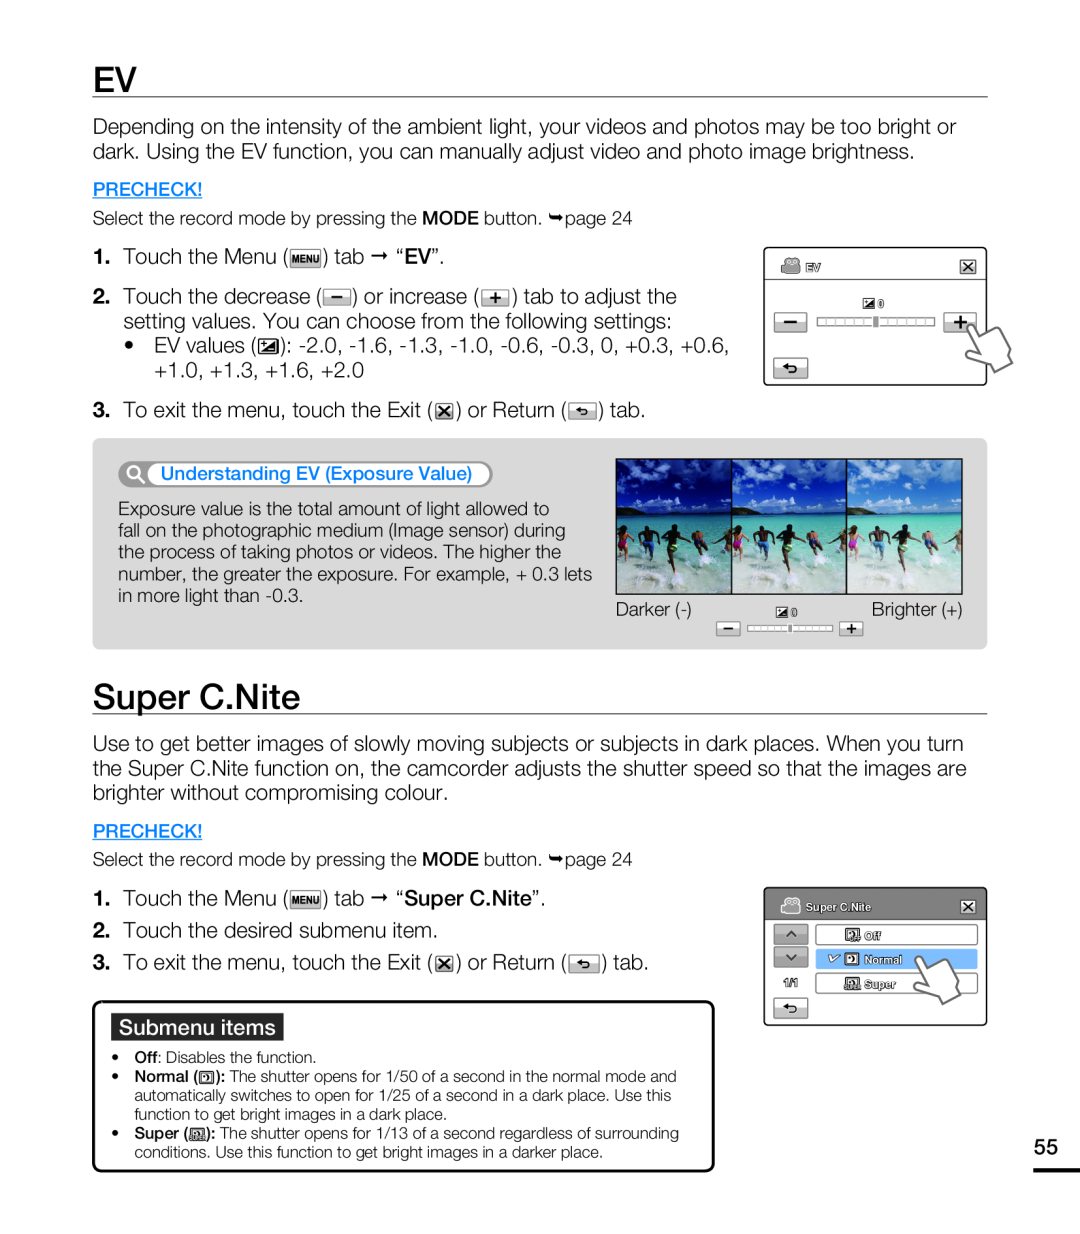 Super C.Nite
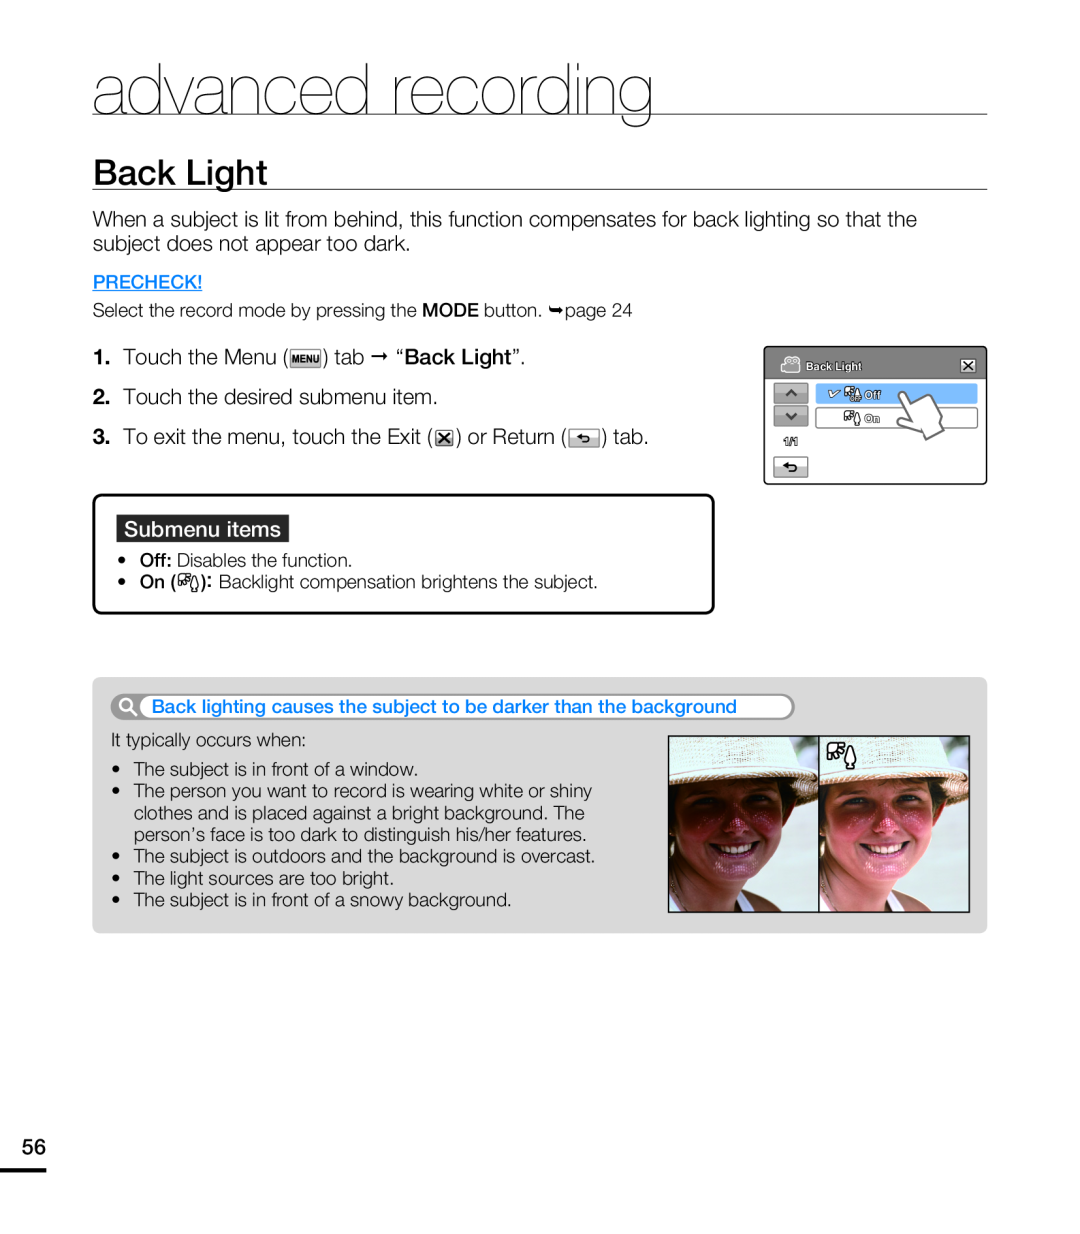 Back Light
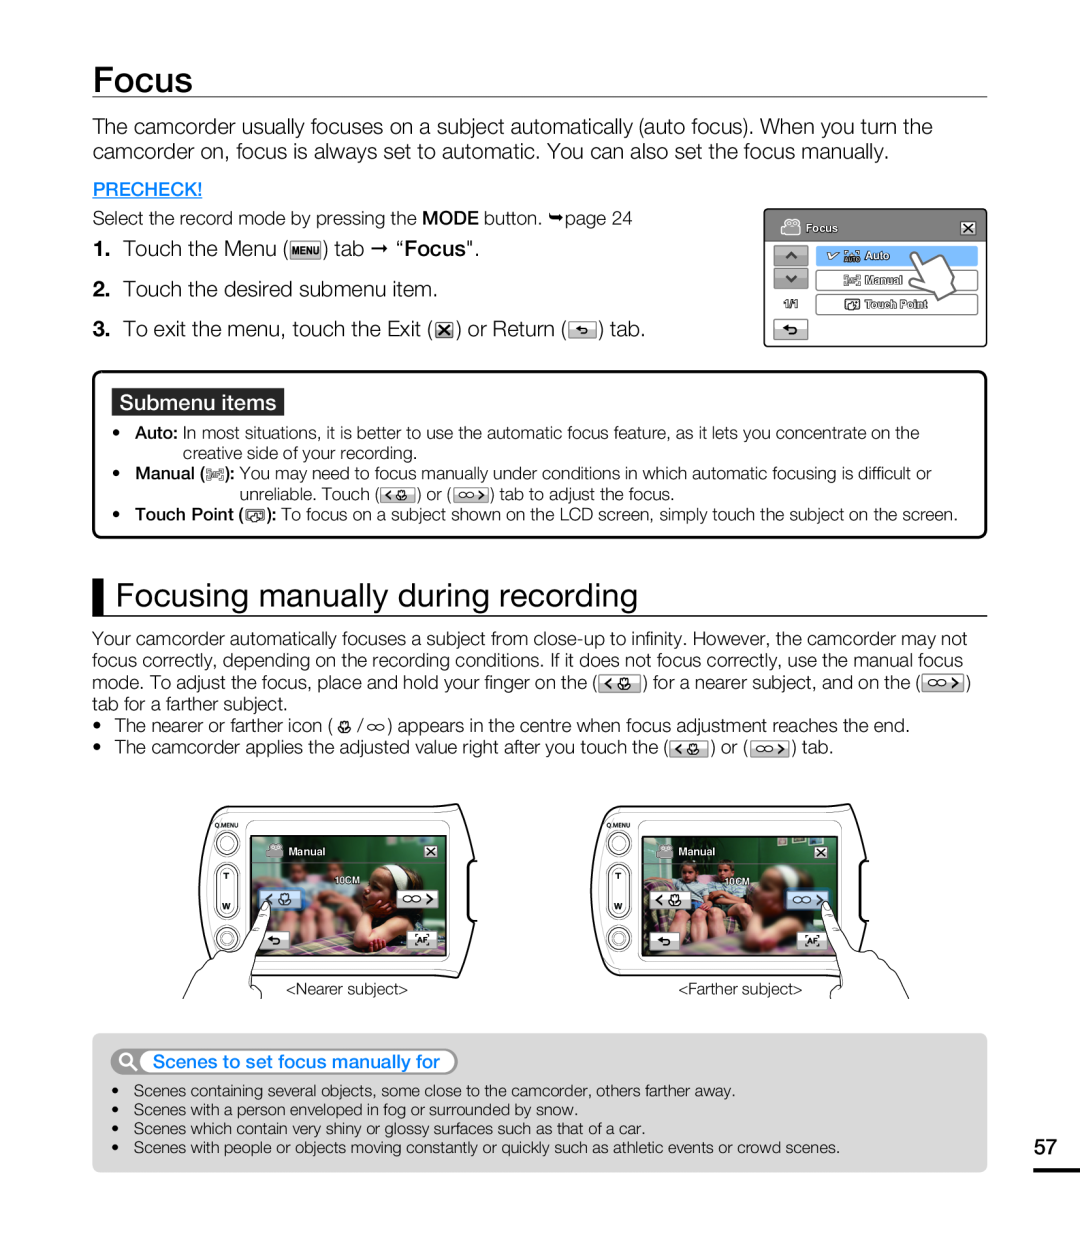 Focus
FocusFocusing manually during recording
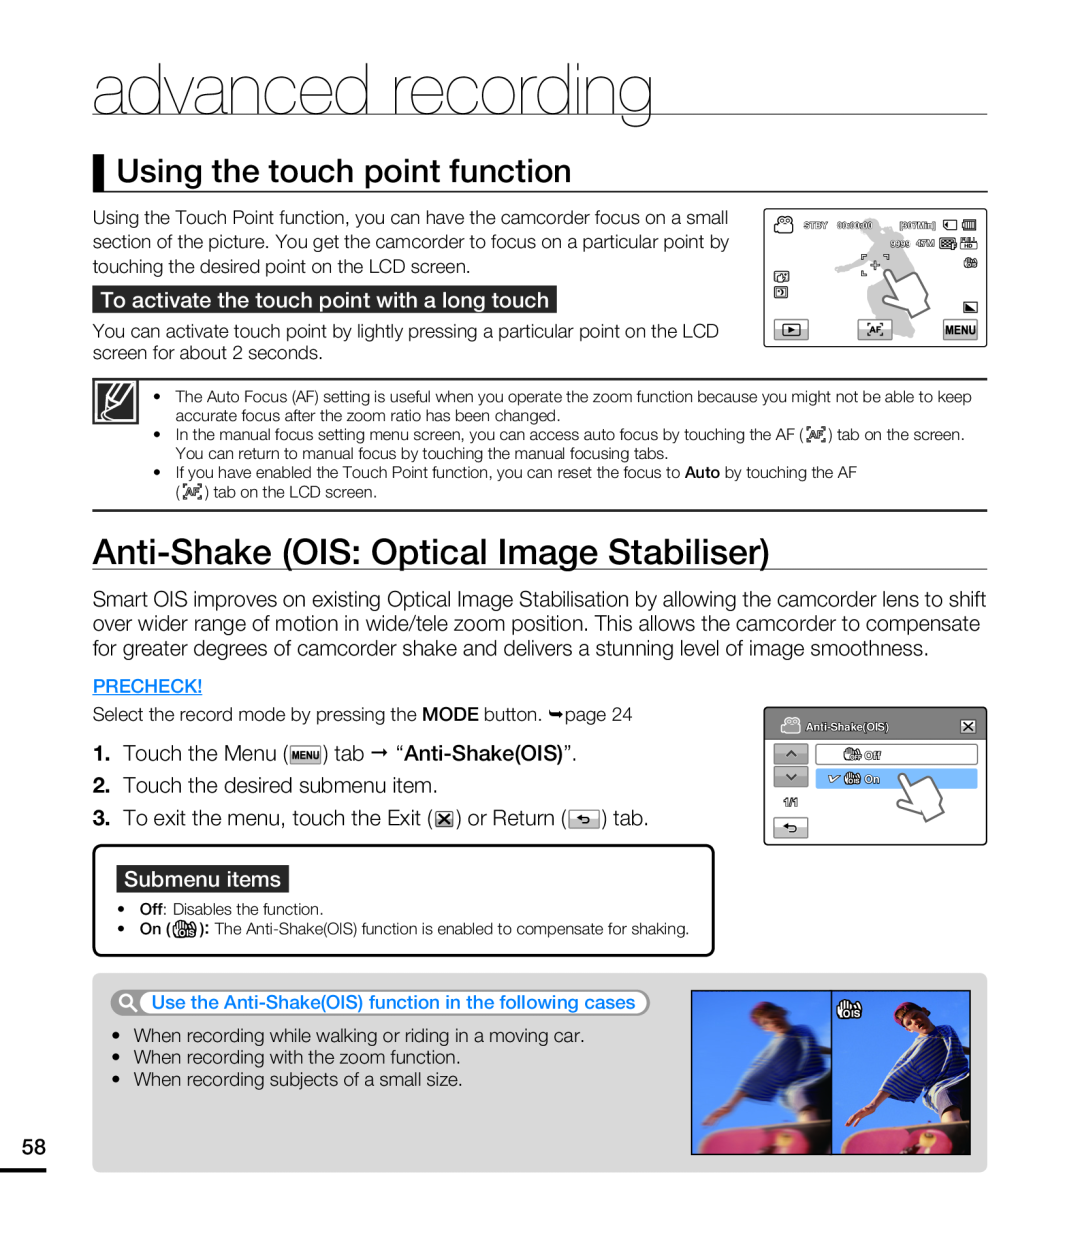 Using the touch point function
Anti-Shake(OIS: Optical Image Stabiliser)
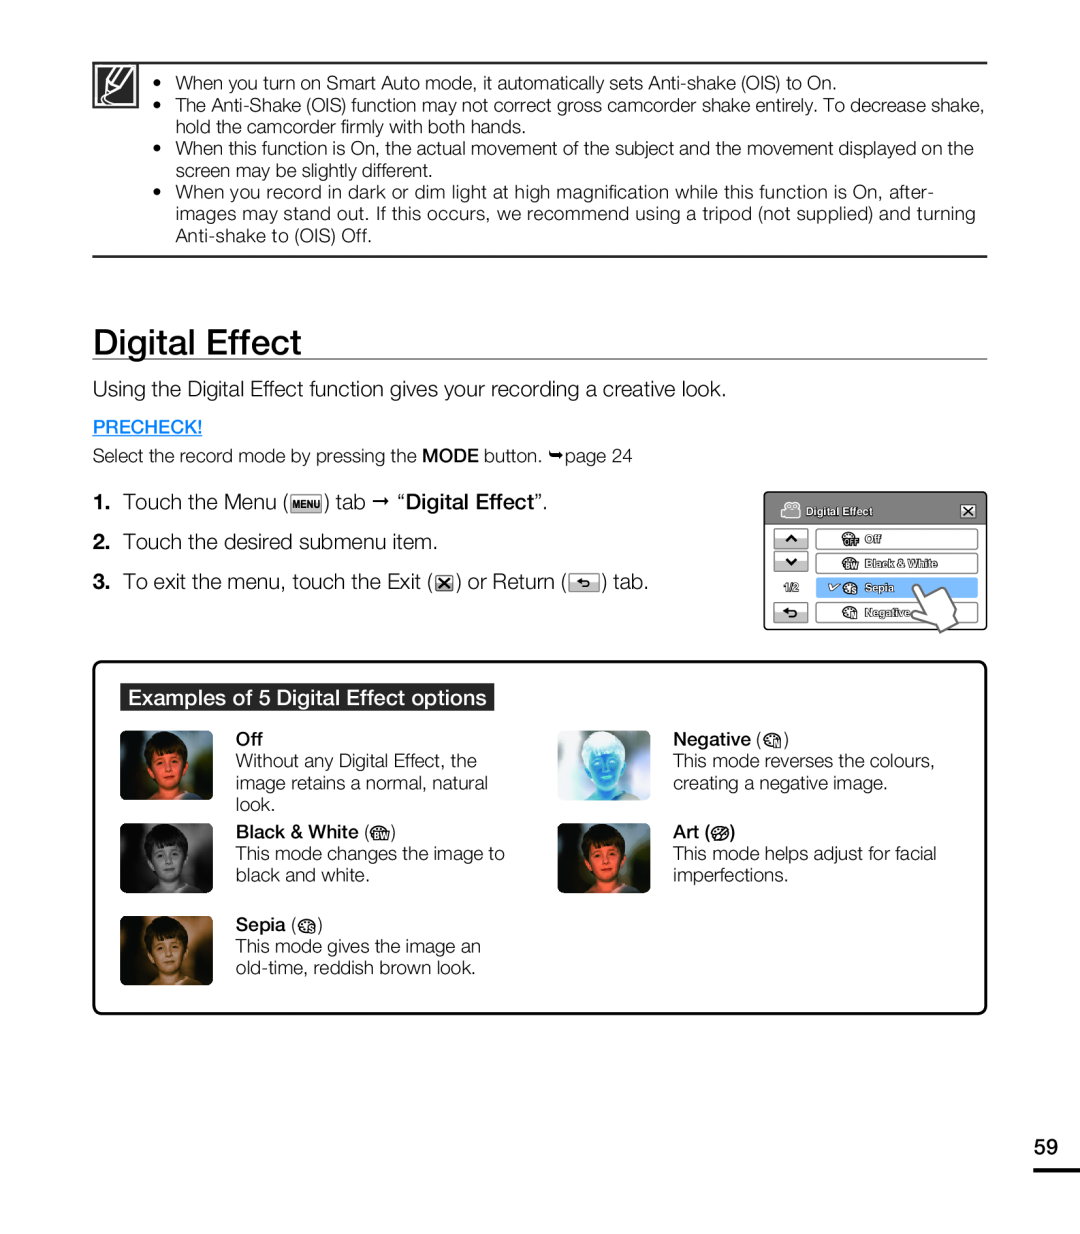 Digital Effect
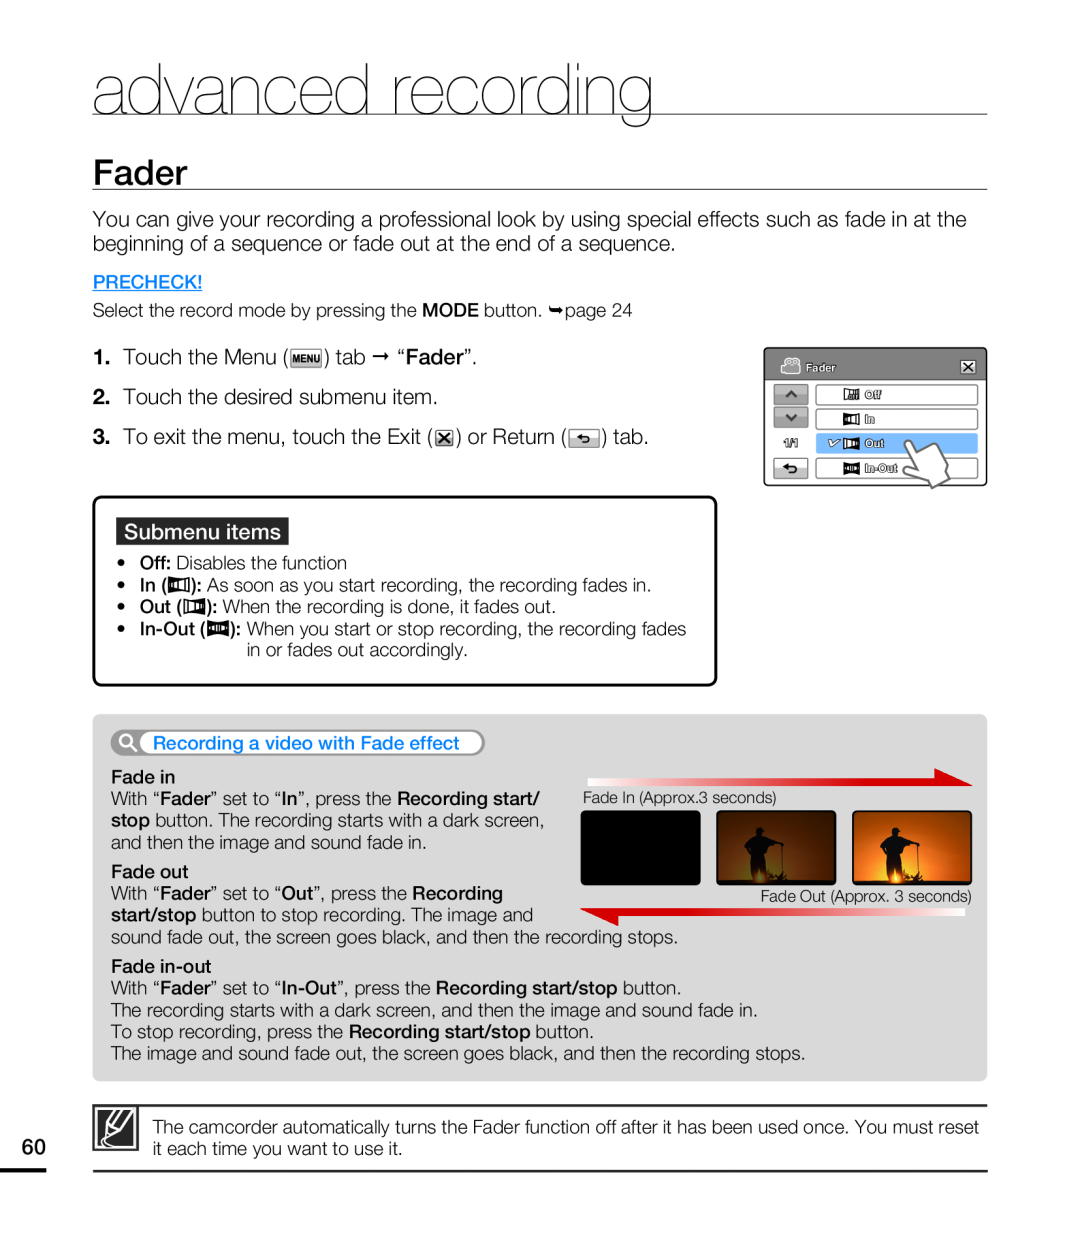 Fader
Fader
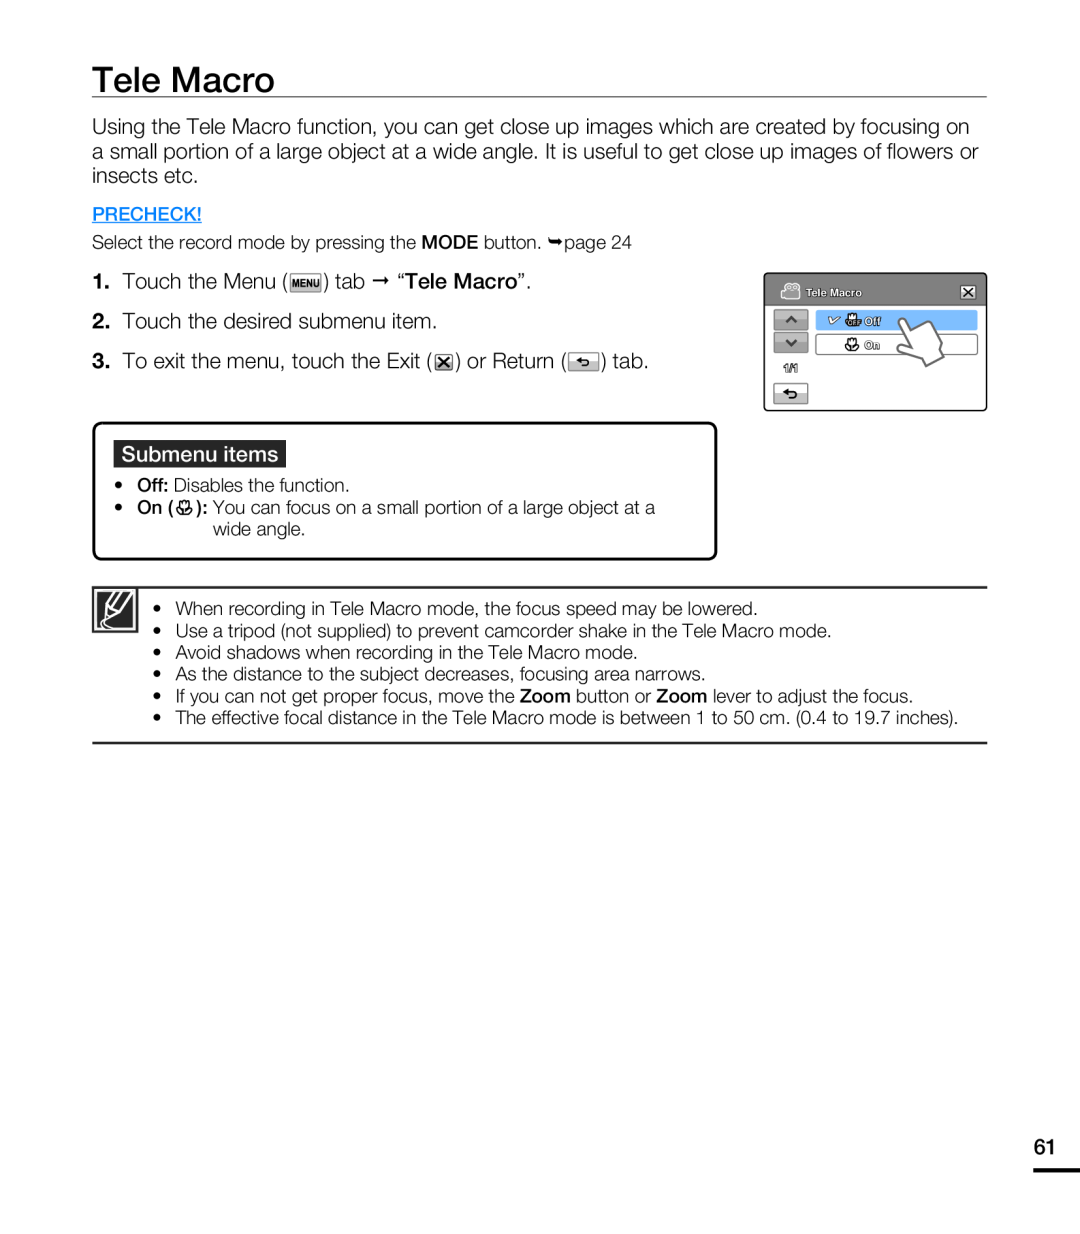 Tele Macro
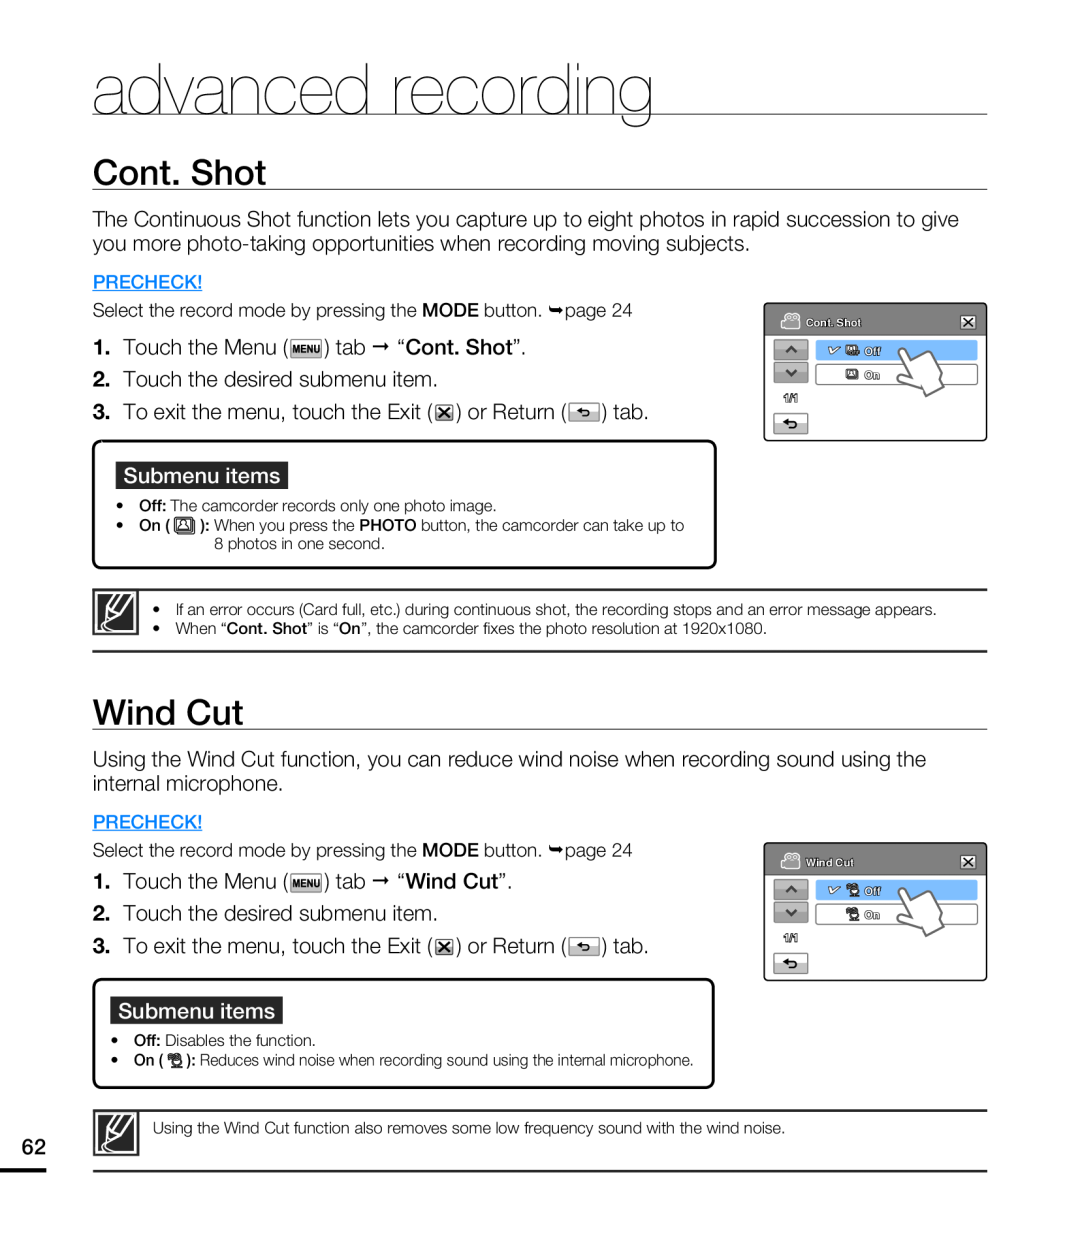 Cont. Shot
Wind Cut
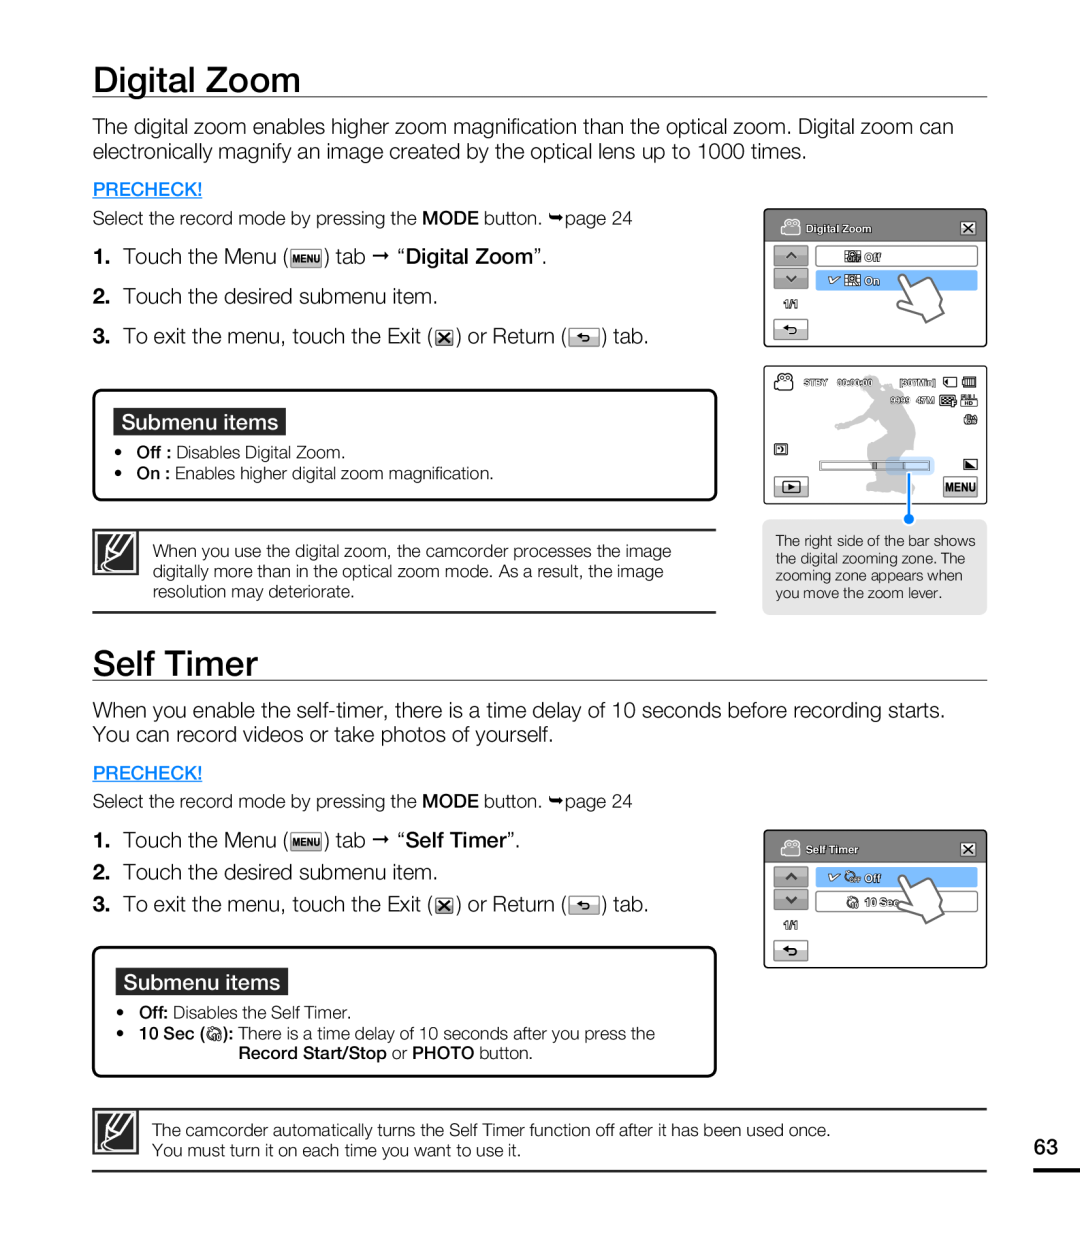 Digital Zoom
Self Timer
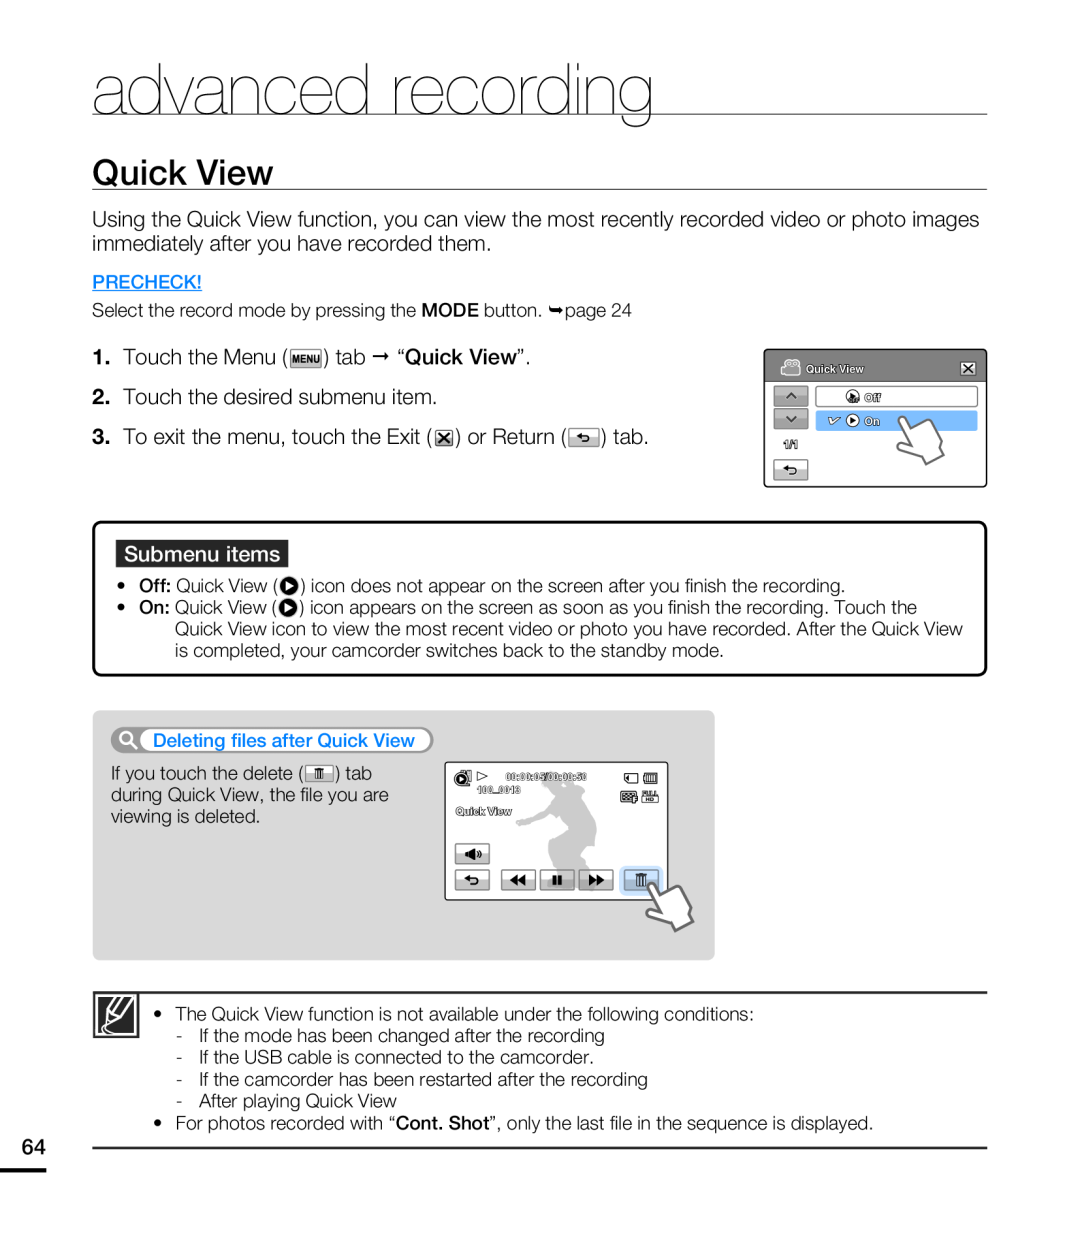 Quick View
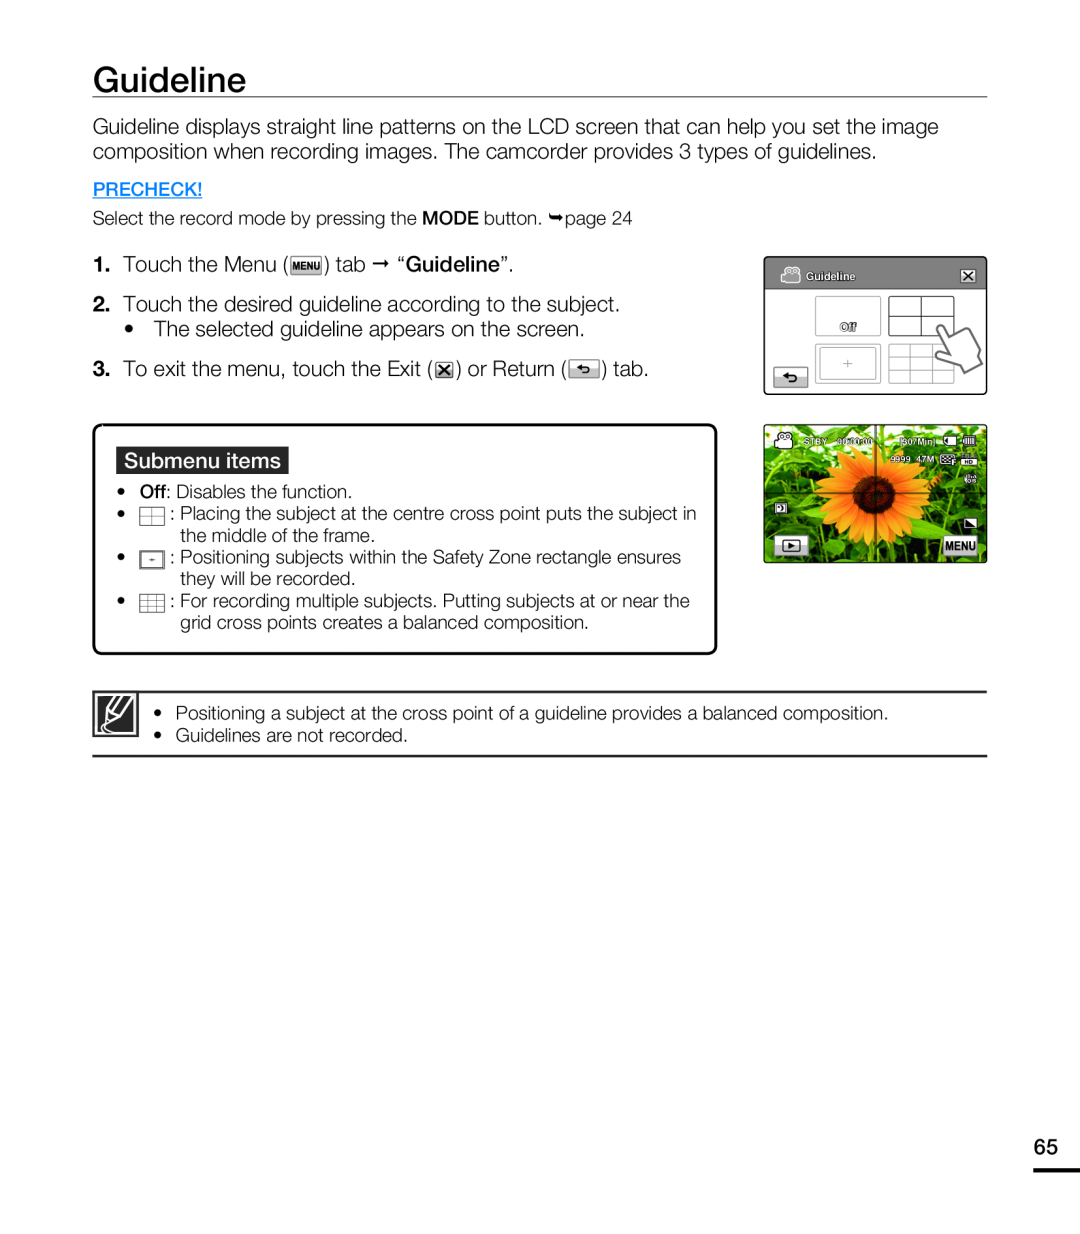 Guideline
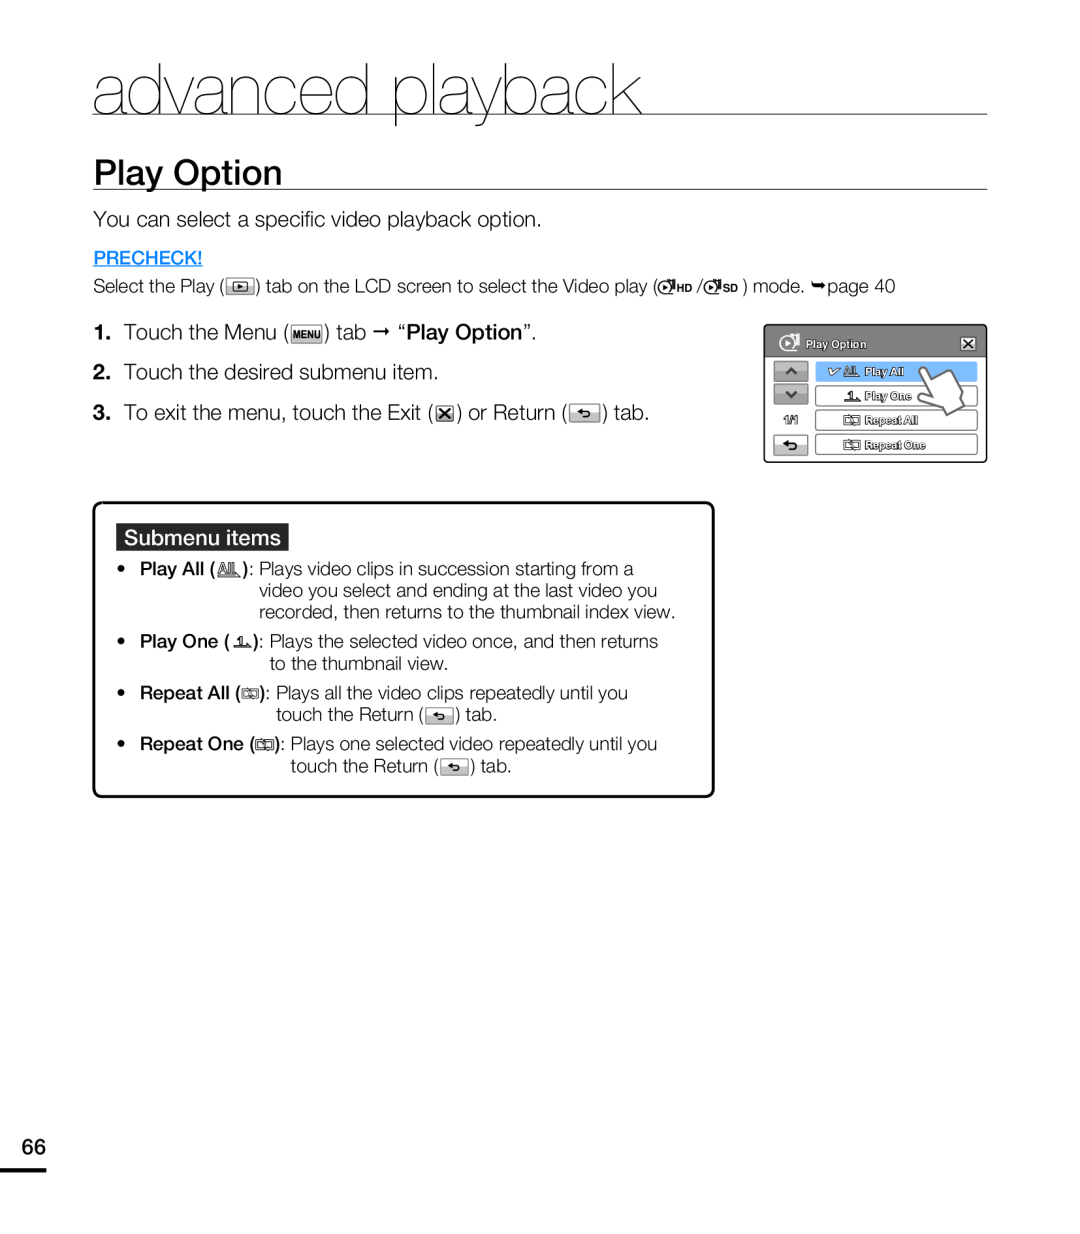 advanced playback
Play Option
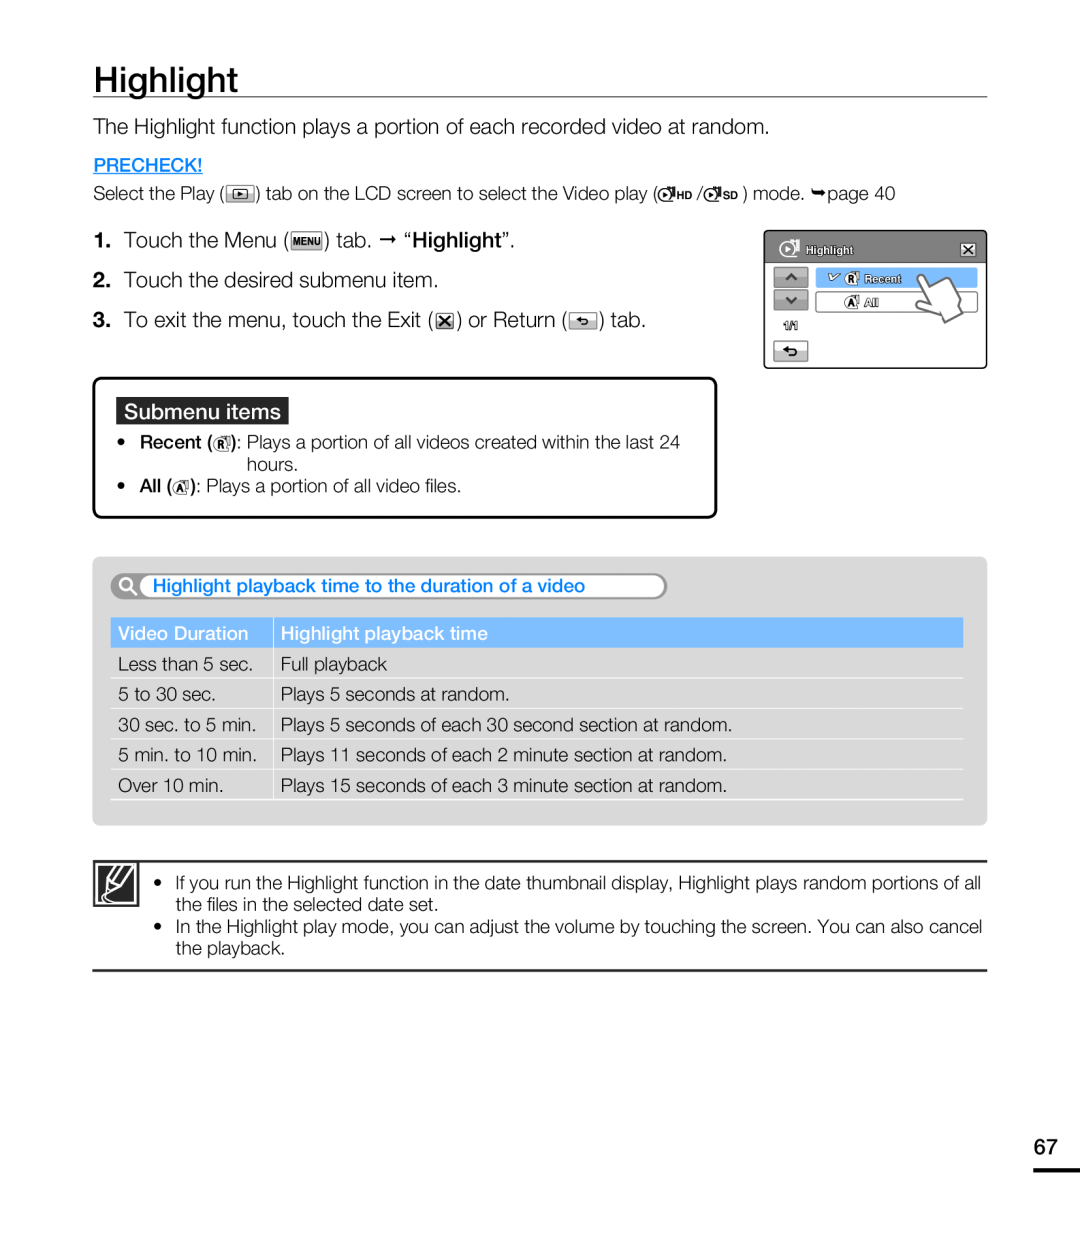 Highlight
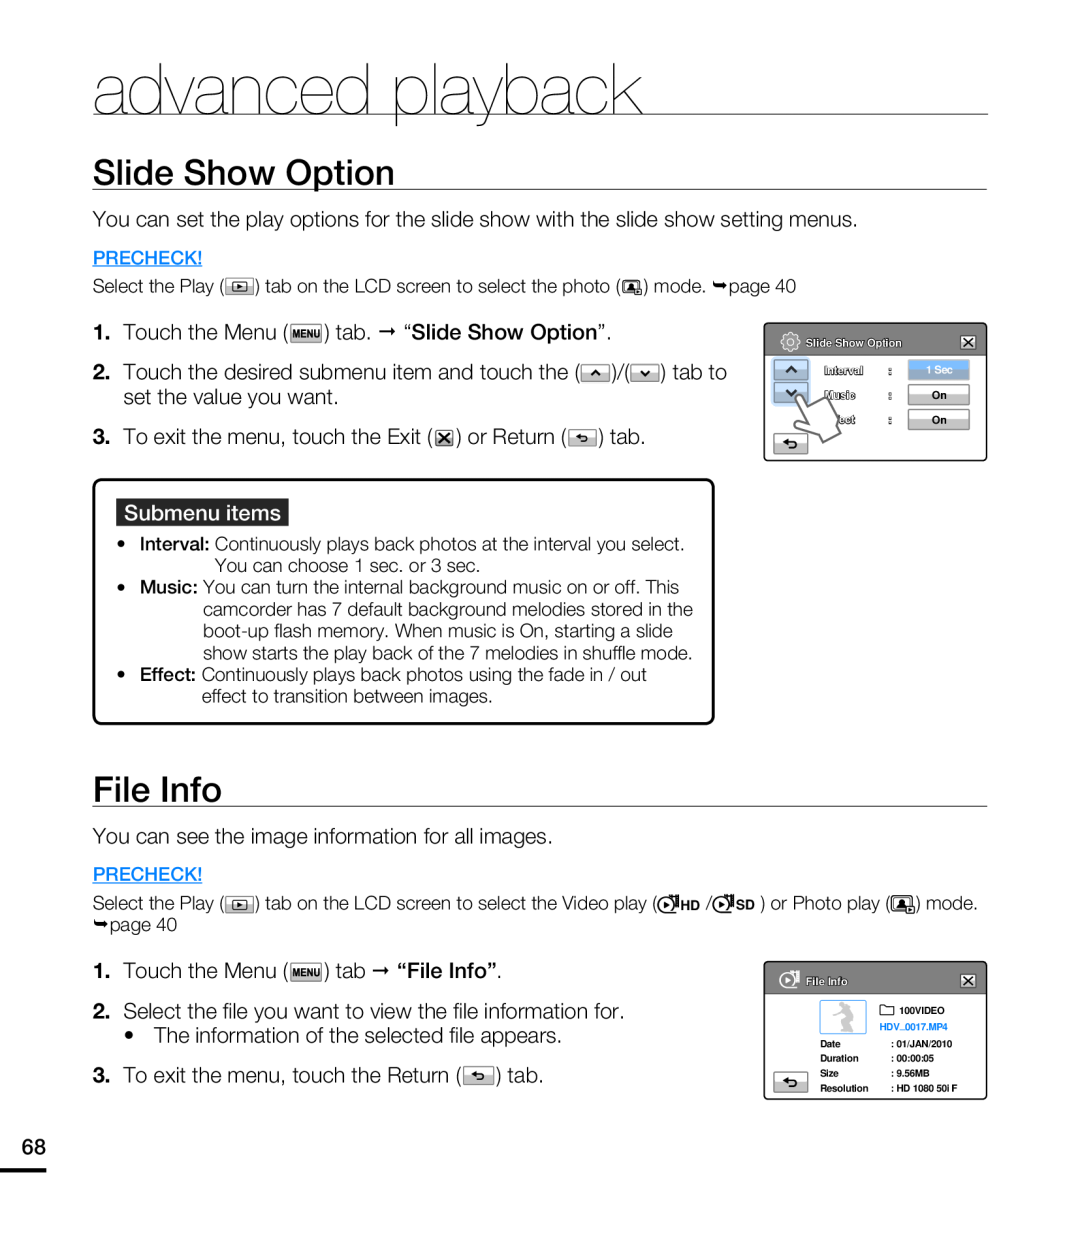 Slide Show Option
File Info
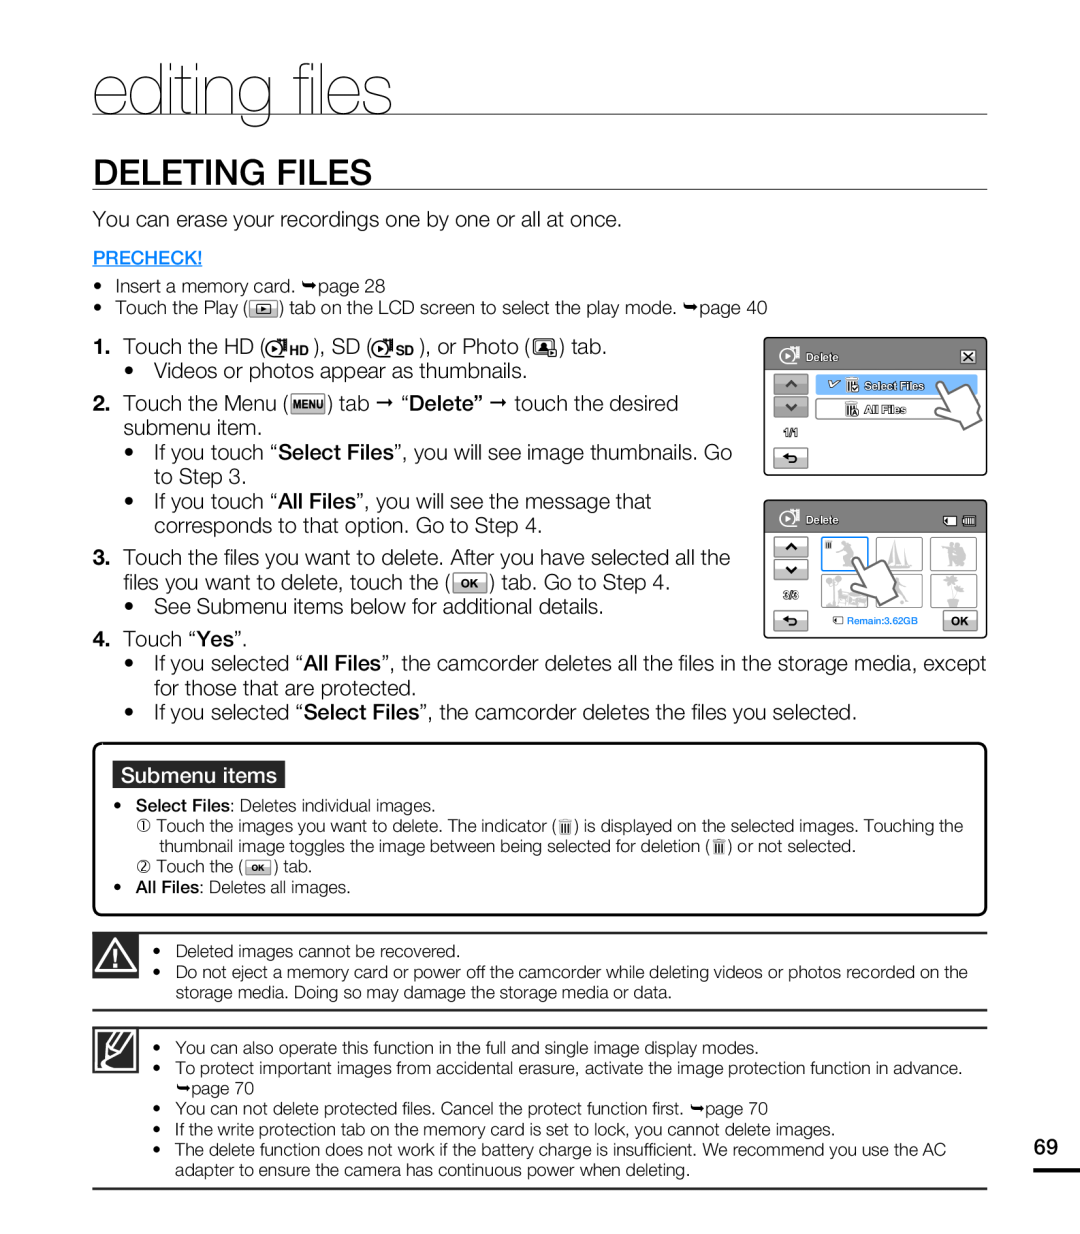 editing fi les
DELETING FILES
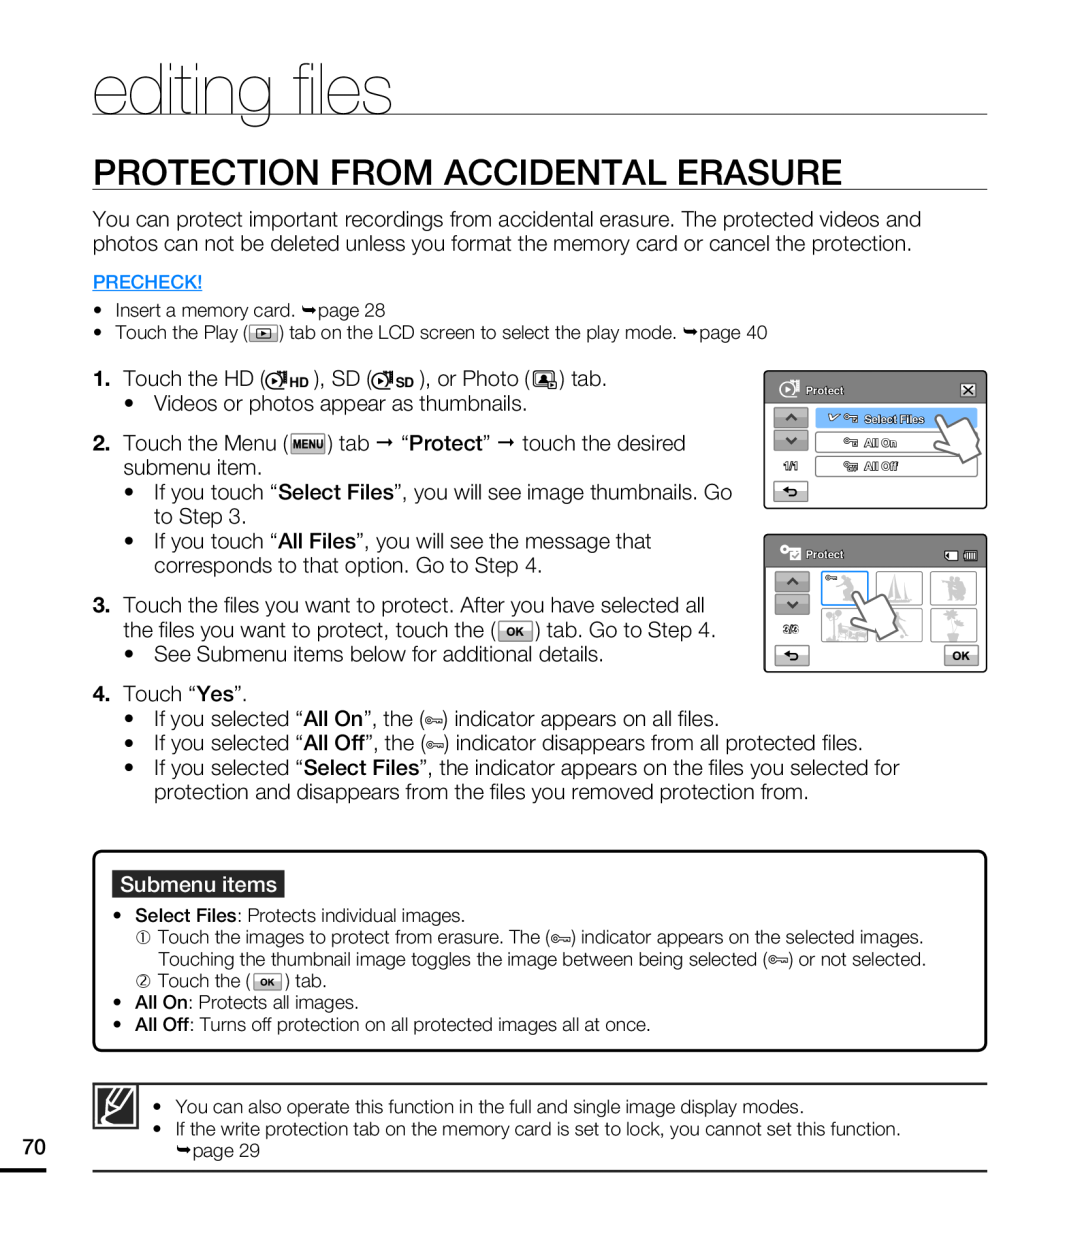 PROTECTION FROM ACCIDENTAL ERASURE
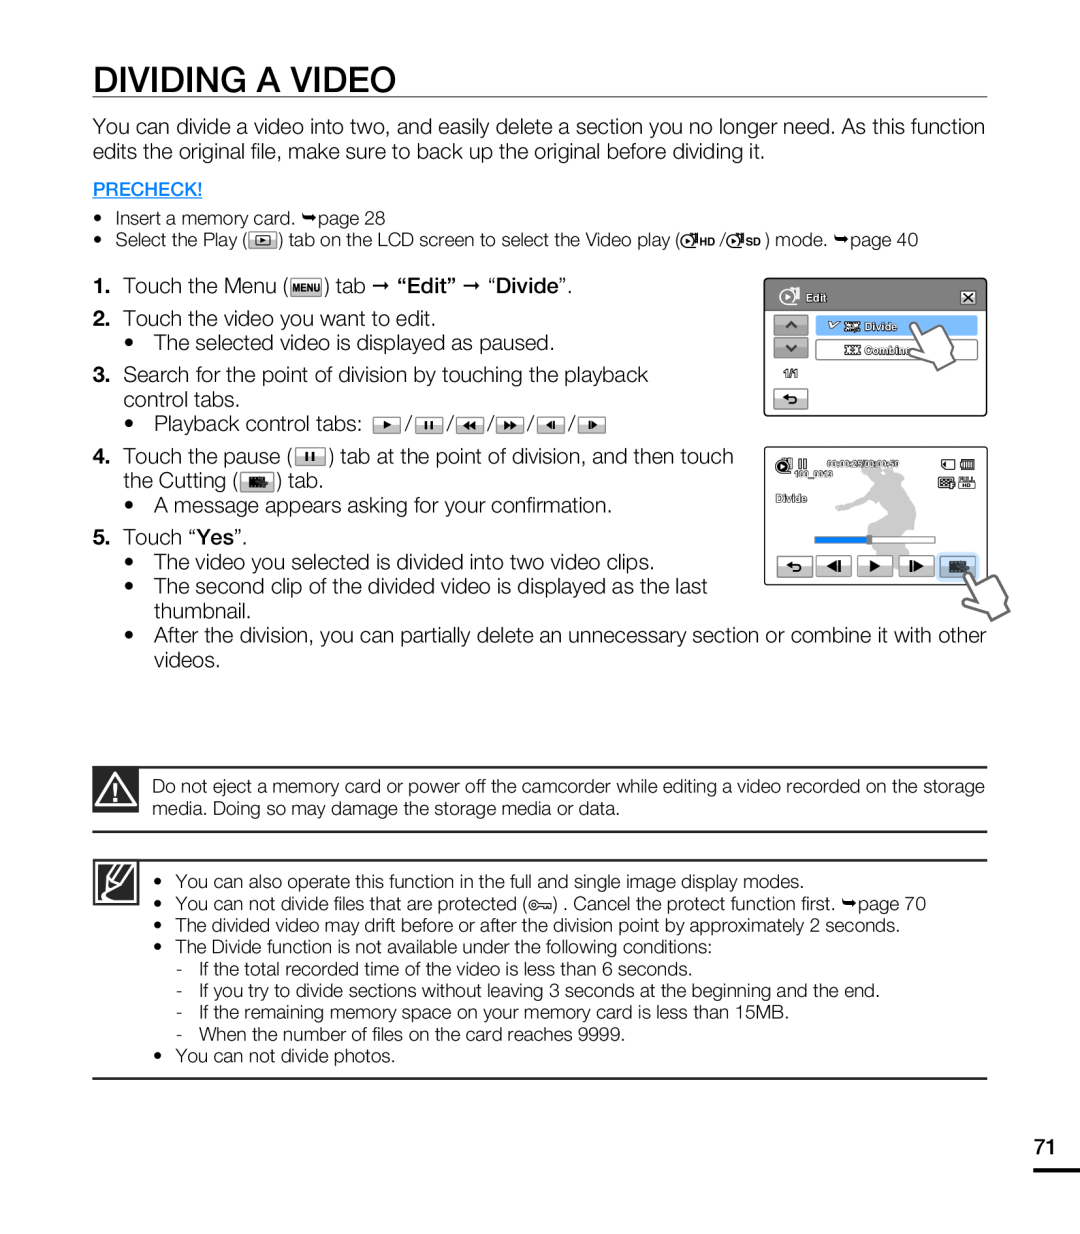 DIVIDING A VIDEO
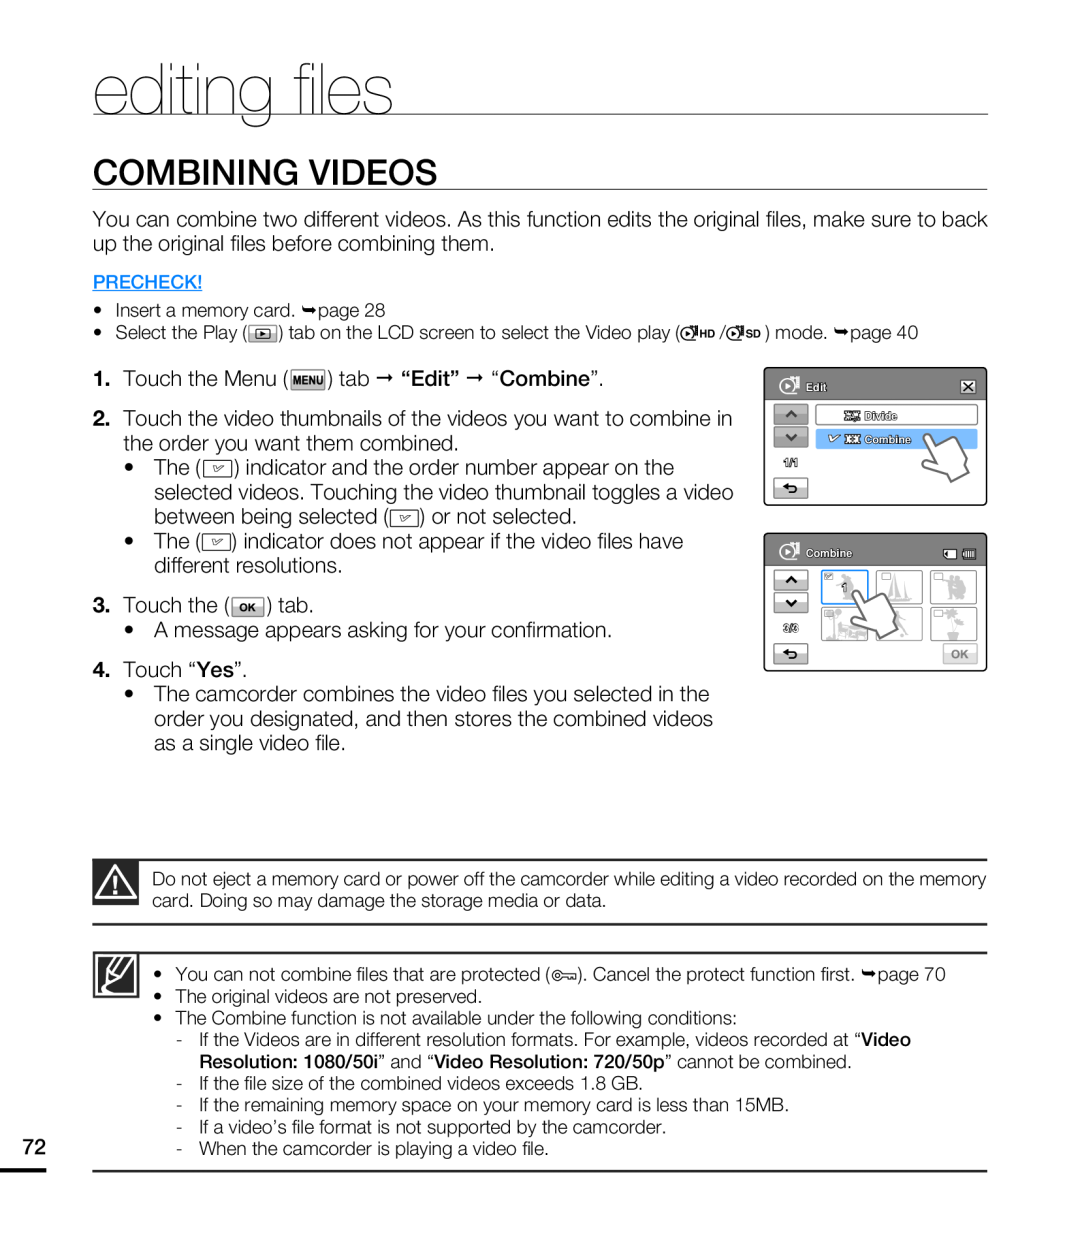 COMBINING VIDEOS
 system setting
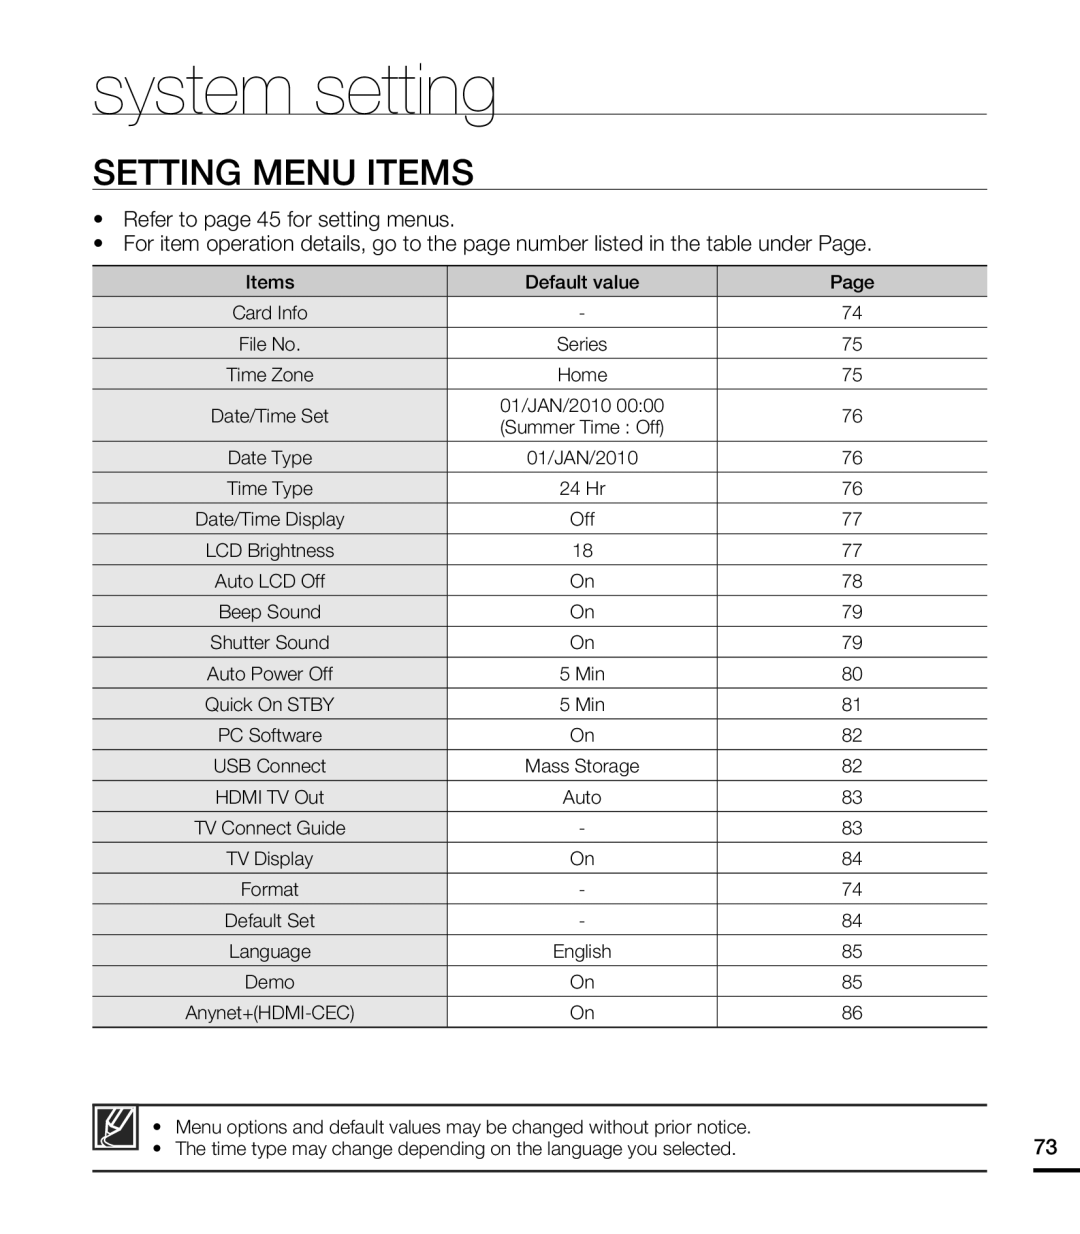
SETTING MENU ITEMS
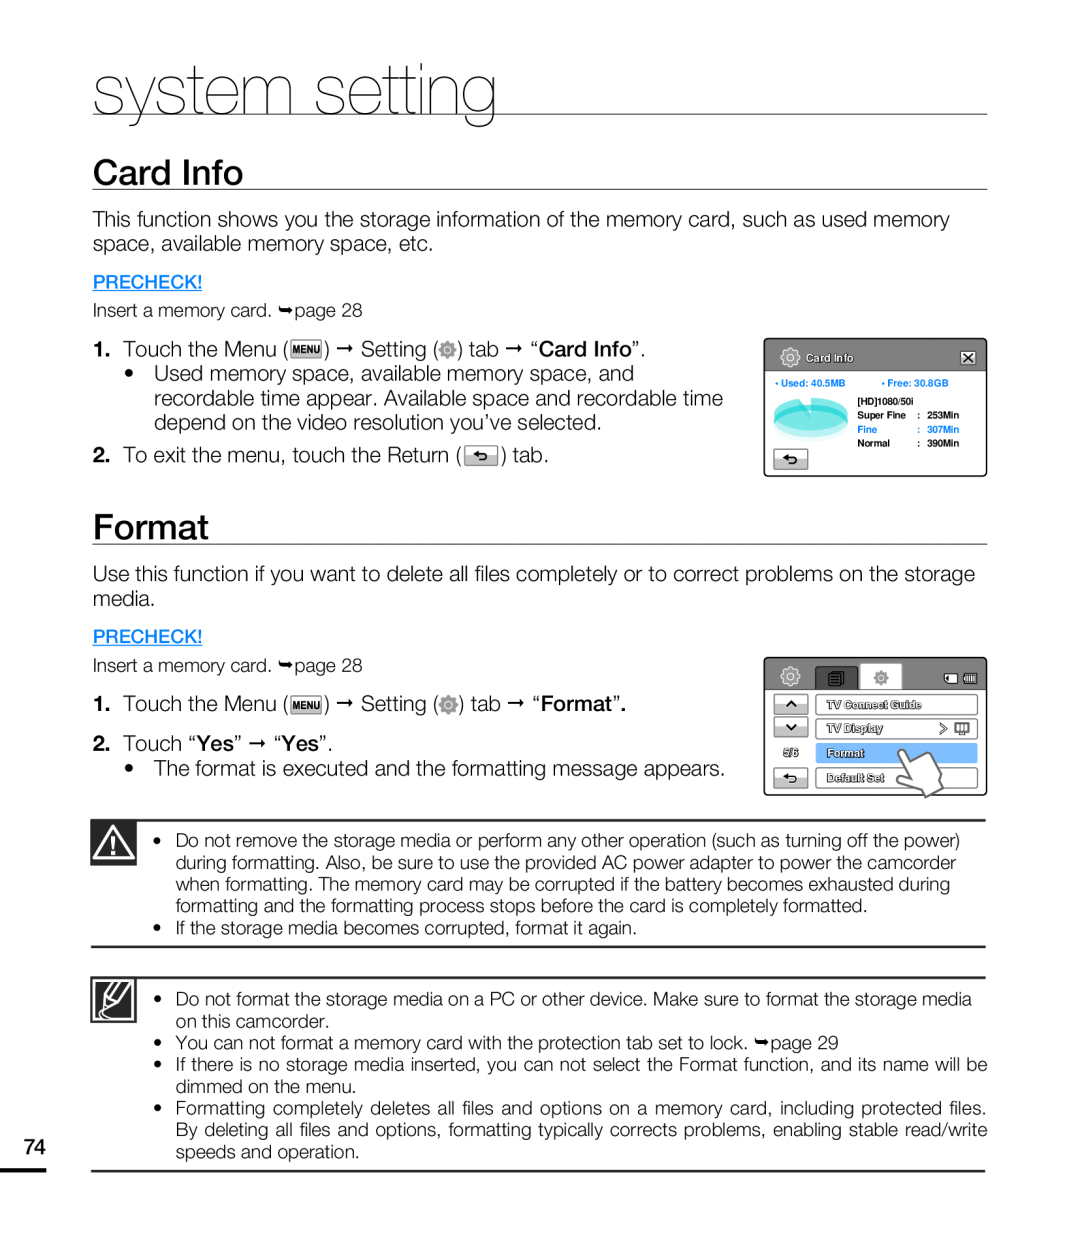 Card Info
Format
 File No
Time Zone
Setting the local time
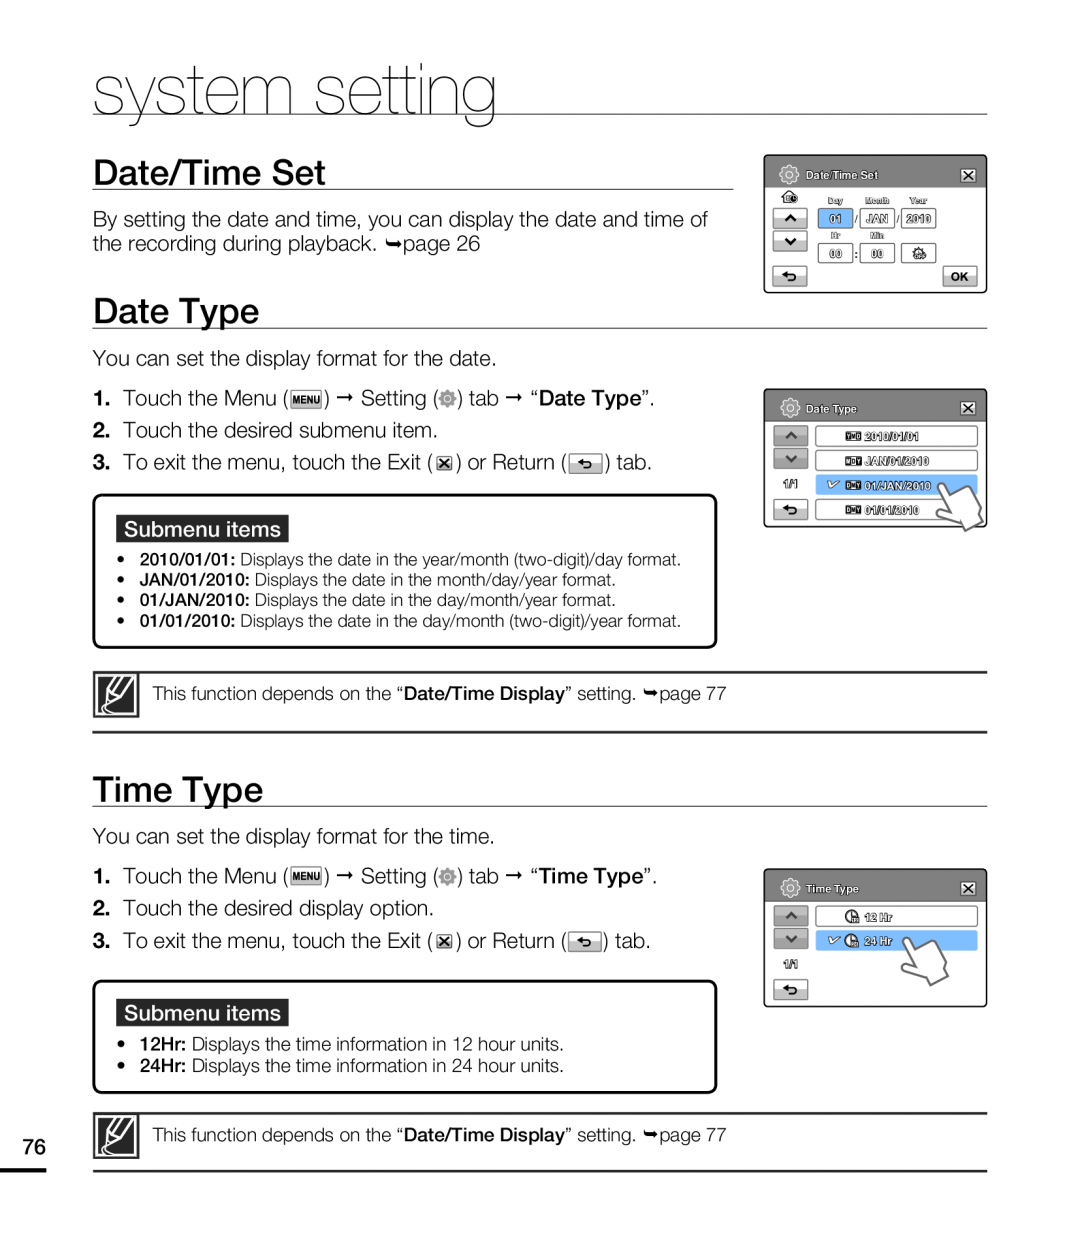 Date/Time Set
Date Type
Time Type
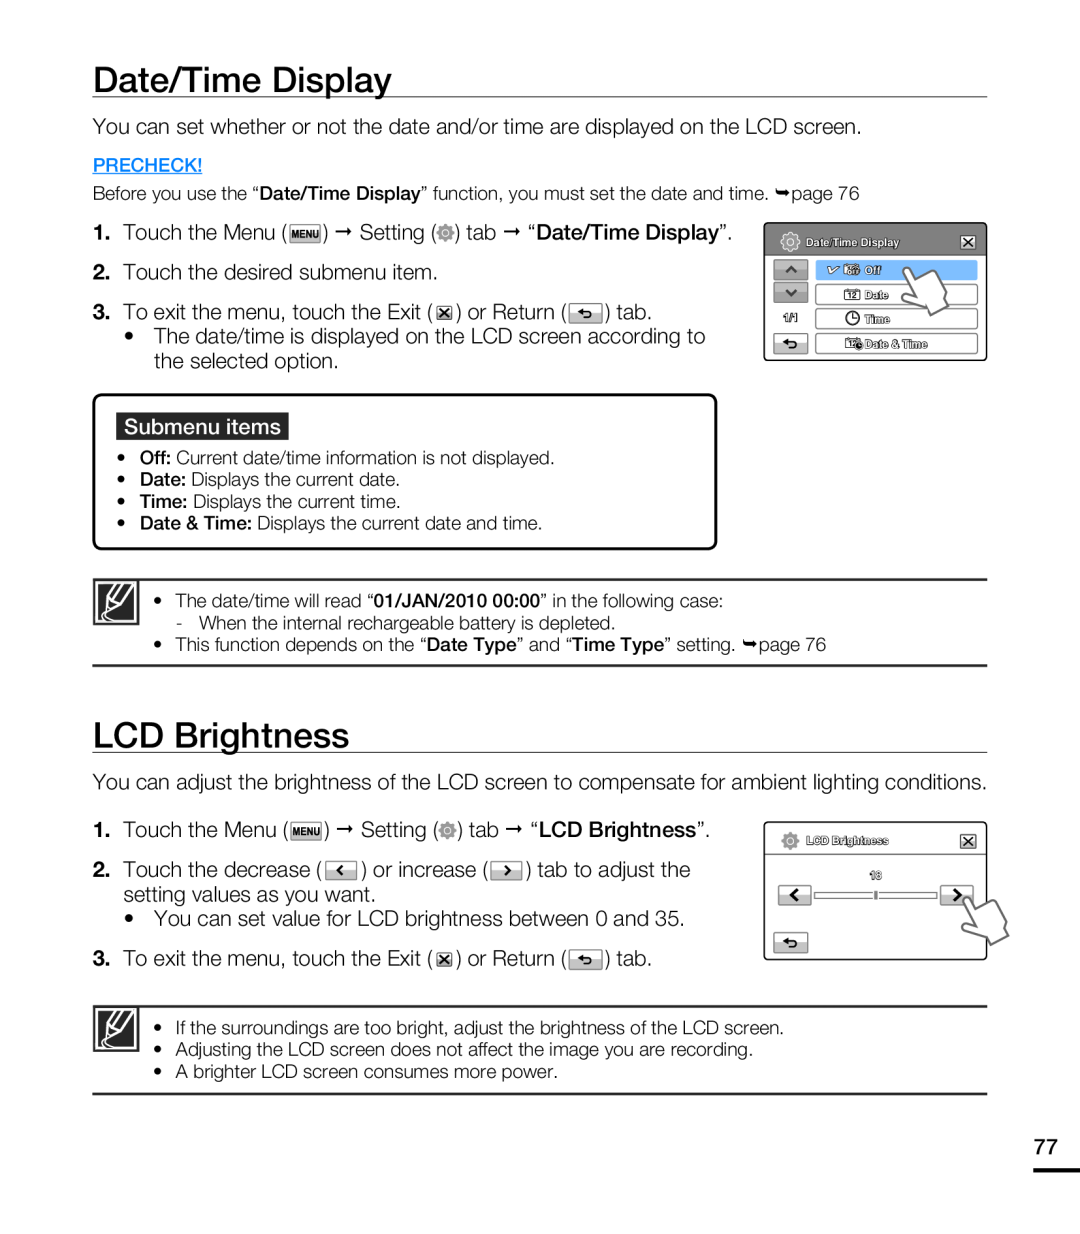 Date/Time Display
LCD Brightness
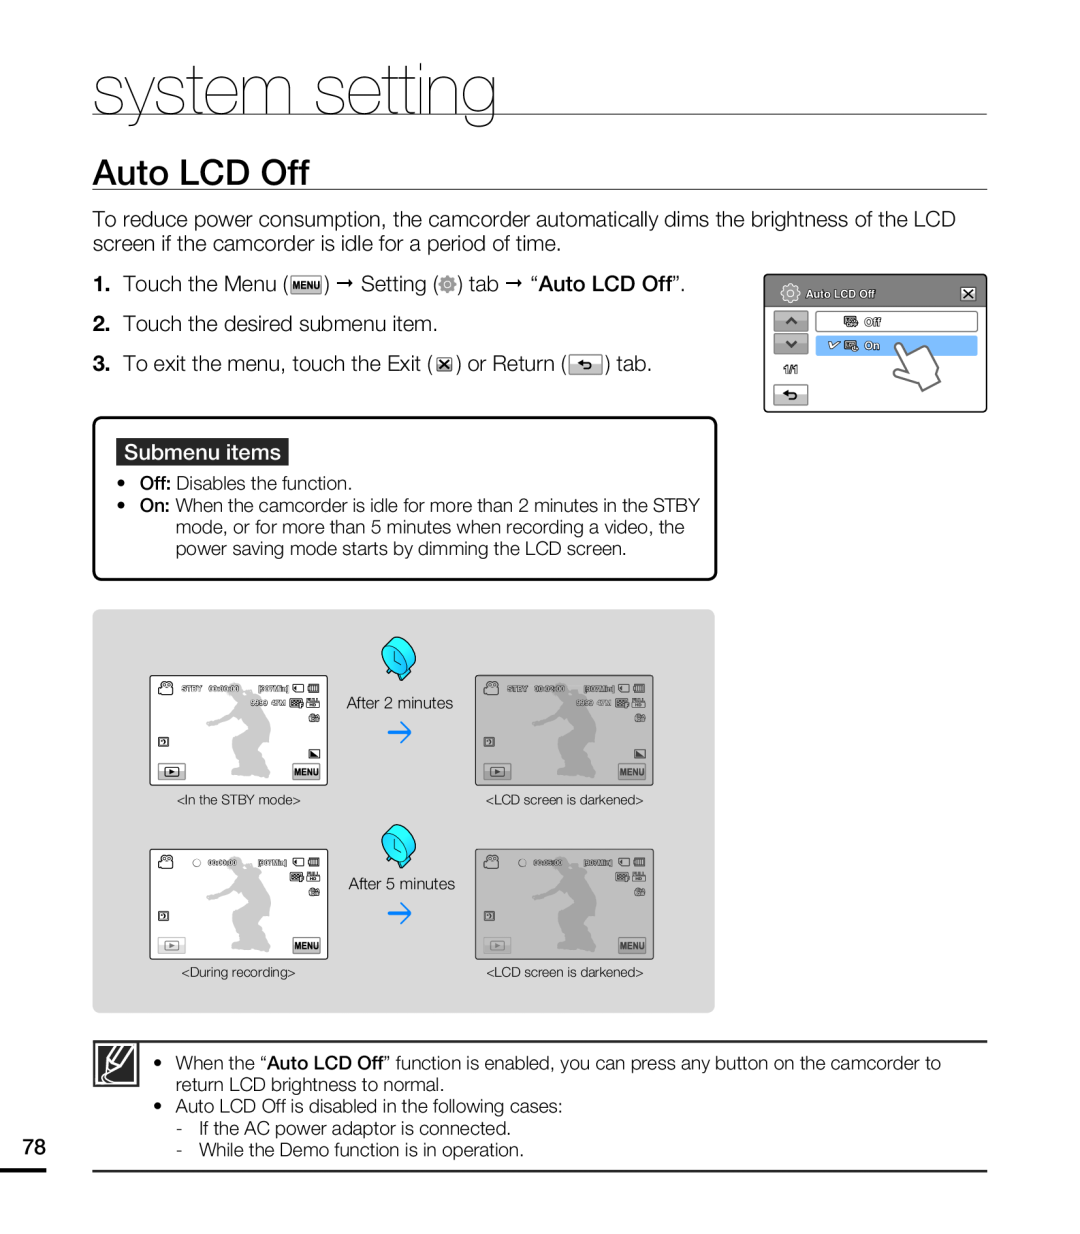 Auto LCD Off
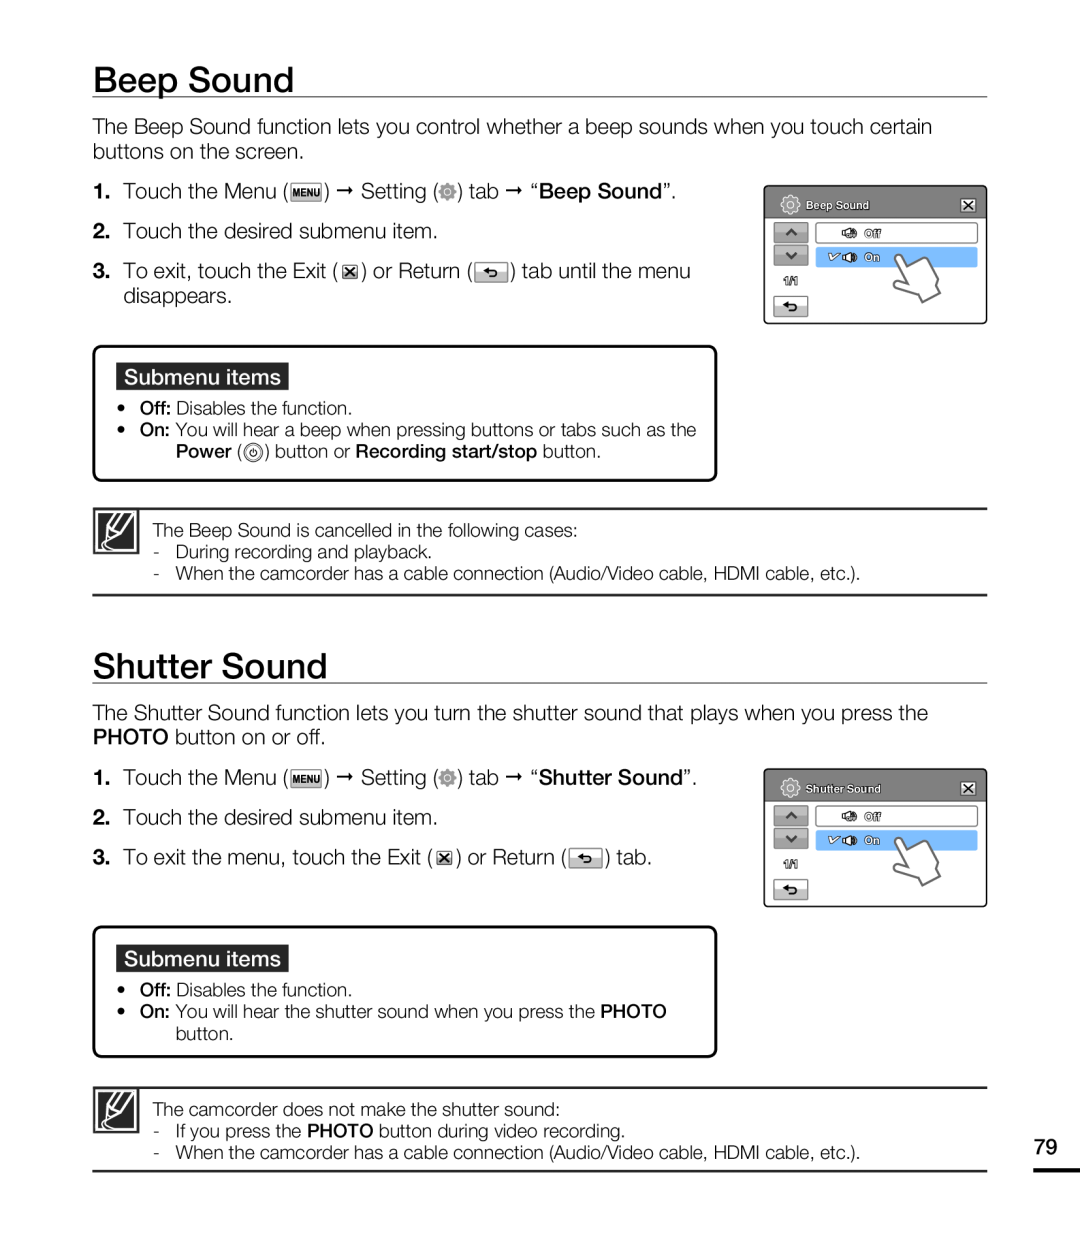 Beep Sound
Shutter Sound
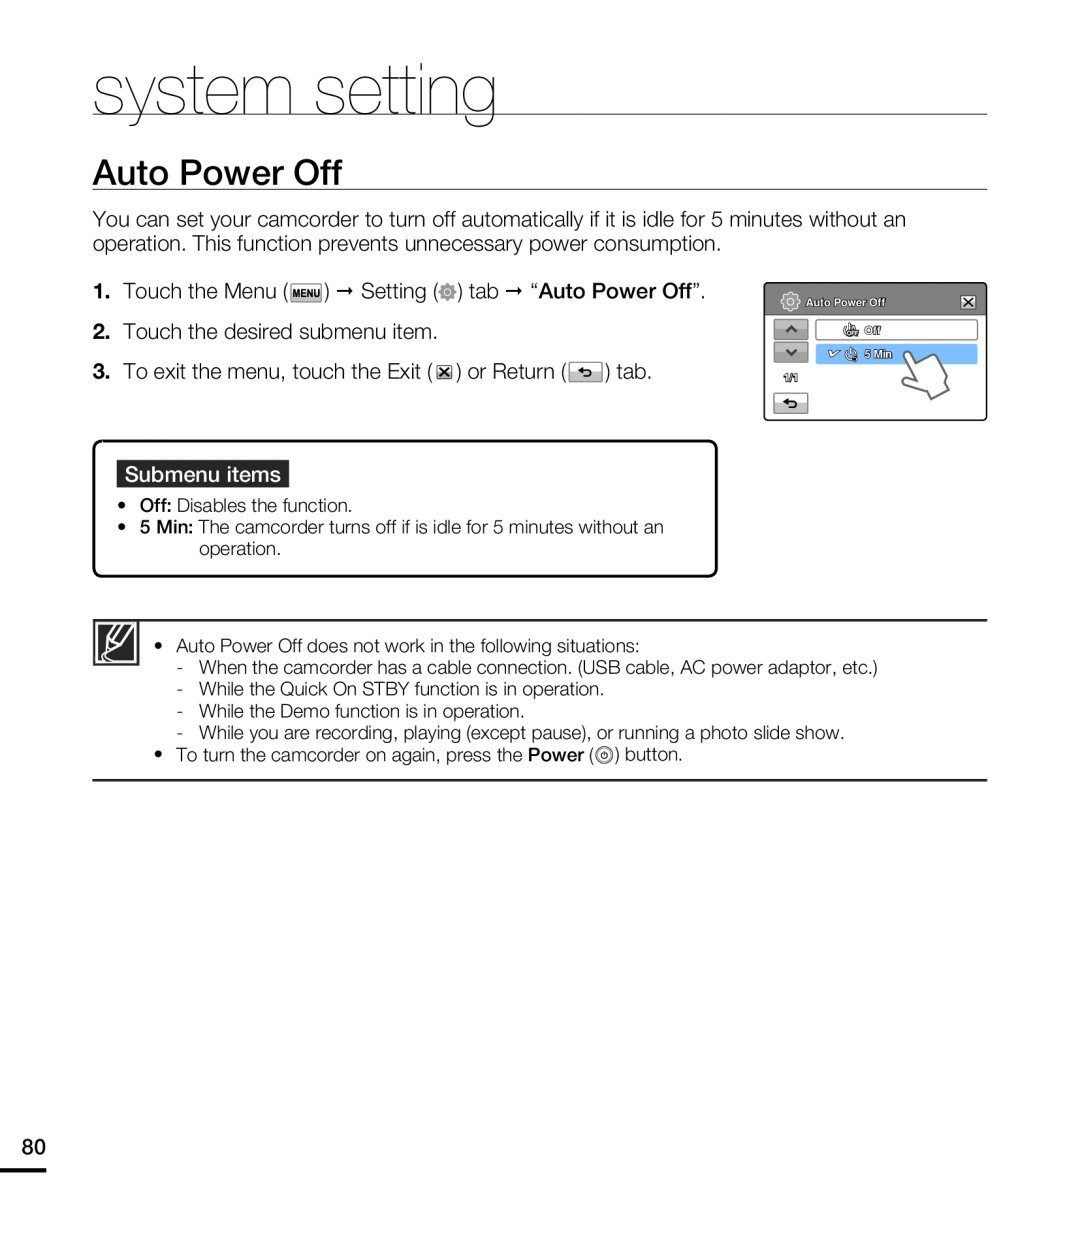 Auto Power Off
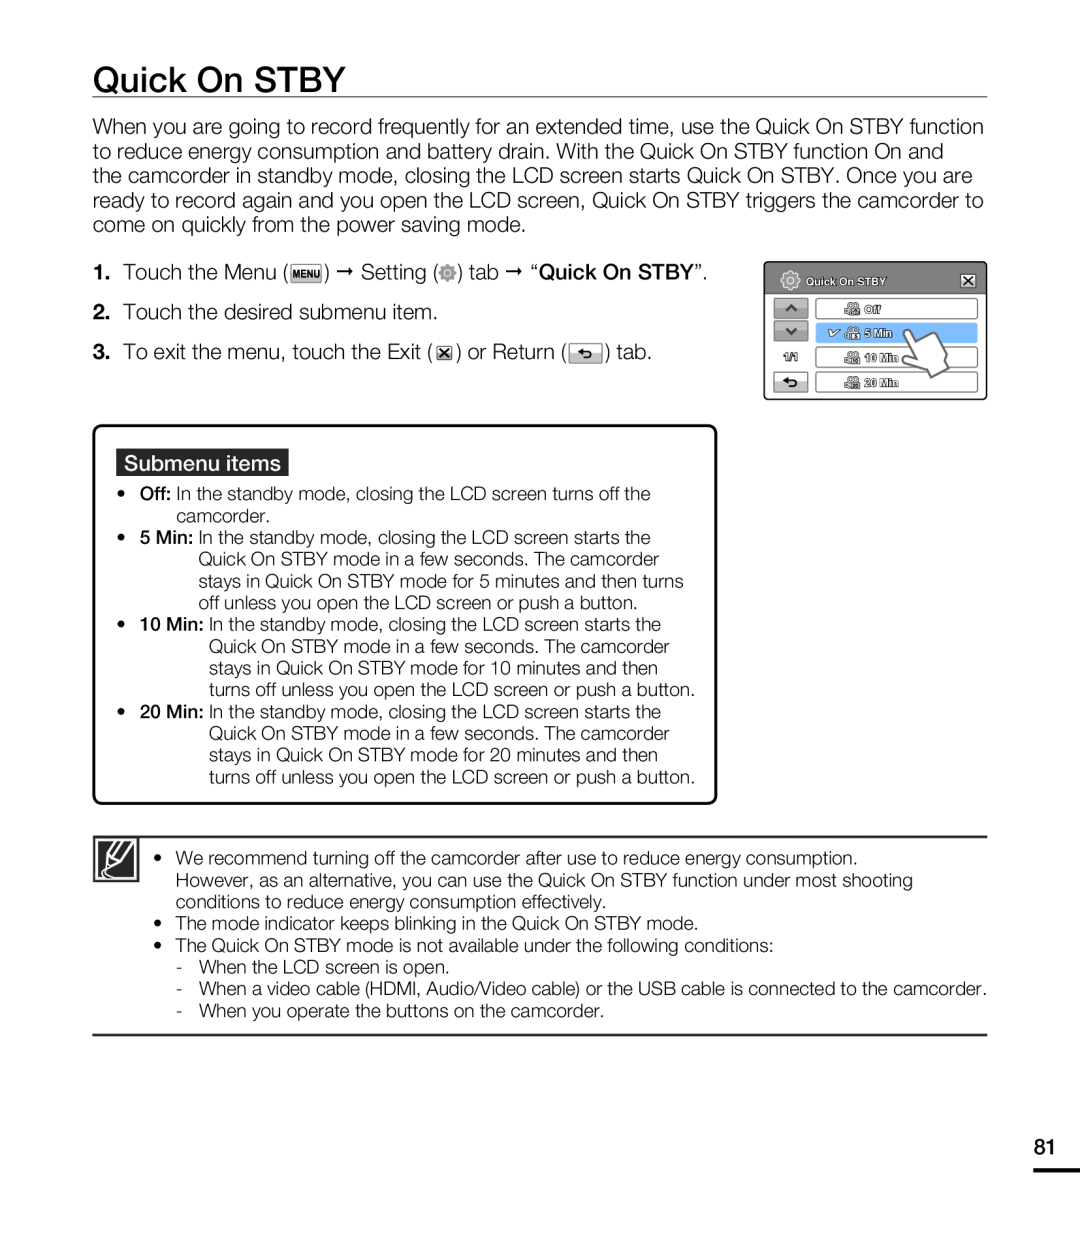 Quick On STBY
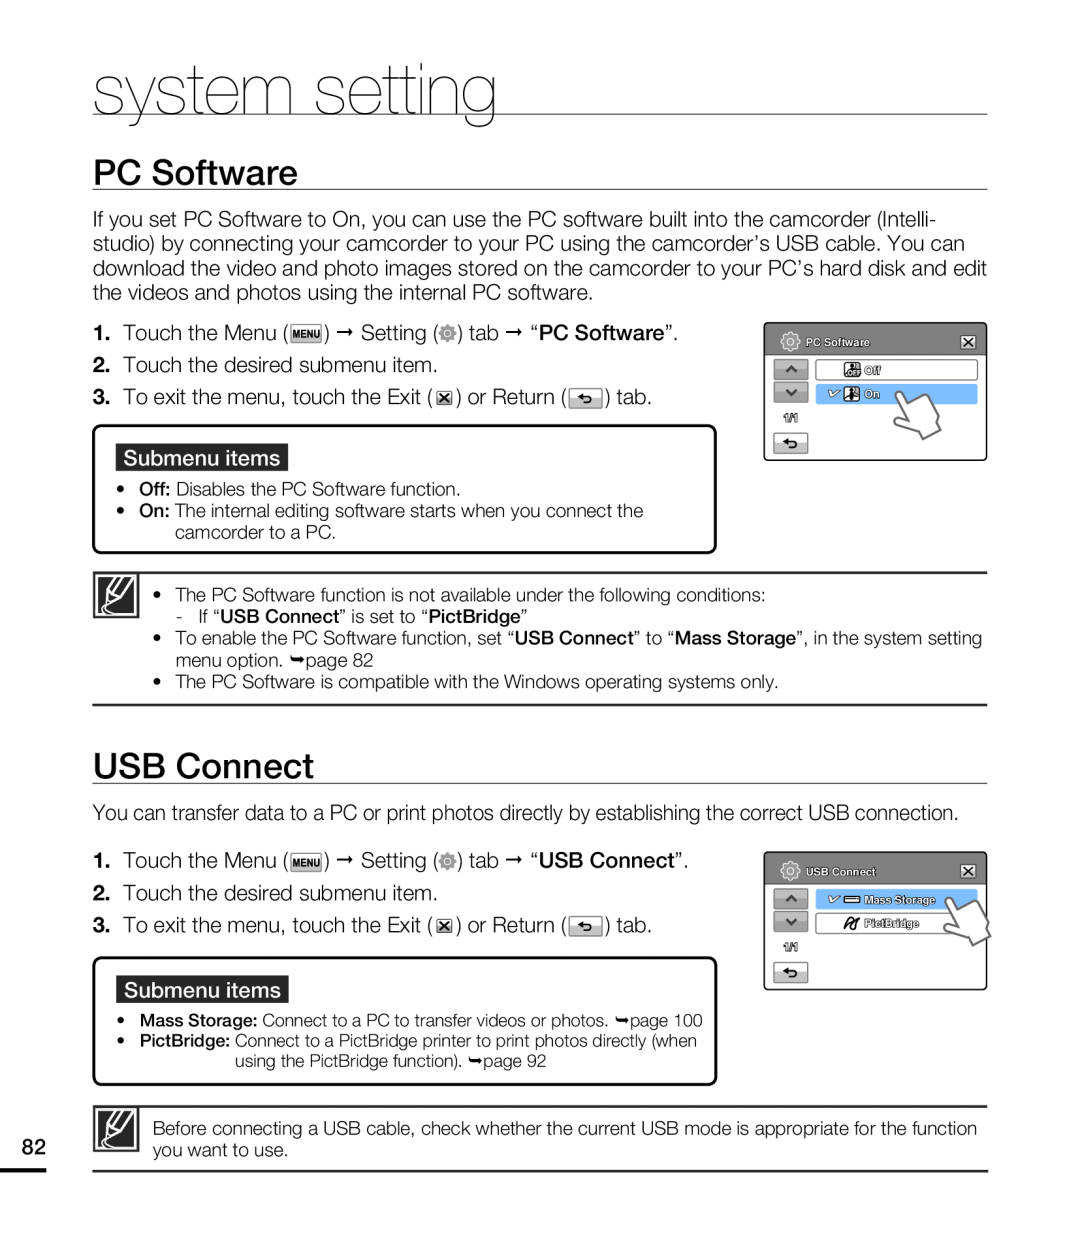 PC Software
USB Connect
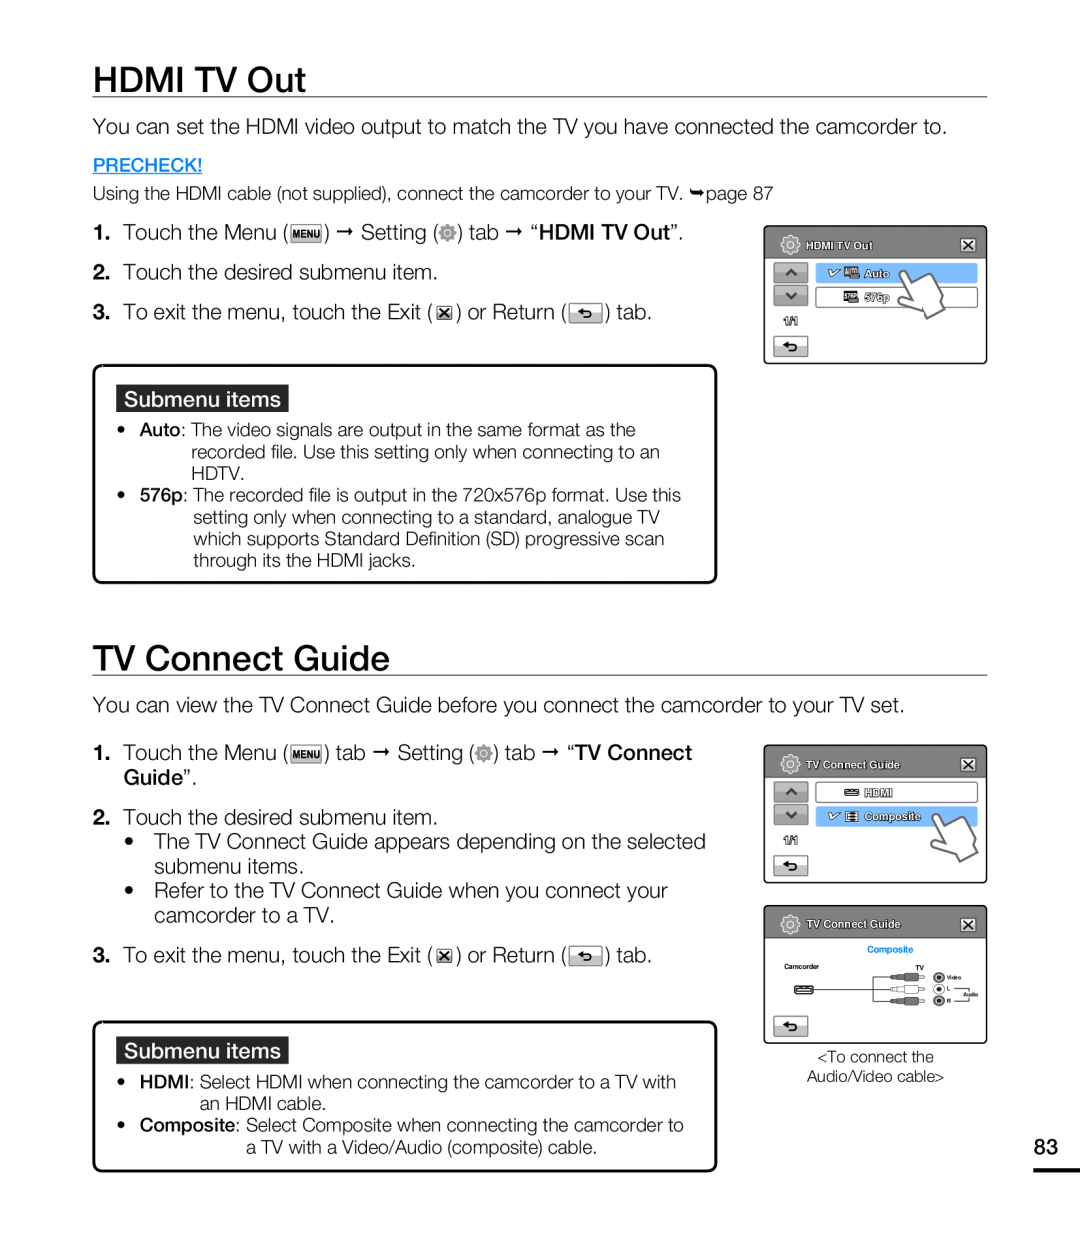 HDMI TV Out
TV Connect Guide
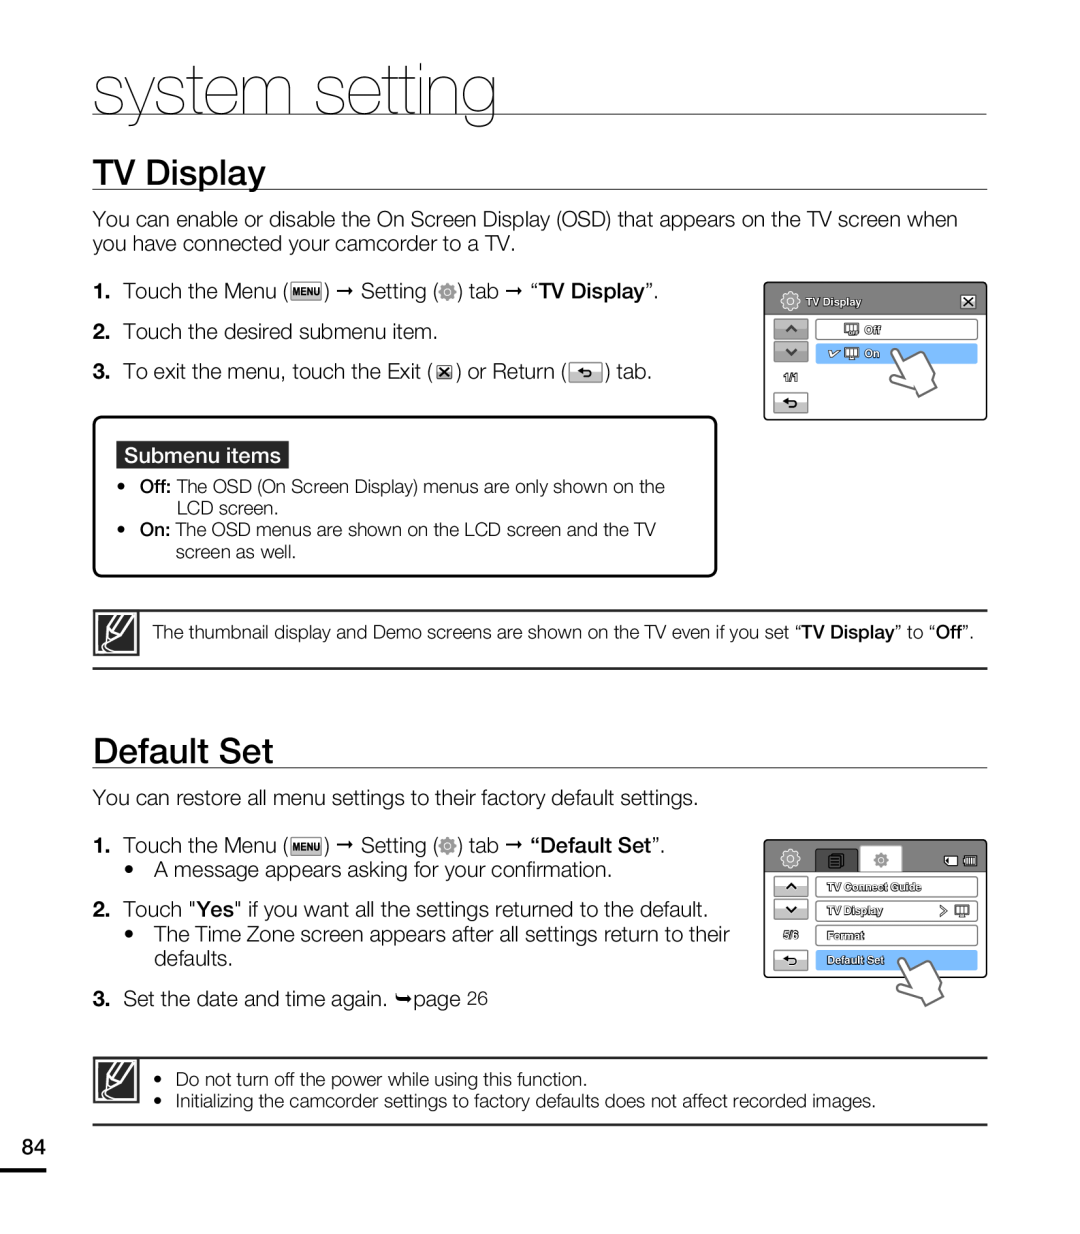 TV Display
Default Set
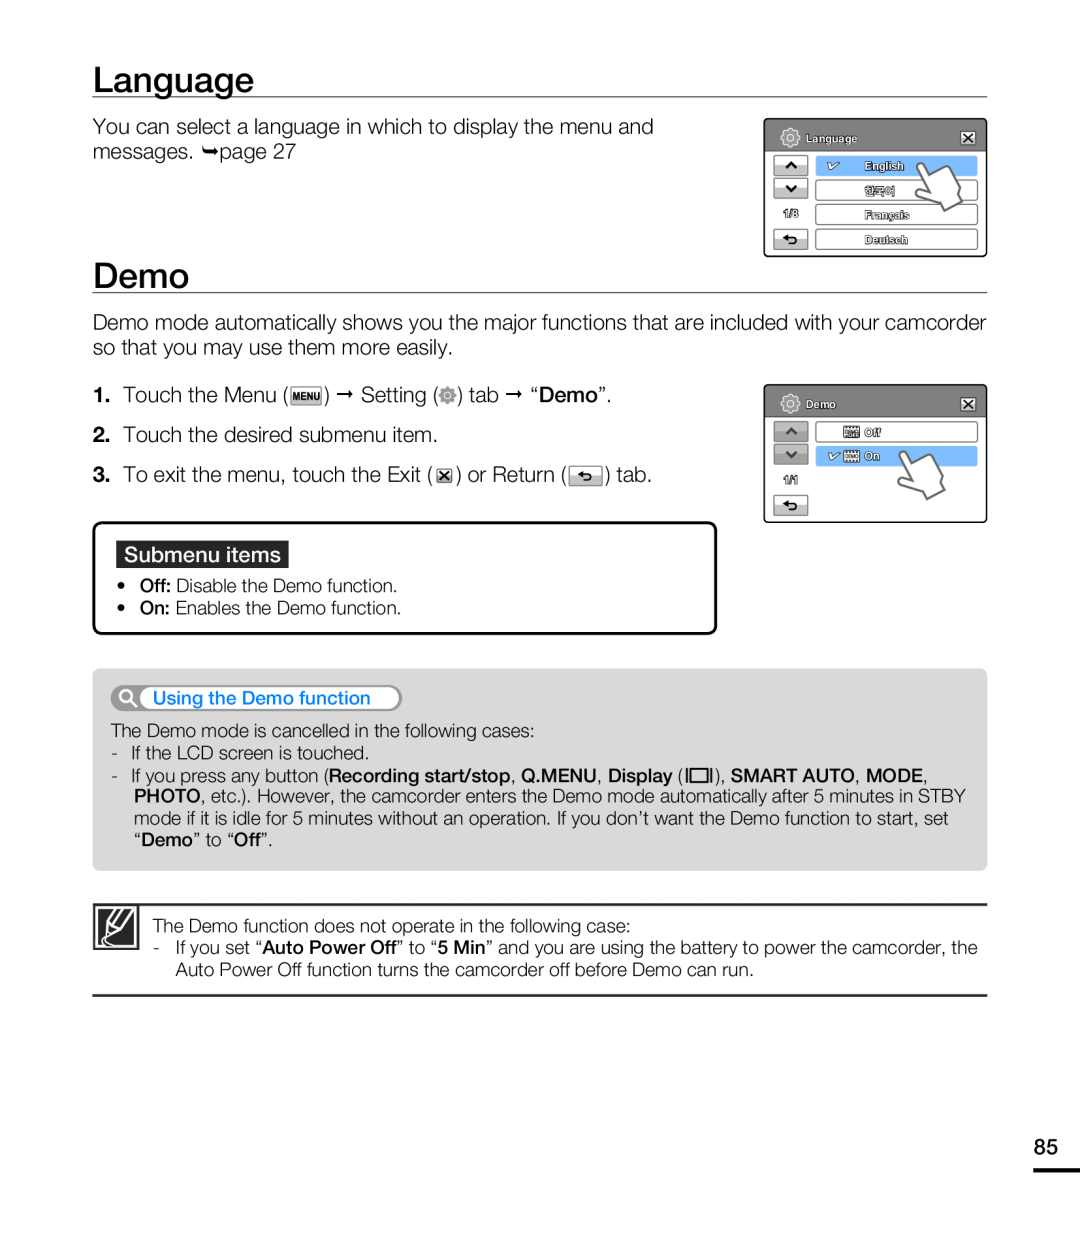 Language
Demo
 Anynet+ (HDMI-CEC)
 connecting to a TV
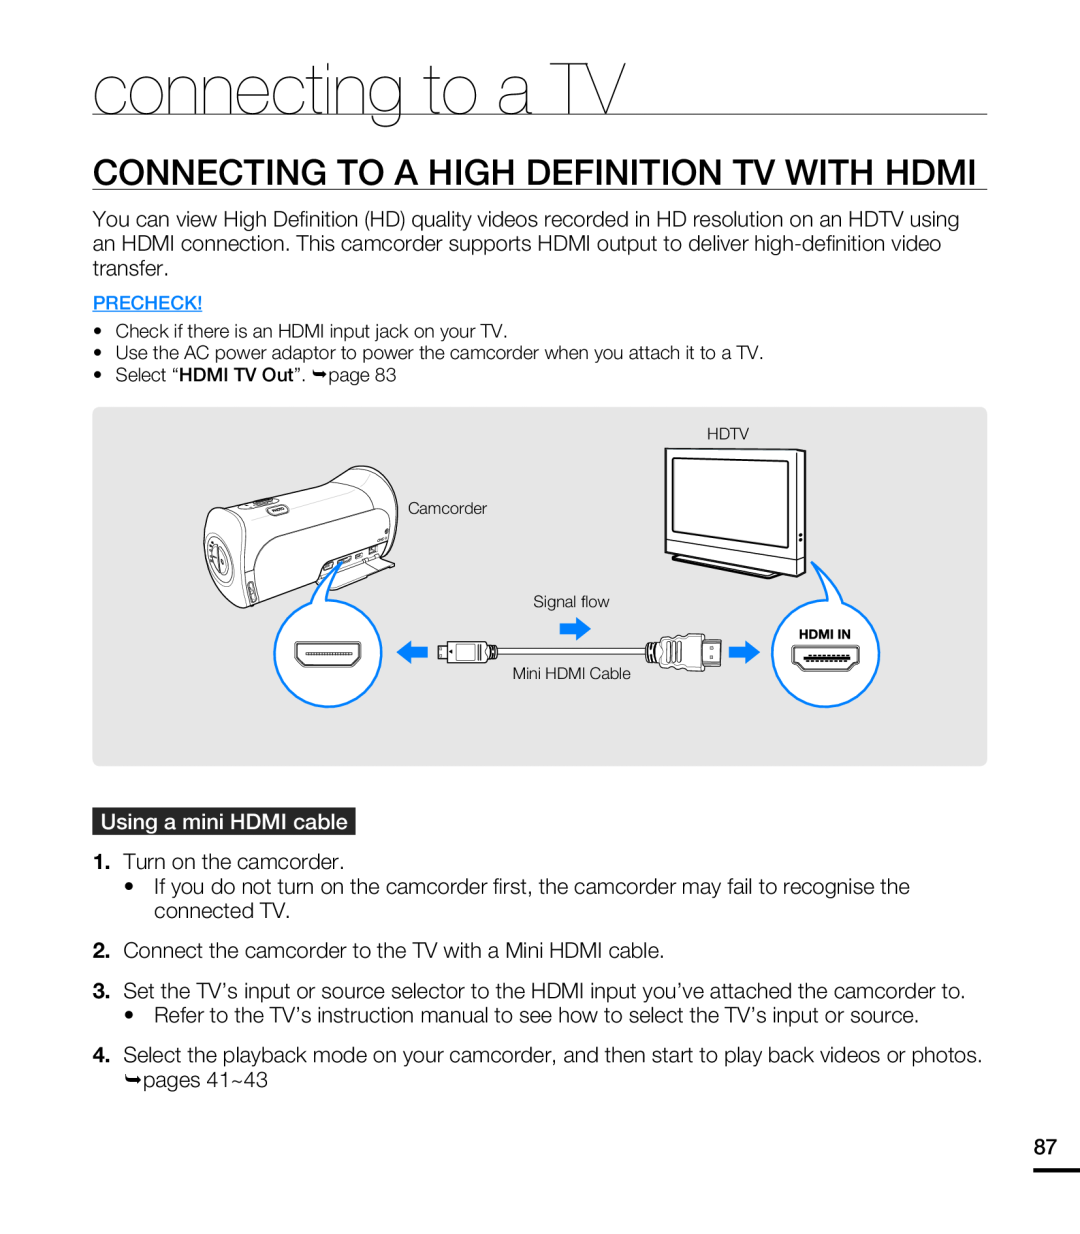
CONNECTING TO A HIGH DEFINITION TV WITH HDMI
 connecting to a TV
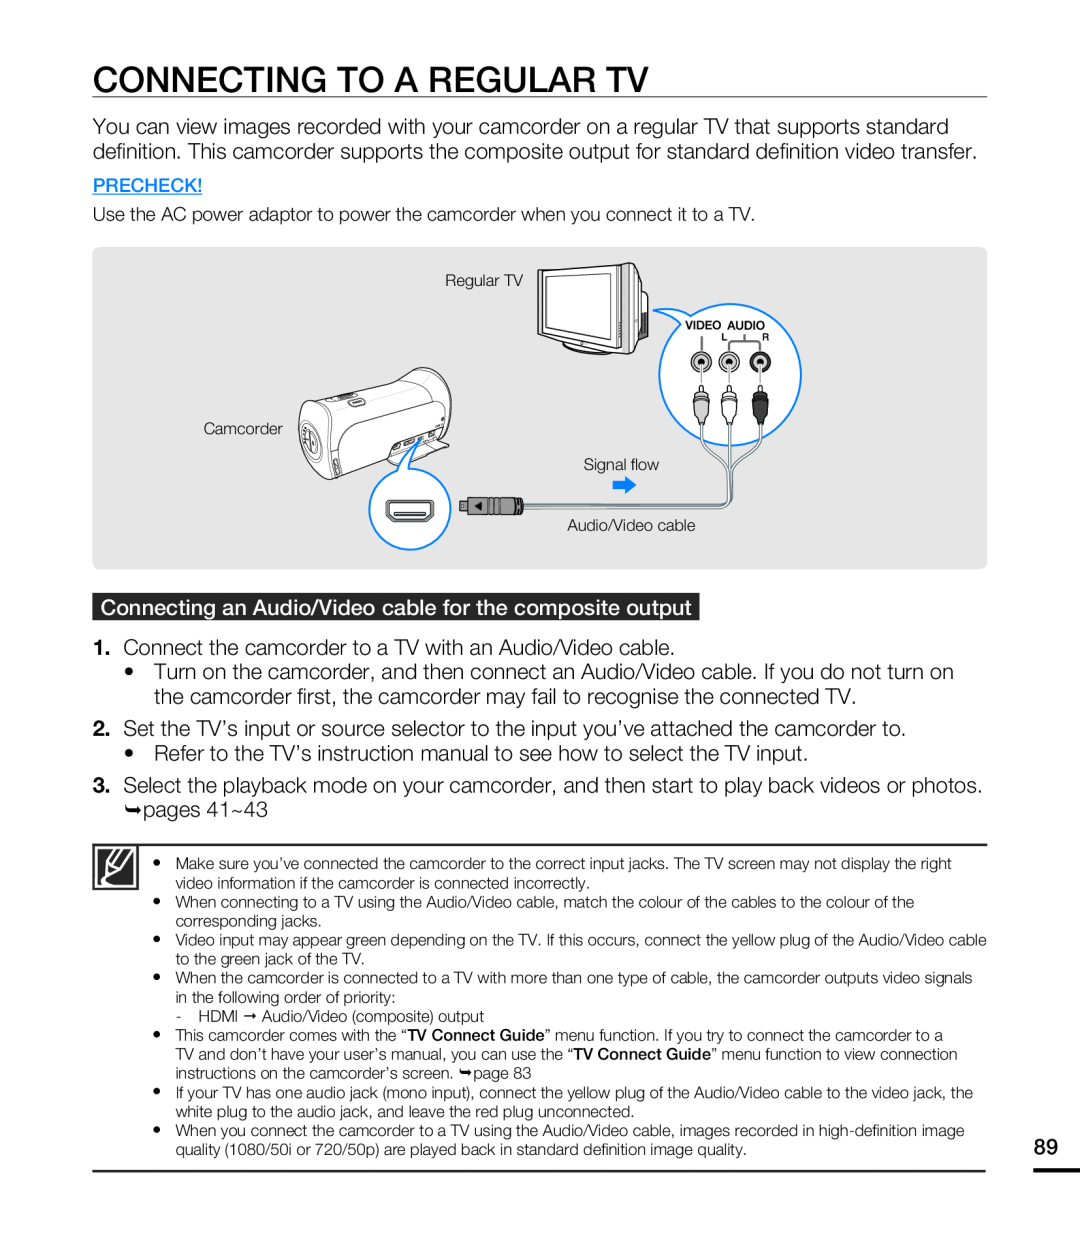 CONNECTING TO A REGULAR TV
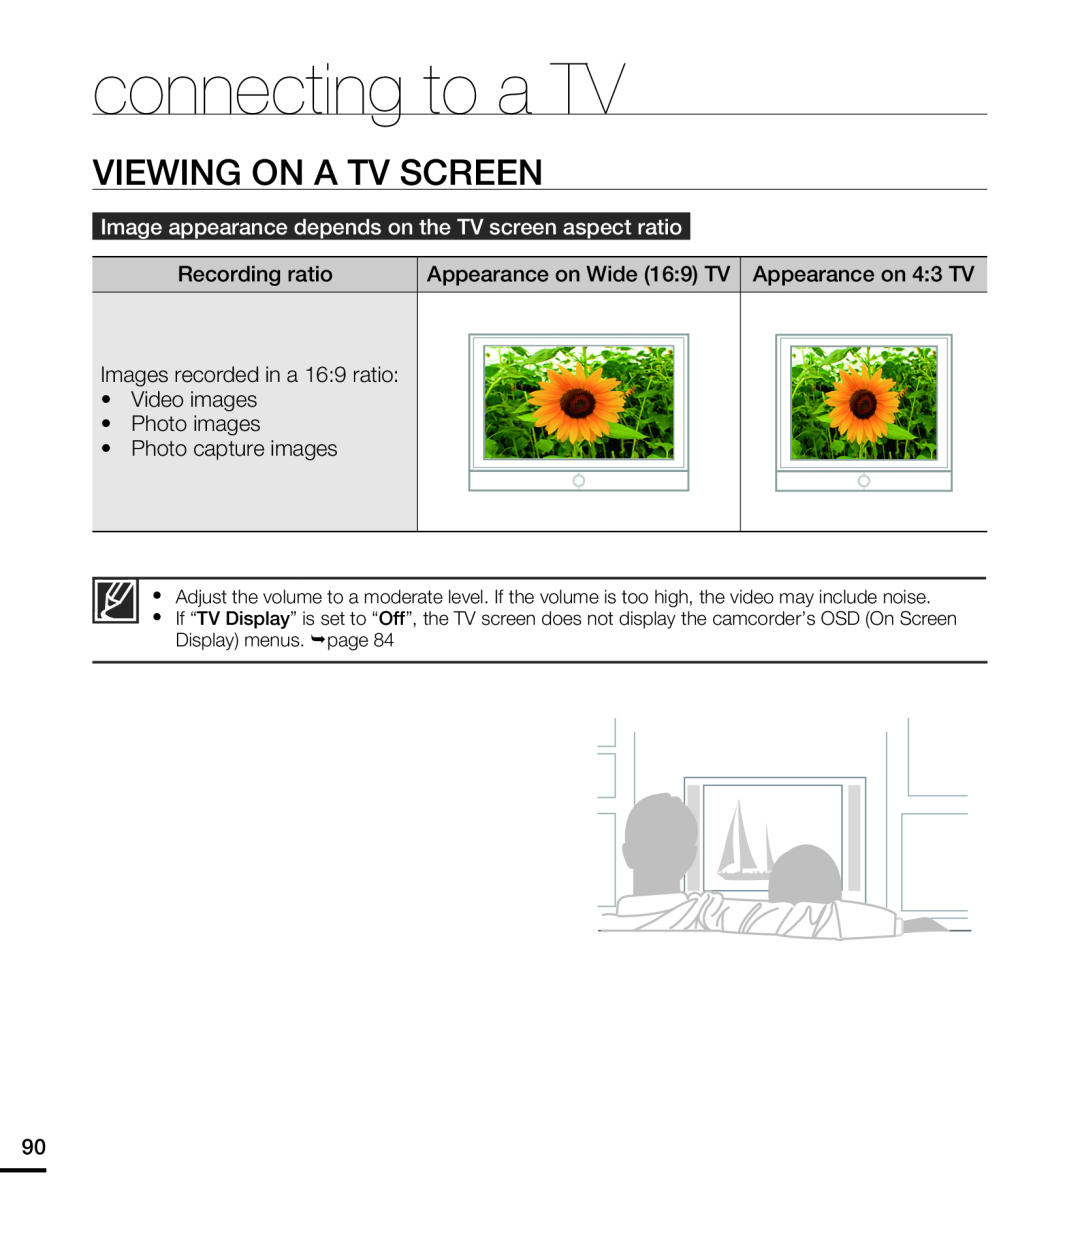 VIEWING ON A TV SCREEN
 dubbing videos
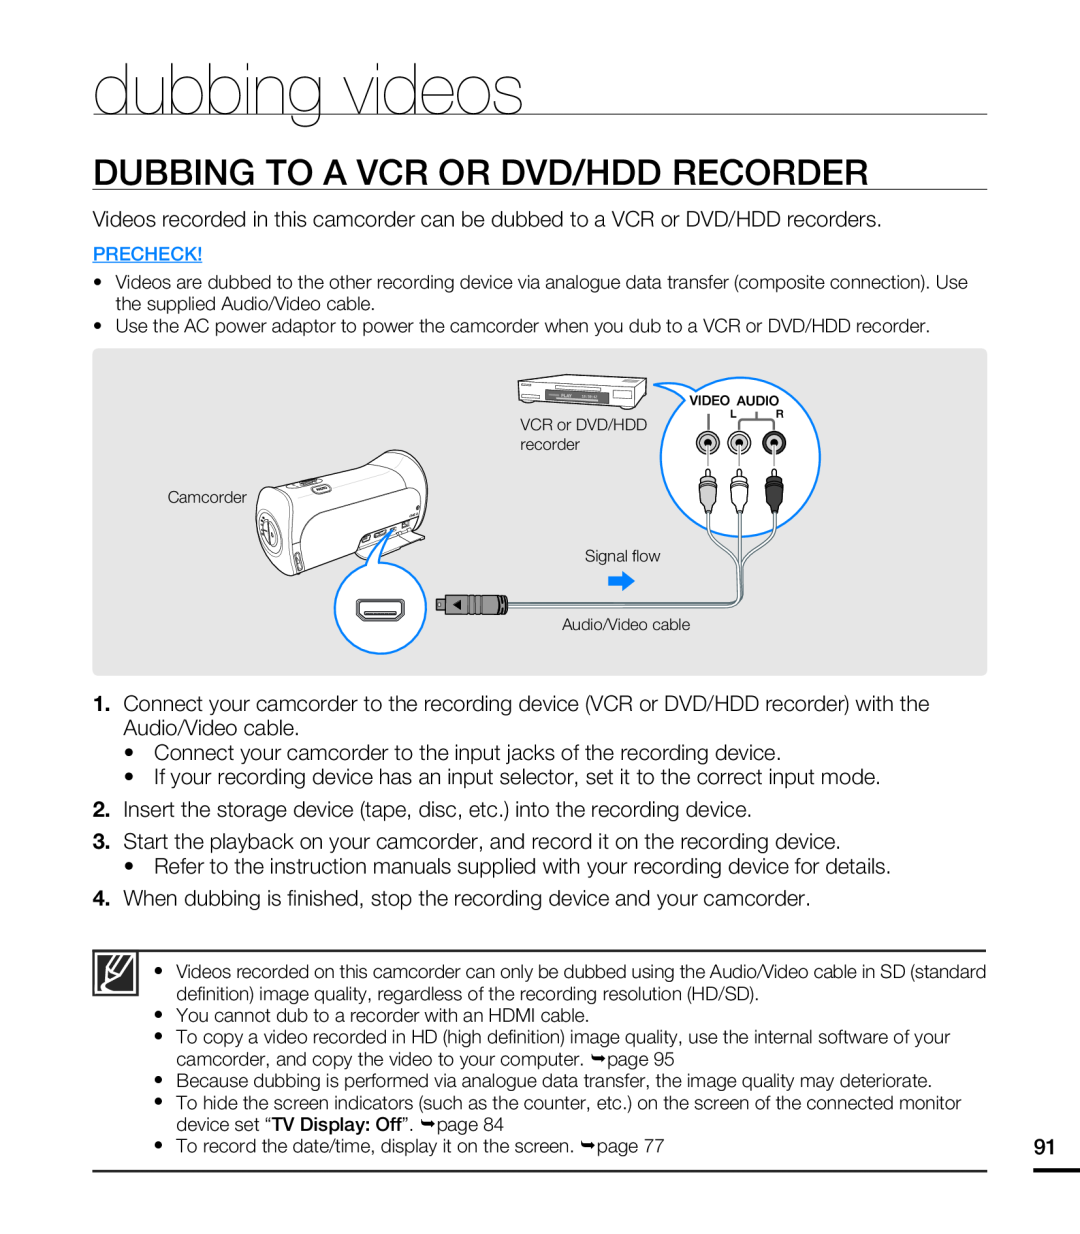
DUBBING TO A VCR OR DVD/HDD RECORDER
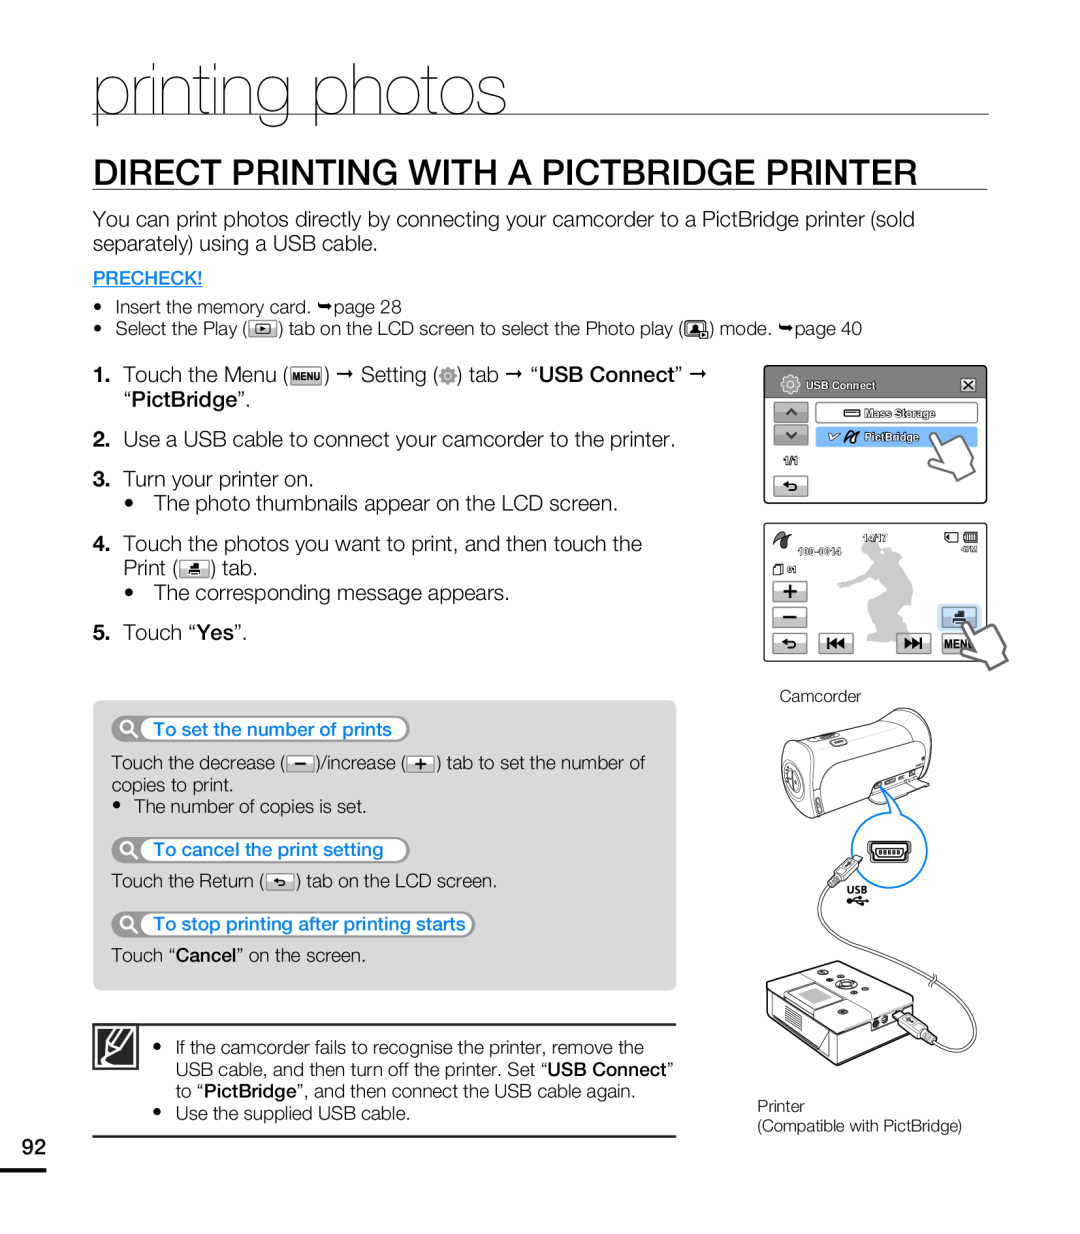 printing photos
DIRECT PRINTING WITH A PICTBRIDGE PRINTER
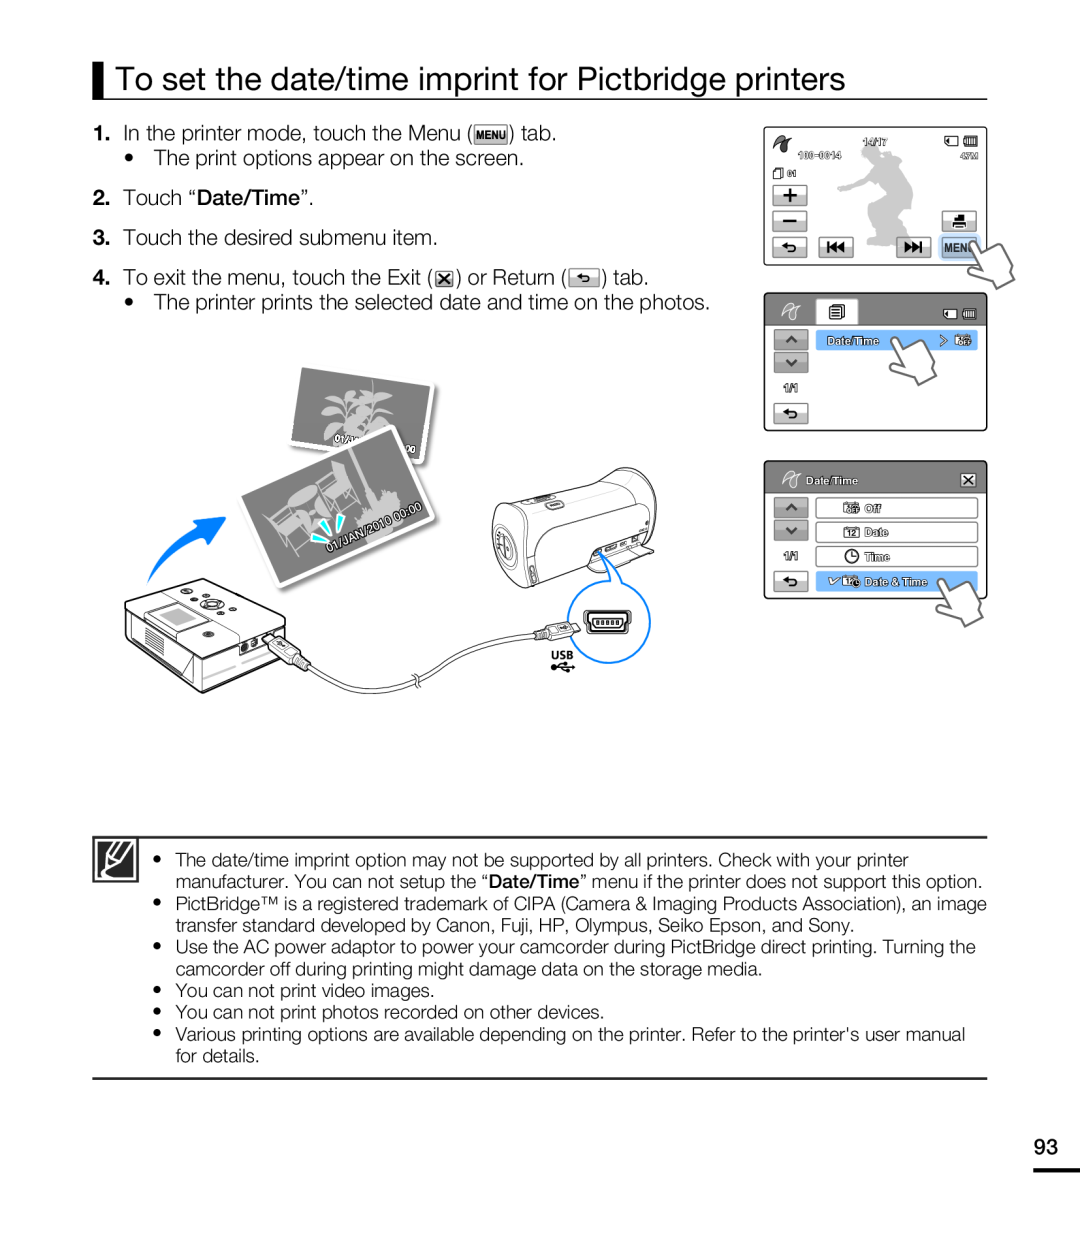 To set the date/time imprint for Pictbridge printers
 WHAT YOU CAN DO WITH A WINDOWS COMPUTER
Main functions
System requirements
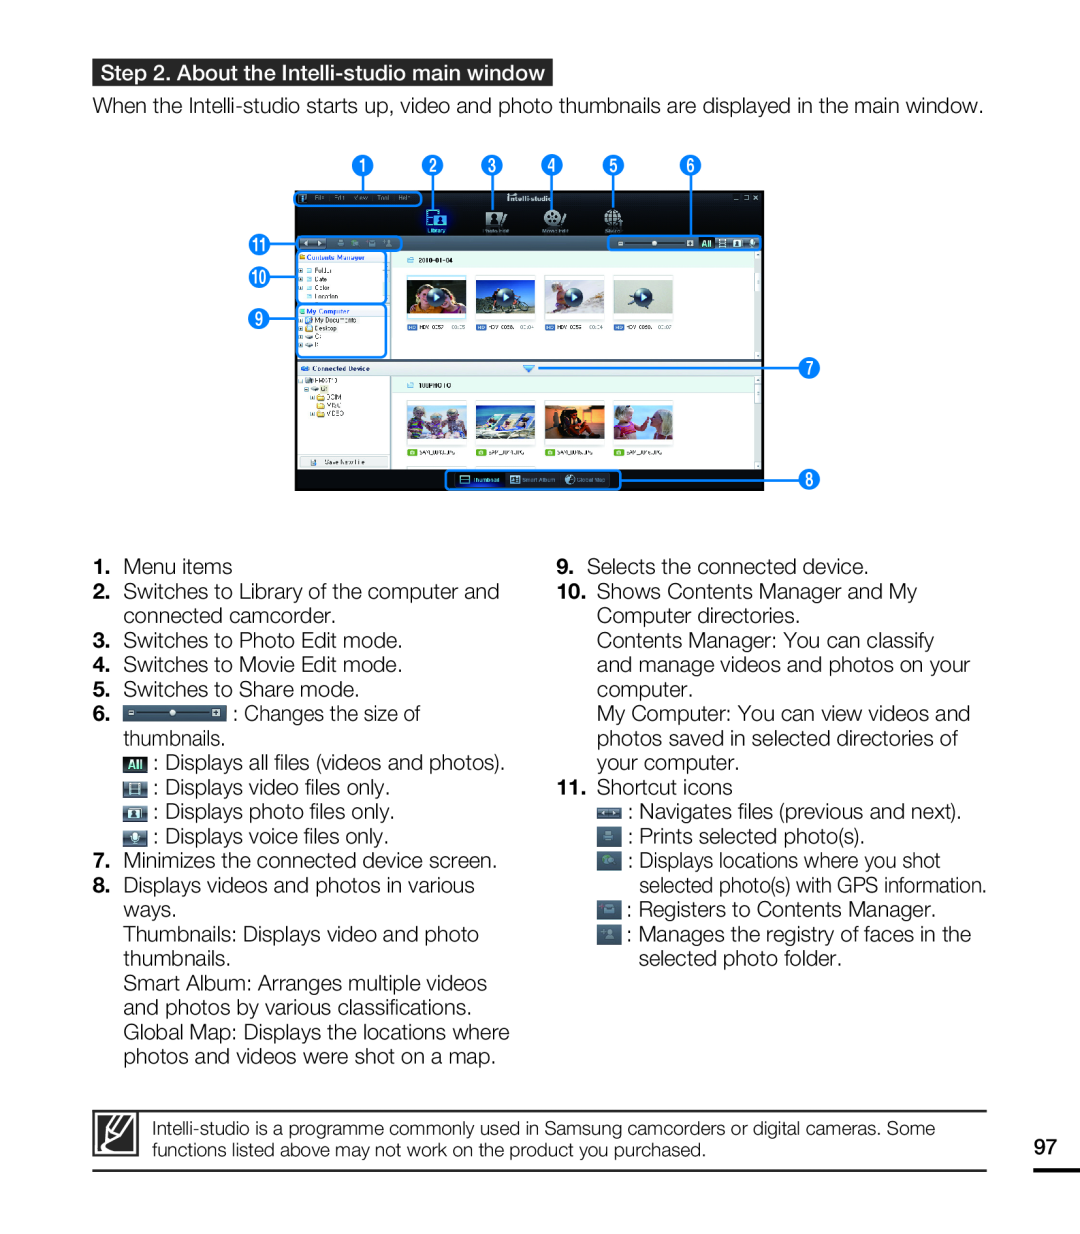
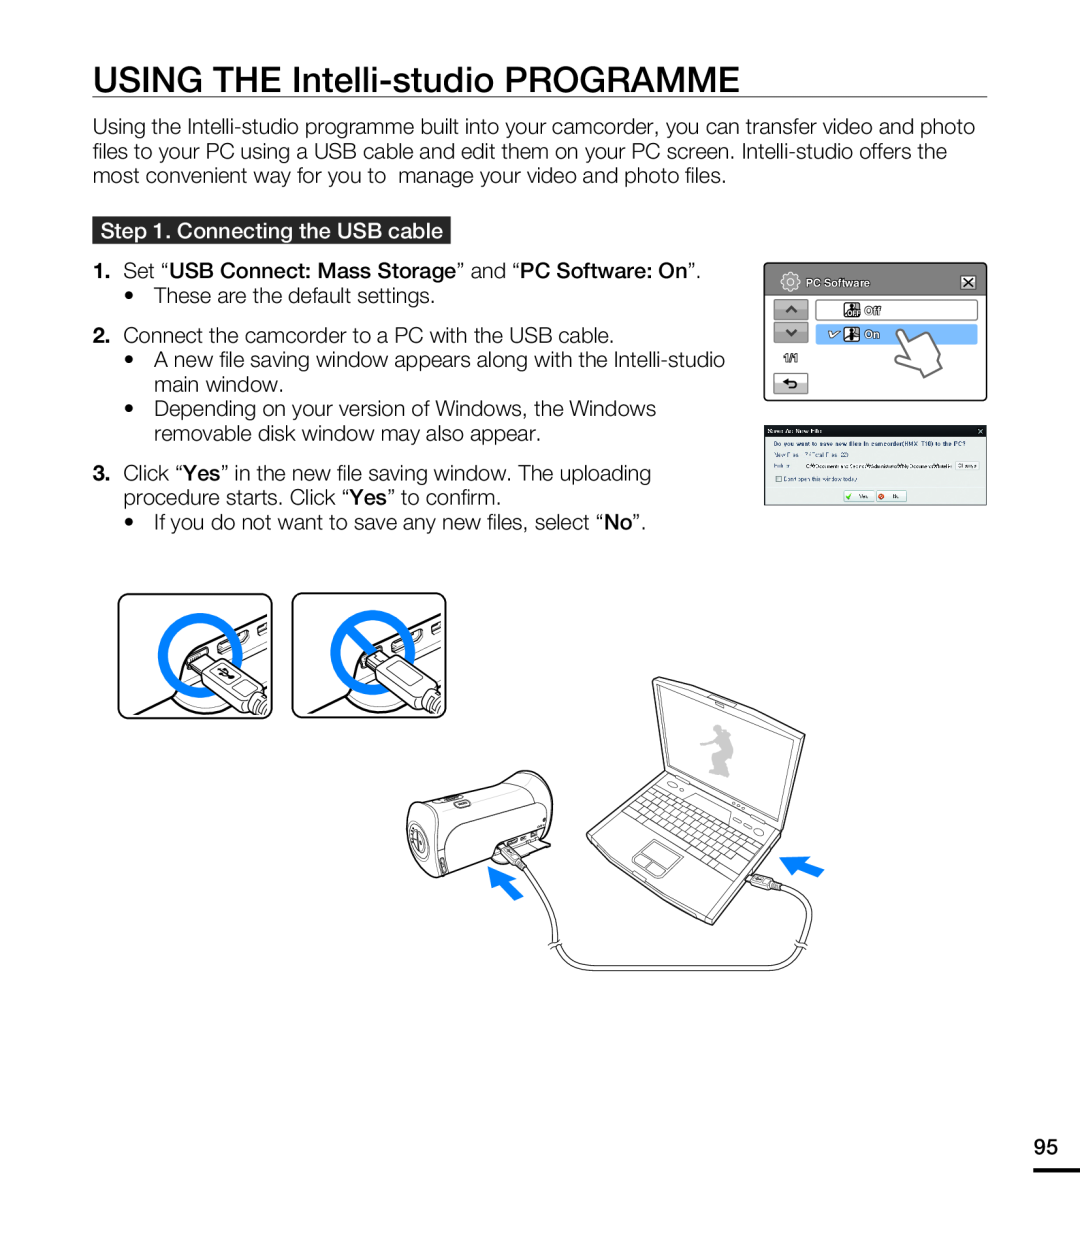 USING THE Intelli-studioPROGRAMME
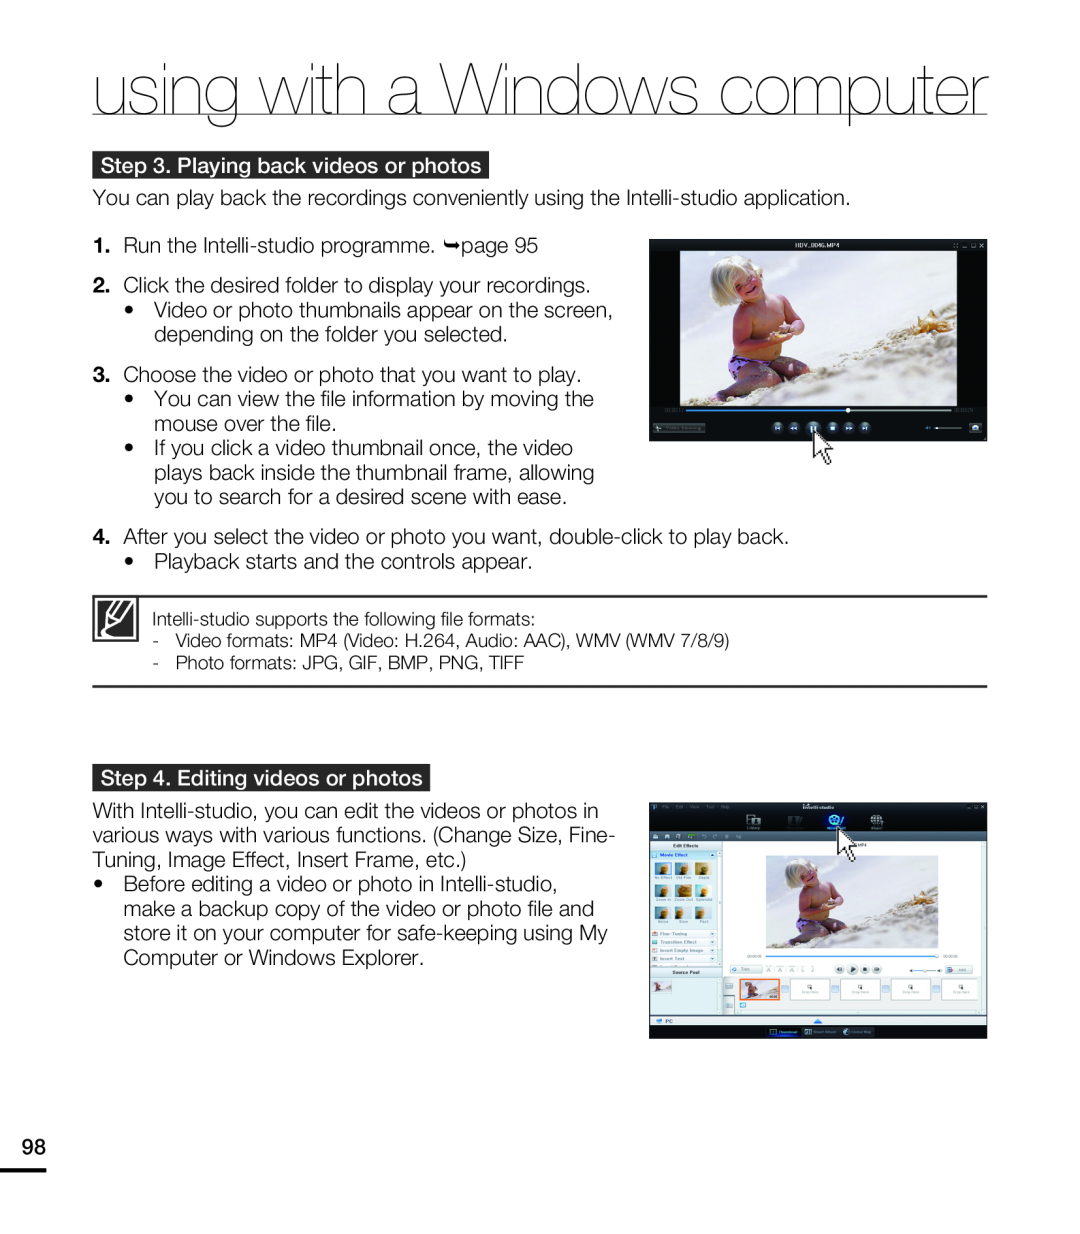

 USING AS A REMOVABLE STORAGE DEVICE
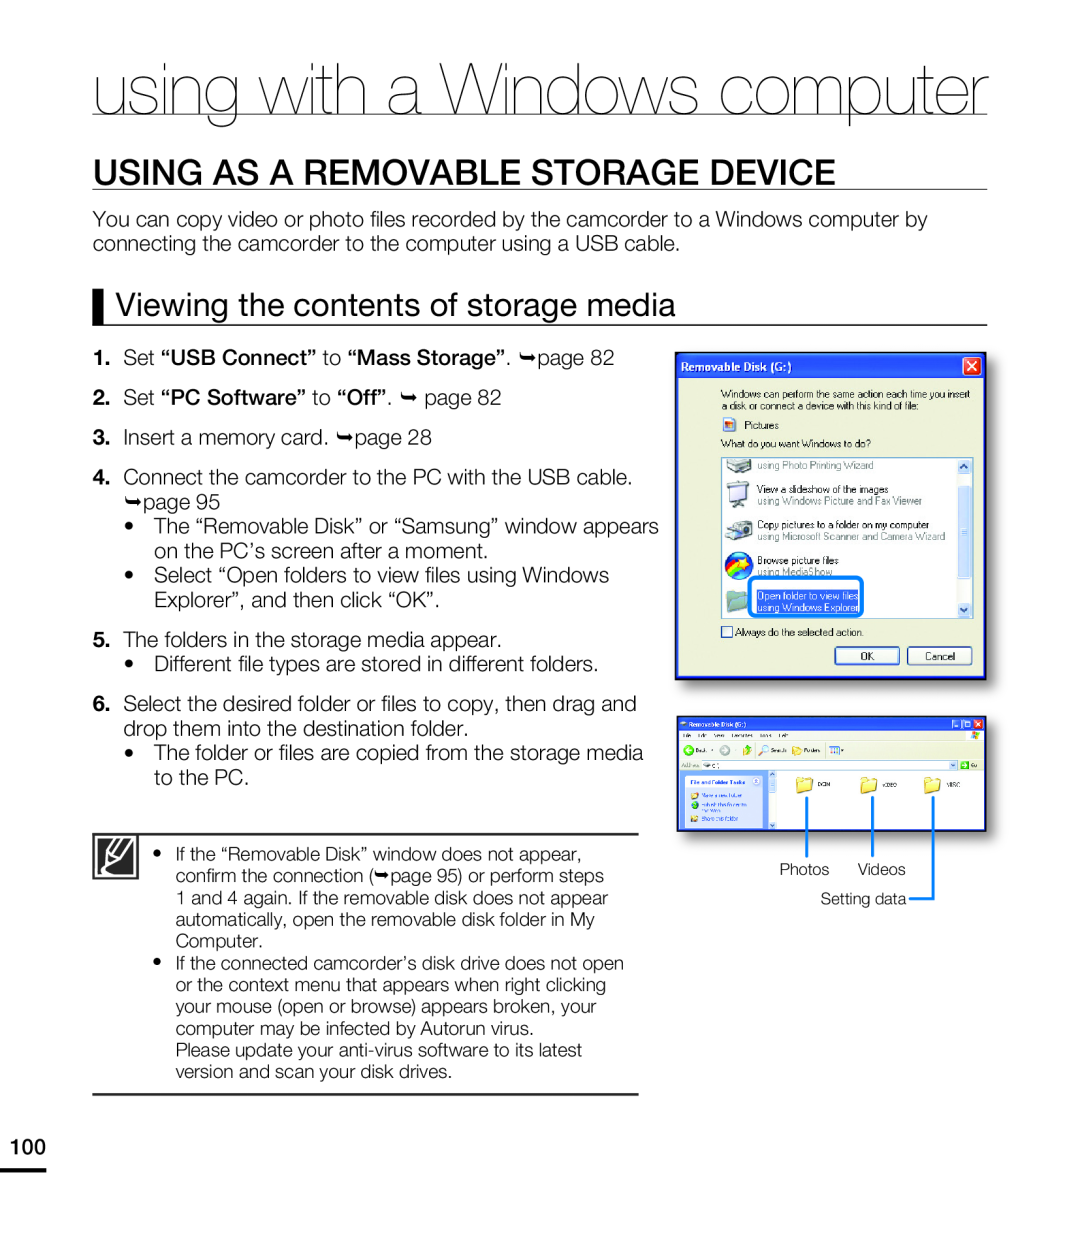
Viewing the contents of storage media
 Structure of folders and files on the storage media
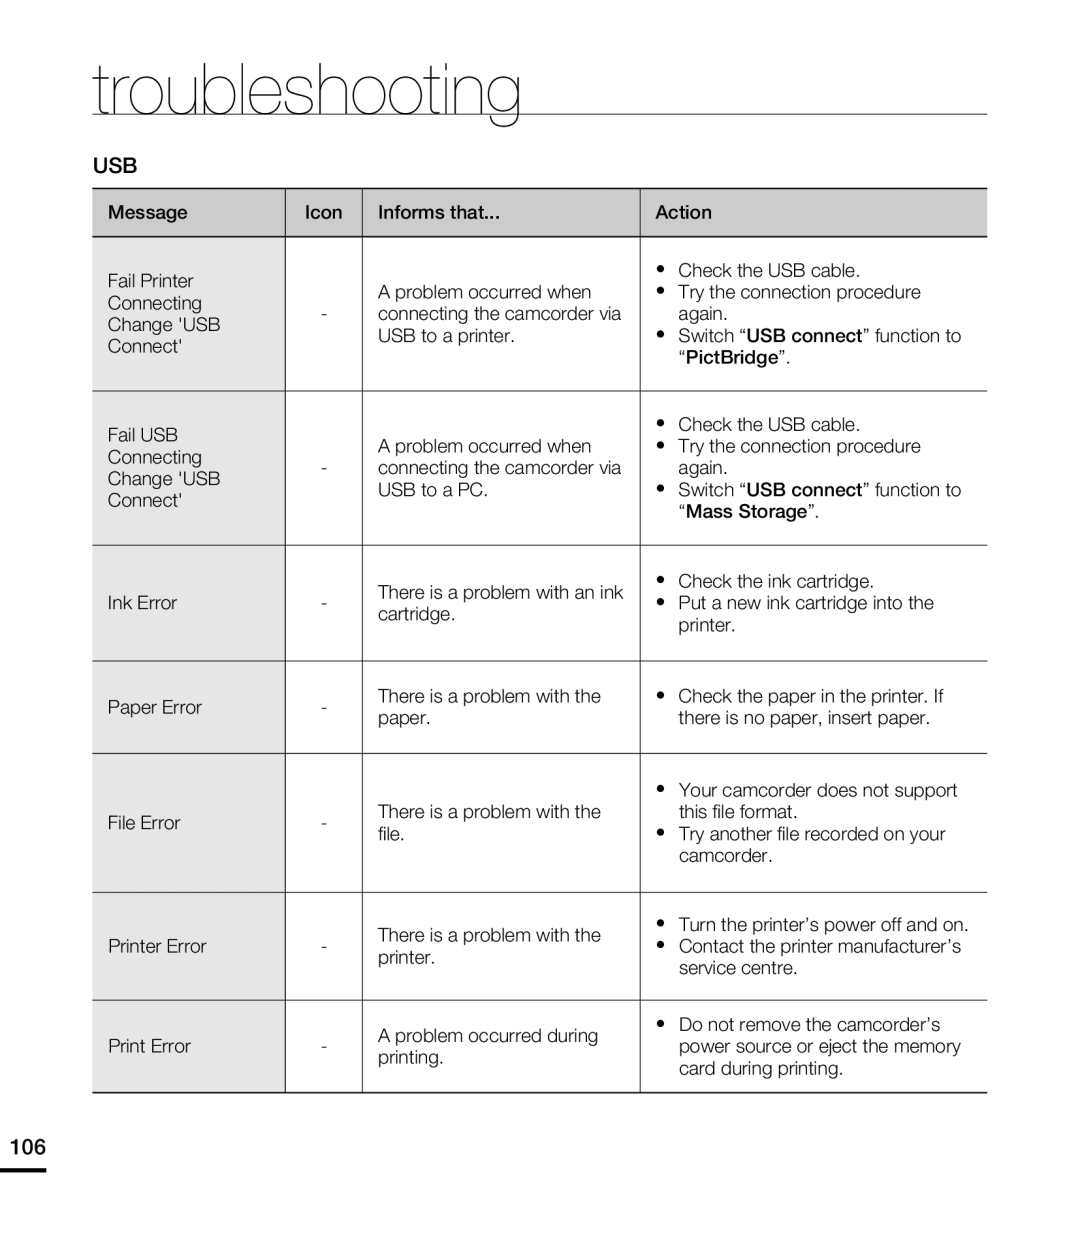
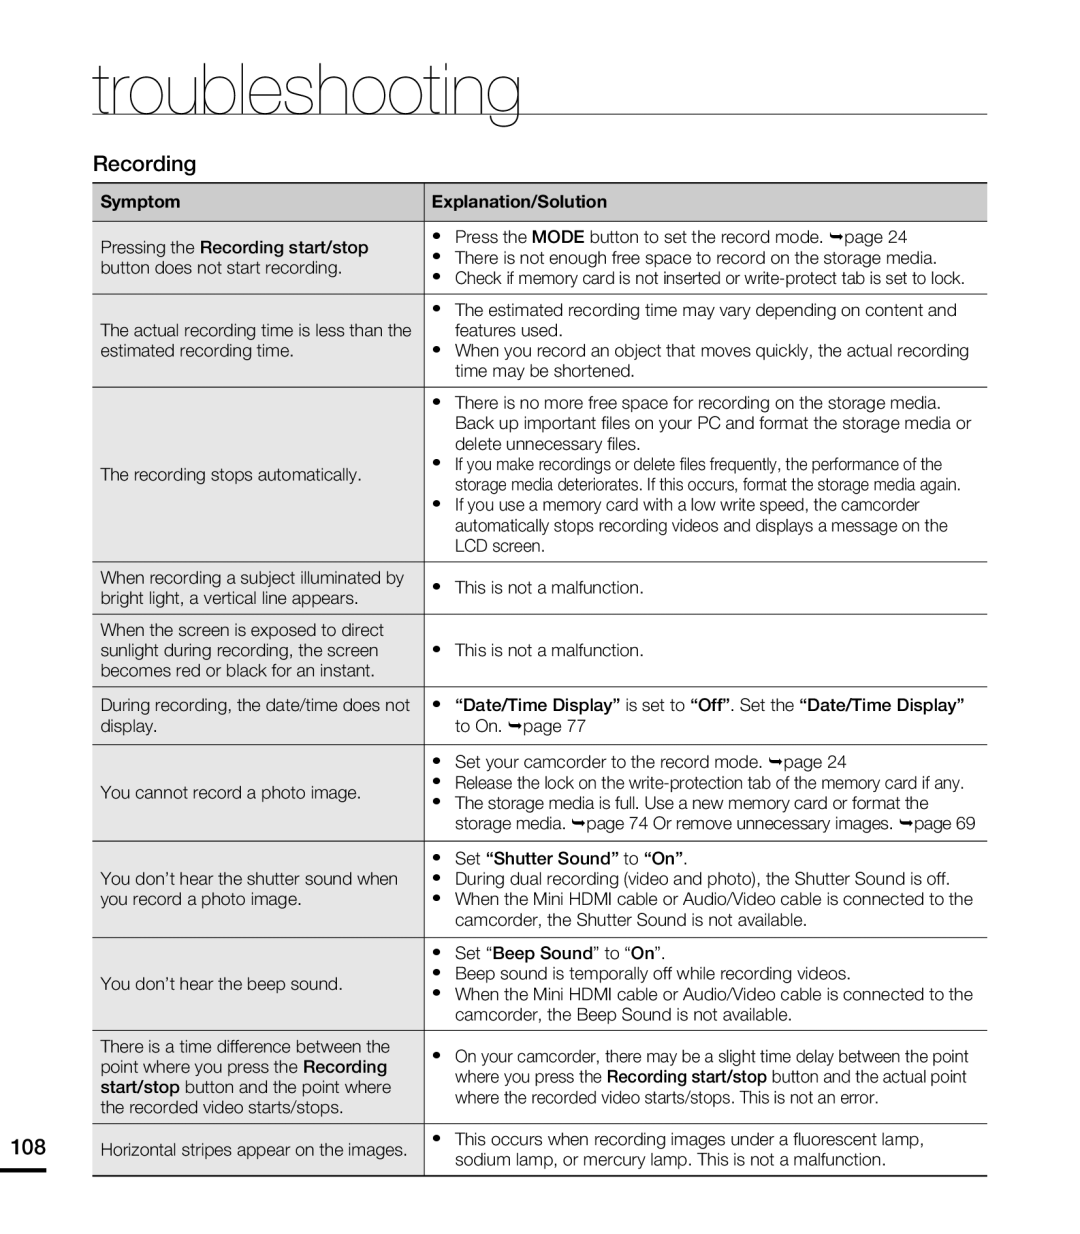
 troubleshooting
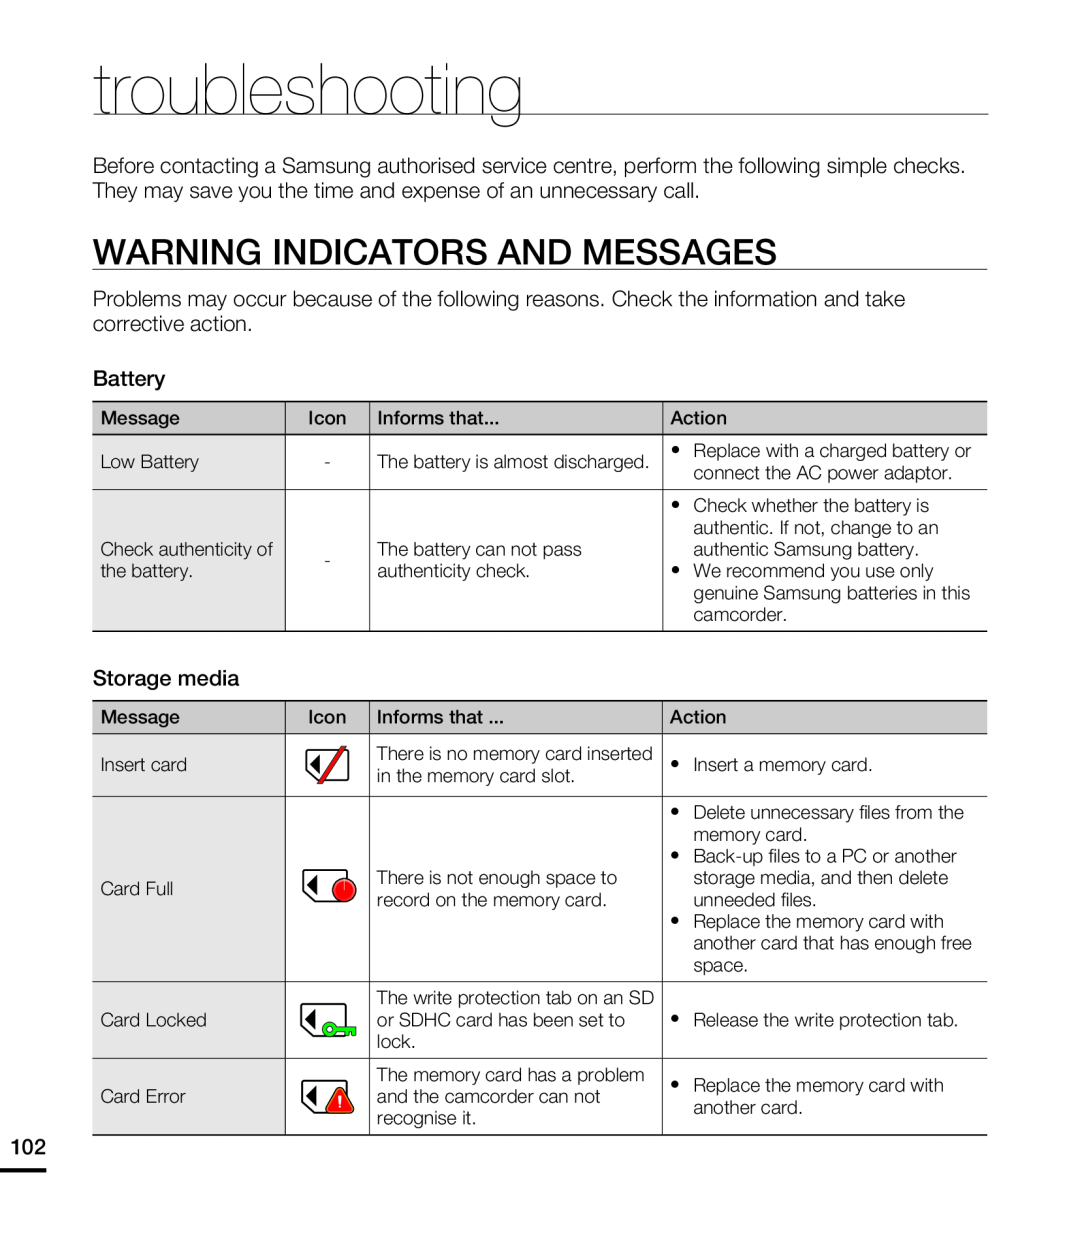
WARNING INDICATORS AND MESSAGES
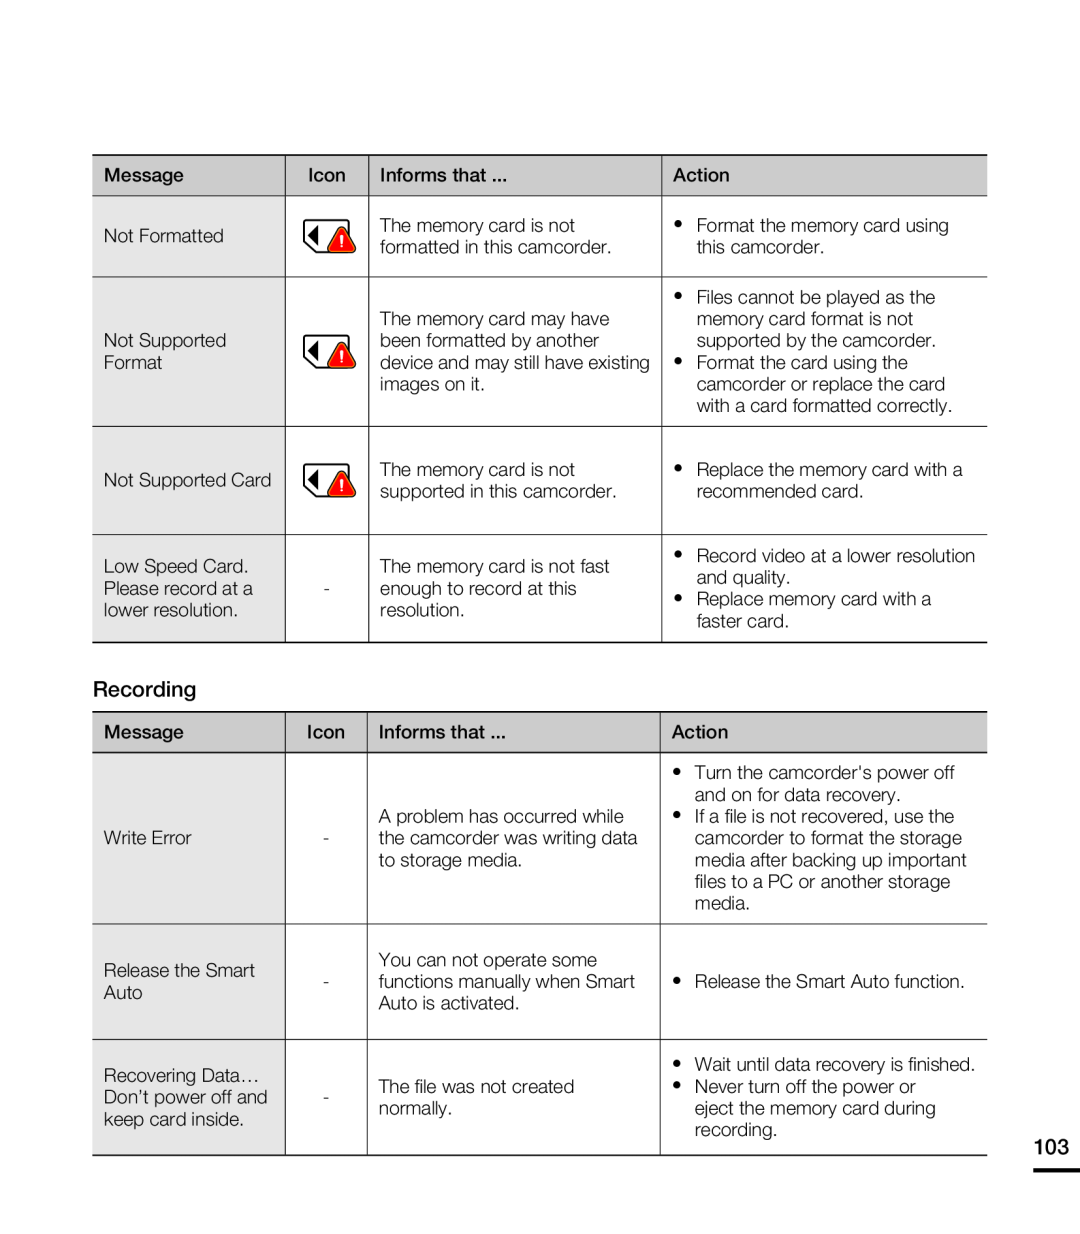
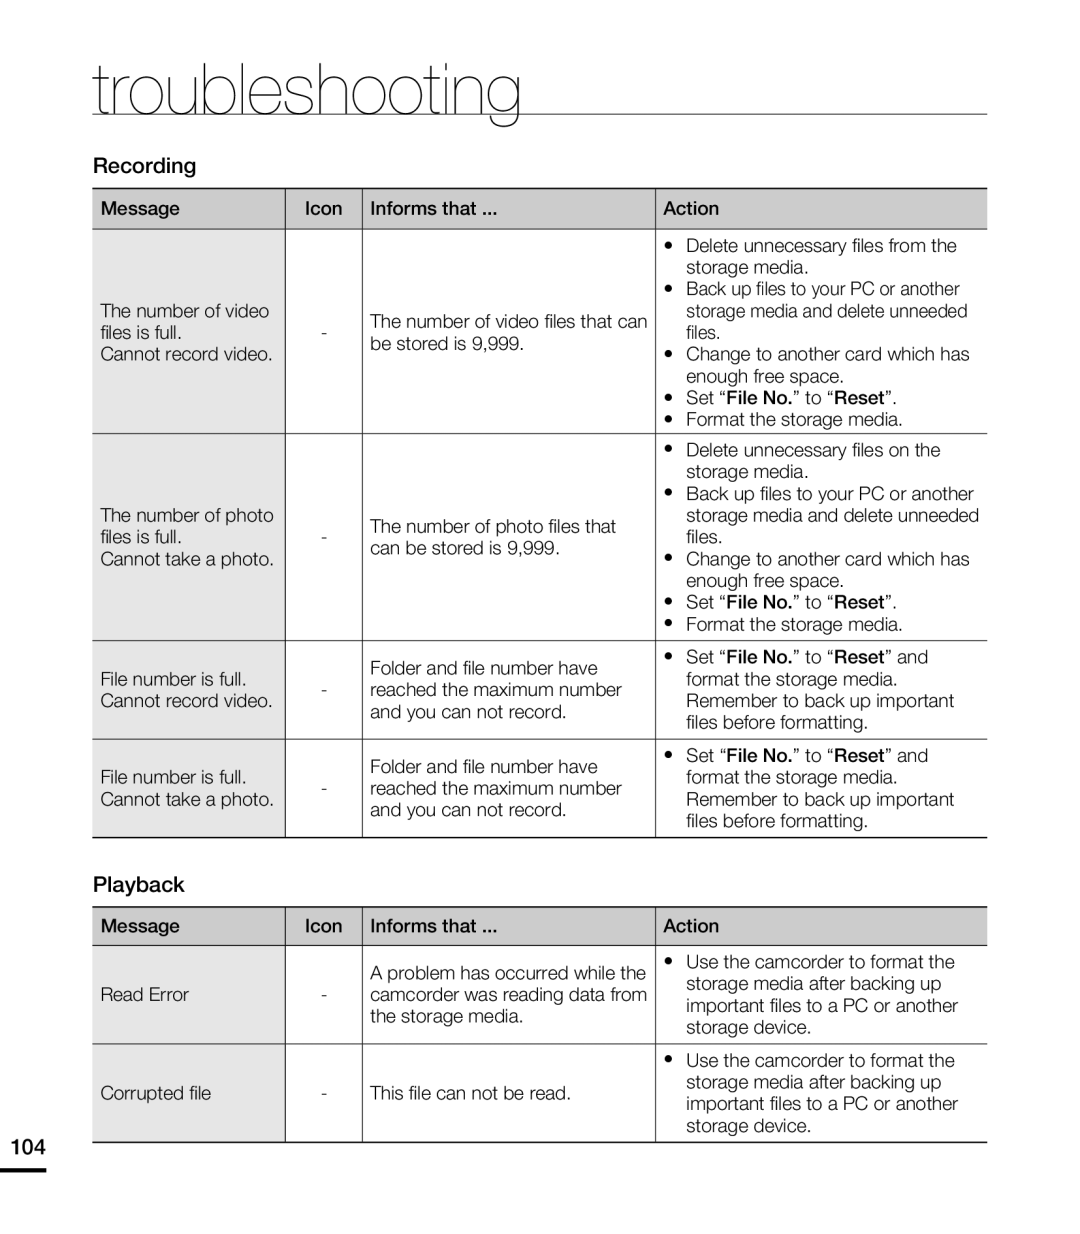 troubleshooting
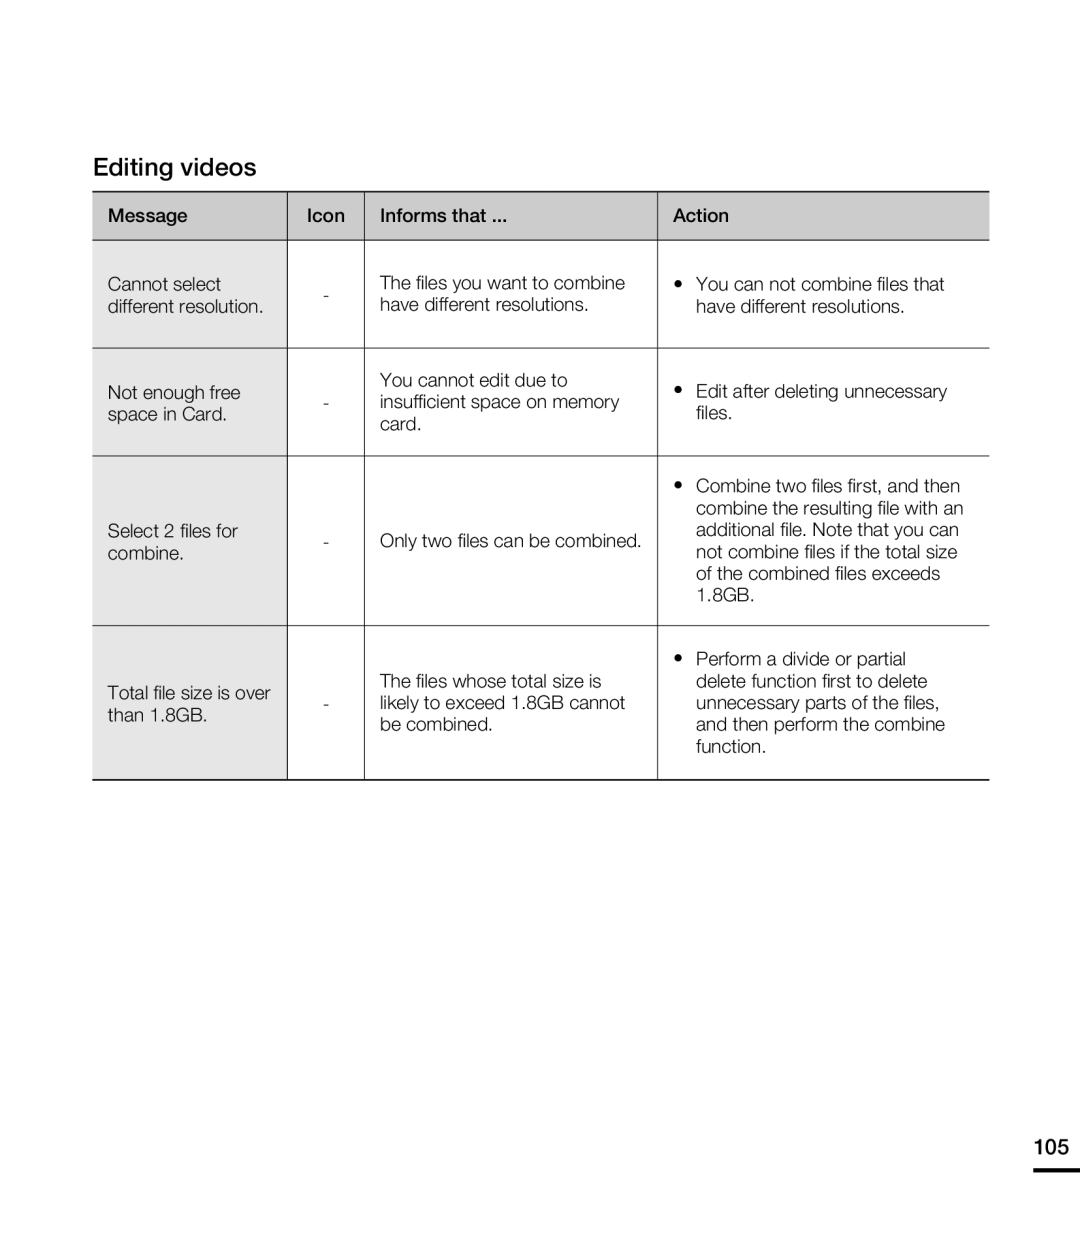 Editing videos
 troubleshooting
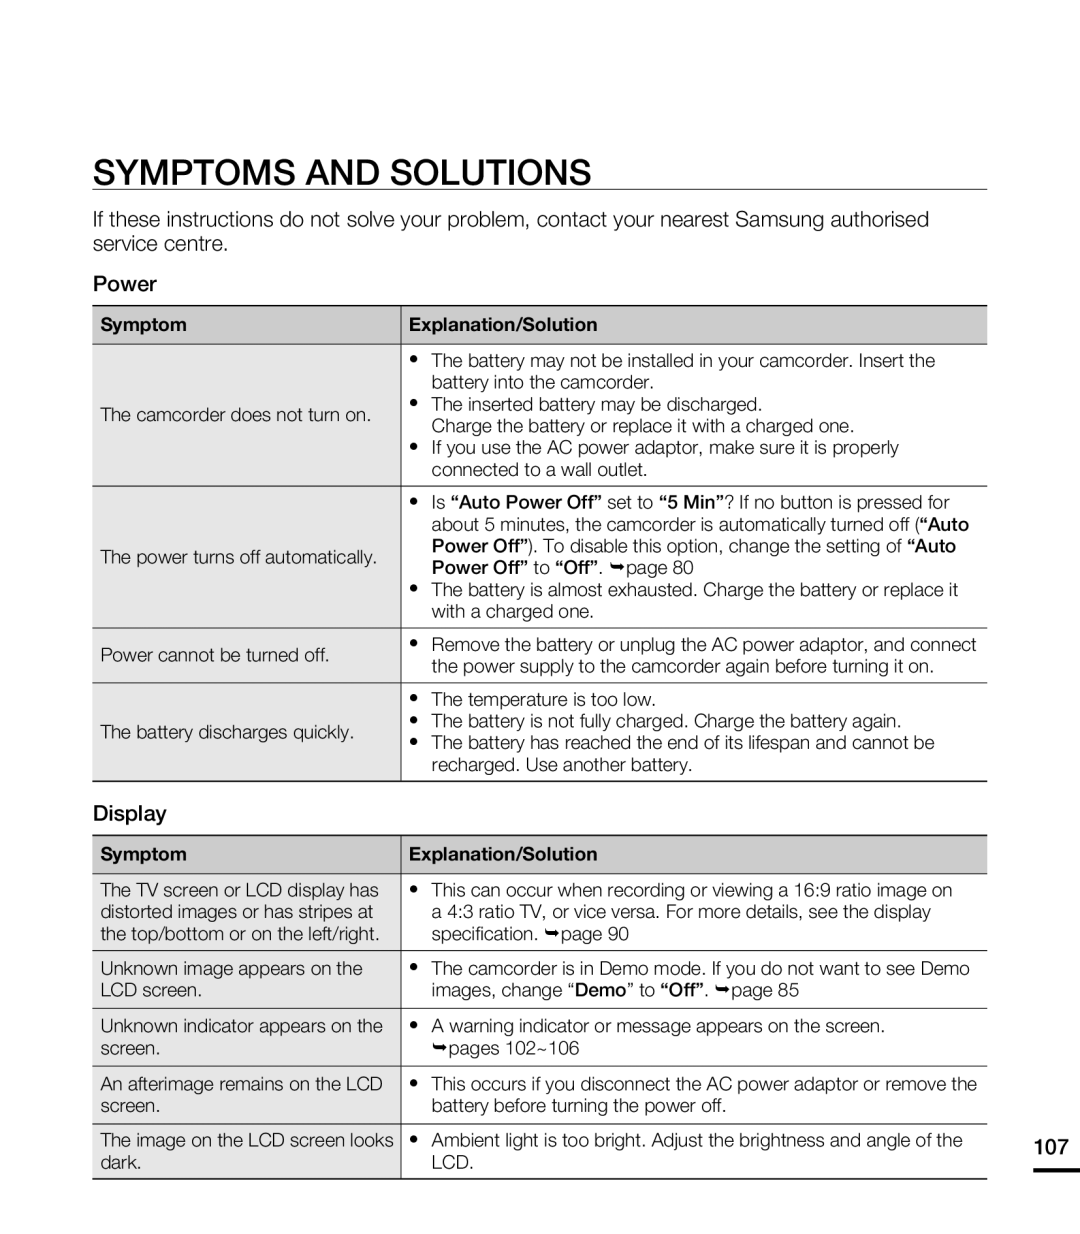 SYMPTOMS AND SOLUTIONS
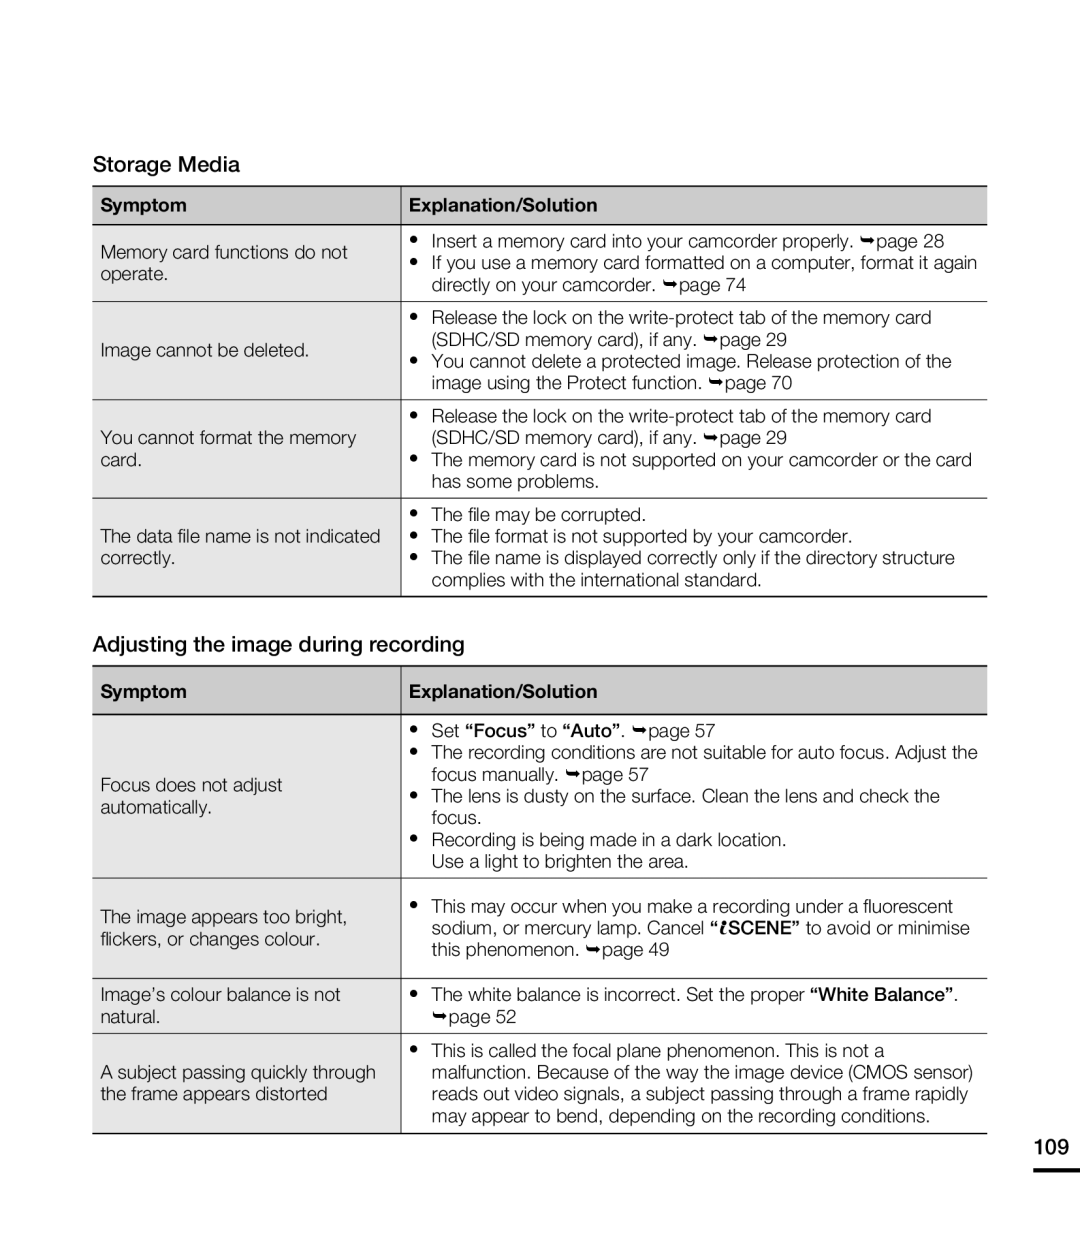
 troubleshooting
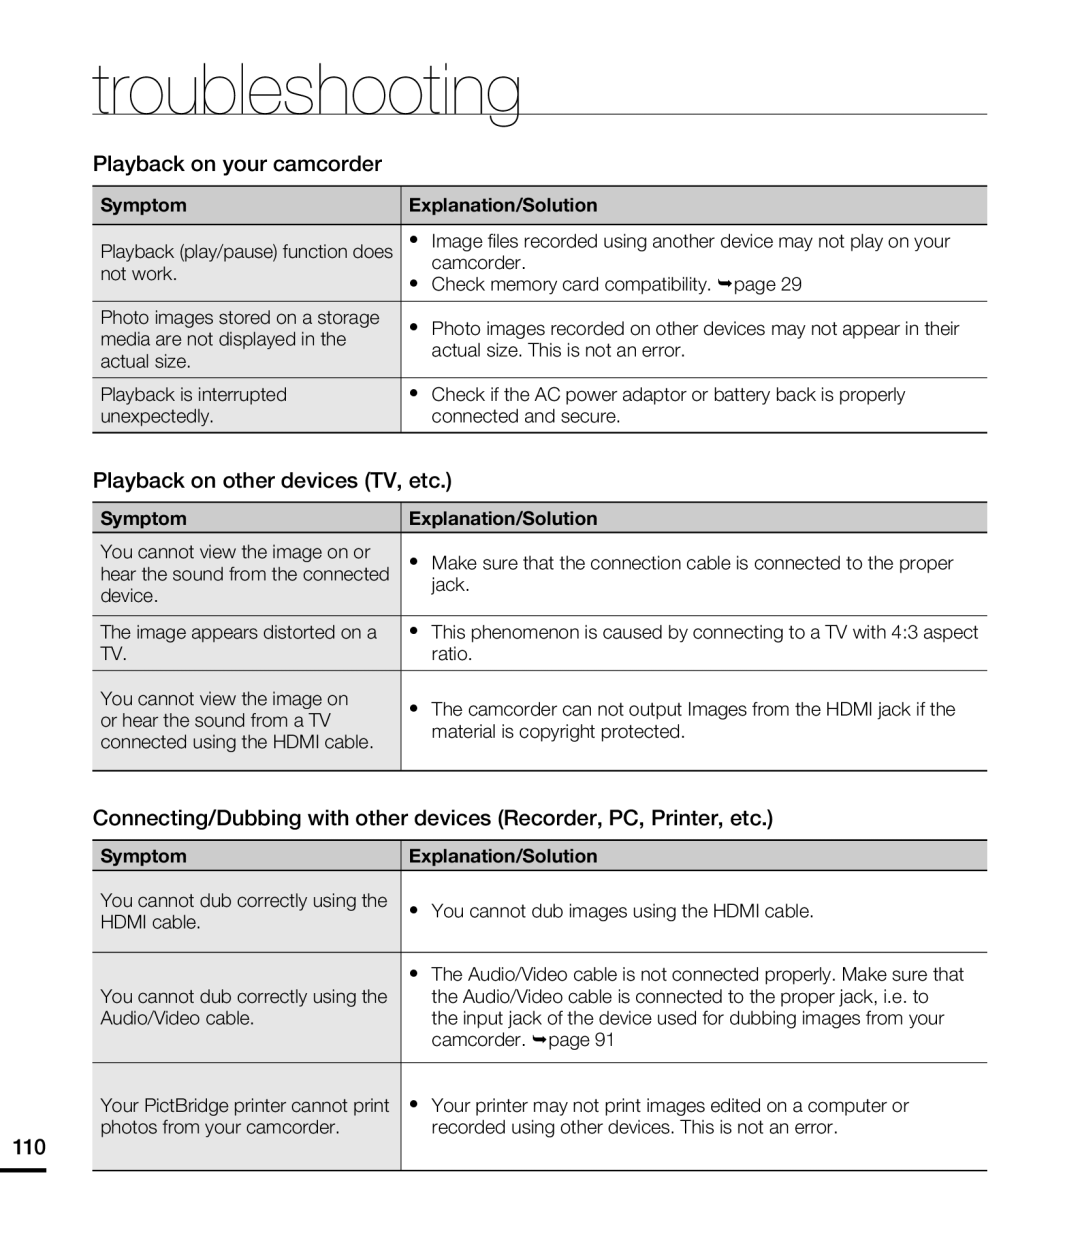 troubleshooting
 troubleshooting
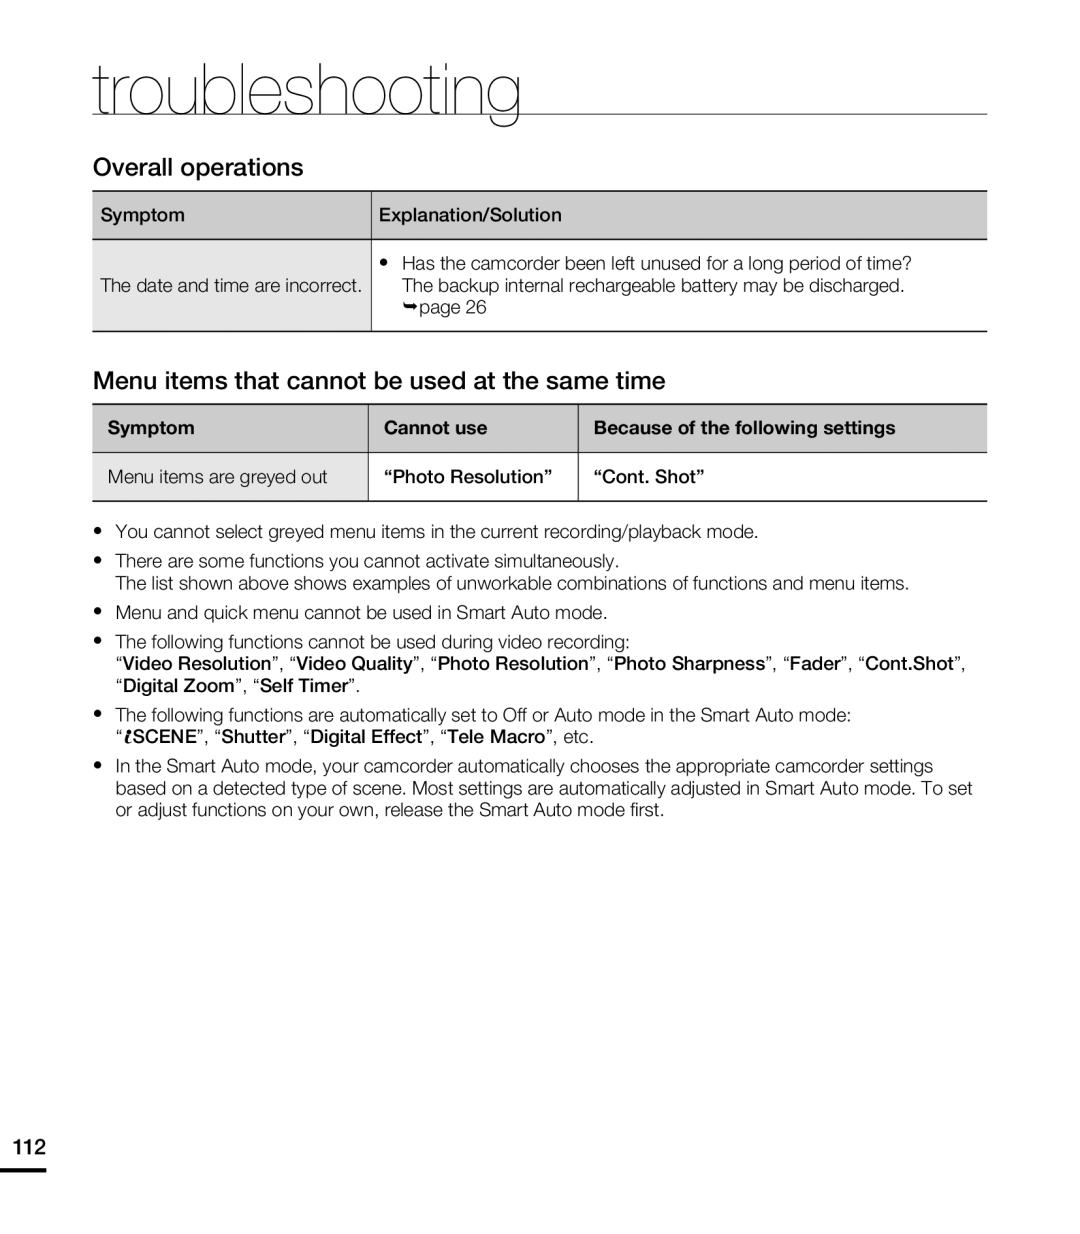
Overall operations
Menu items that cannot be used at the same time
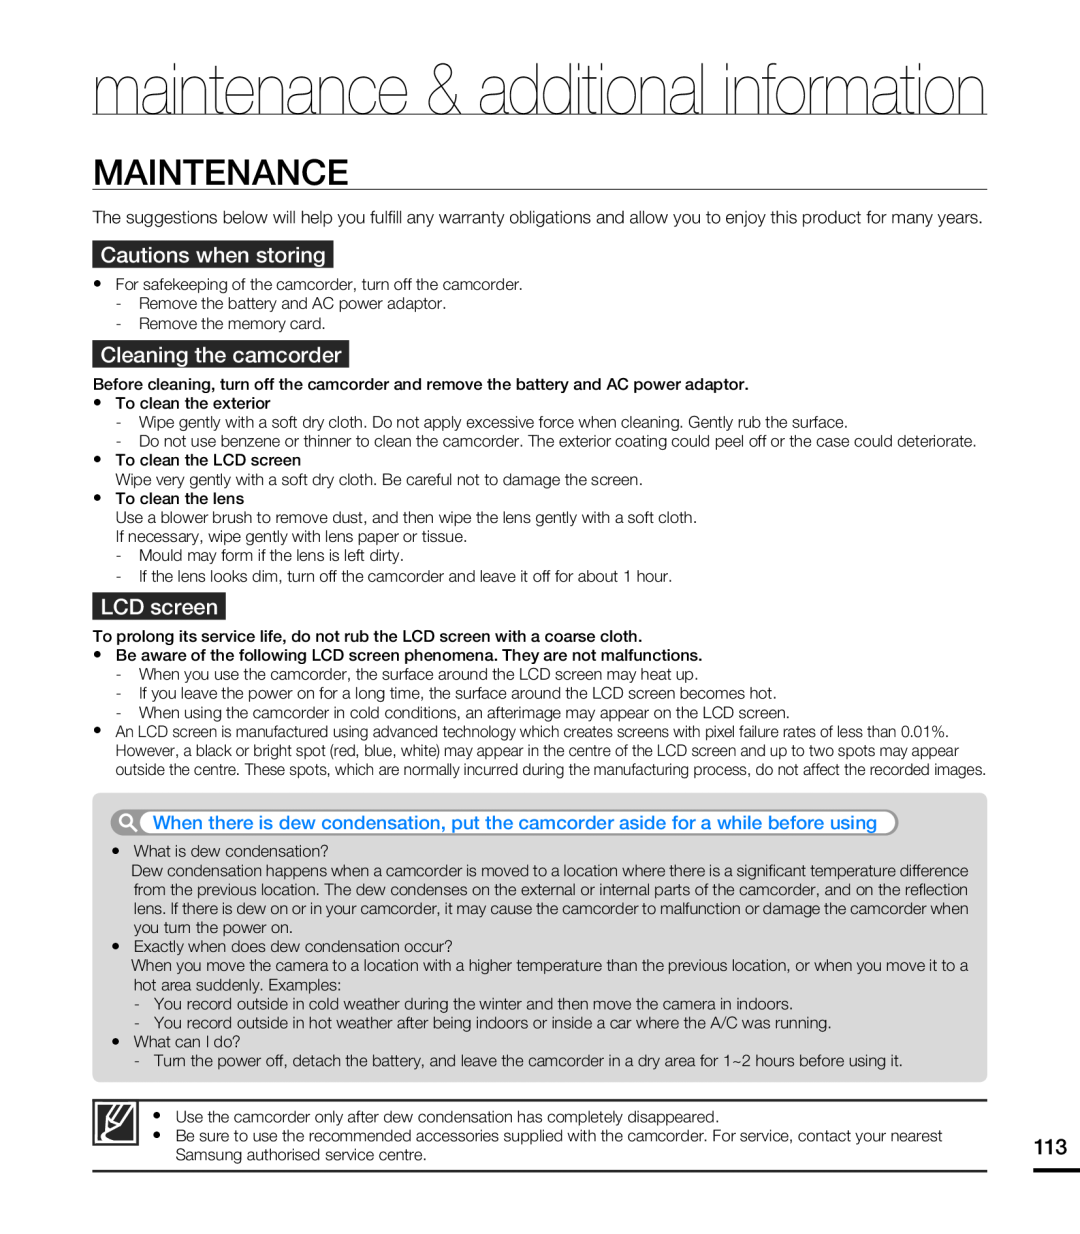 MAINTENANCE
 USING YOUR CAMCORDER ABROAD
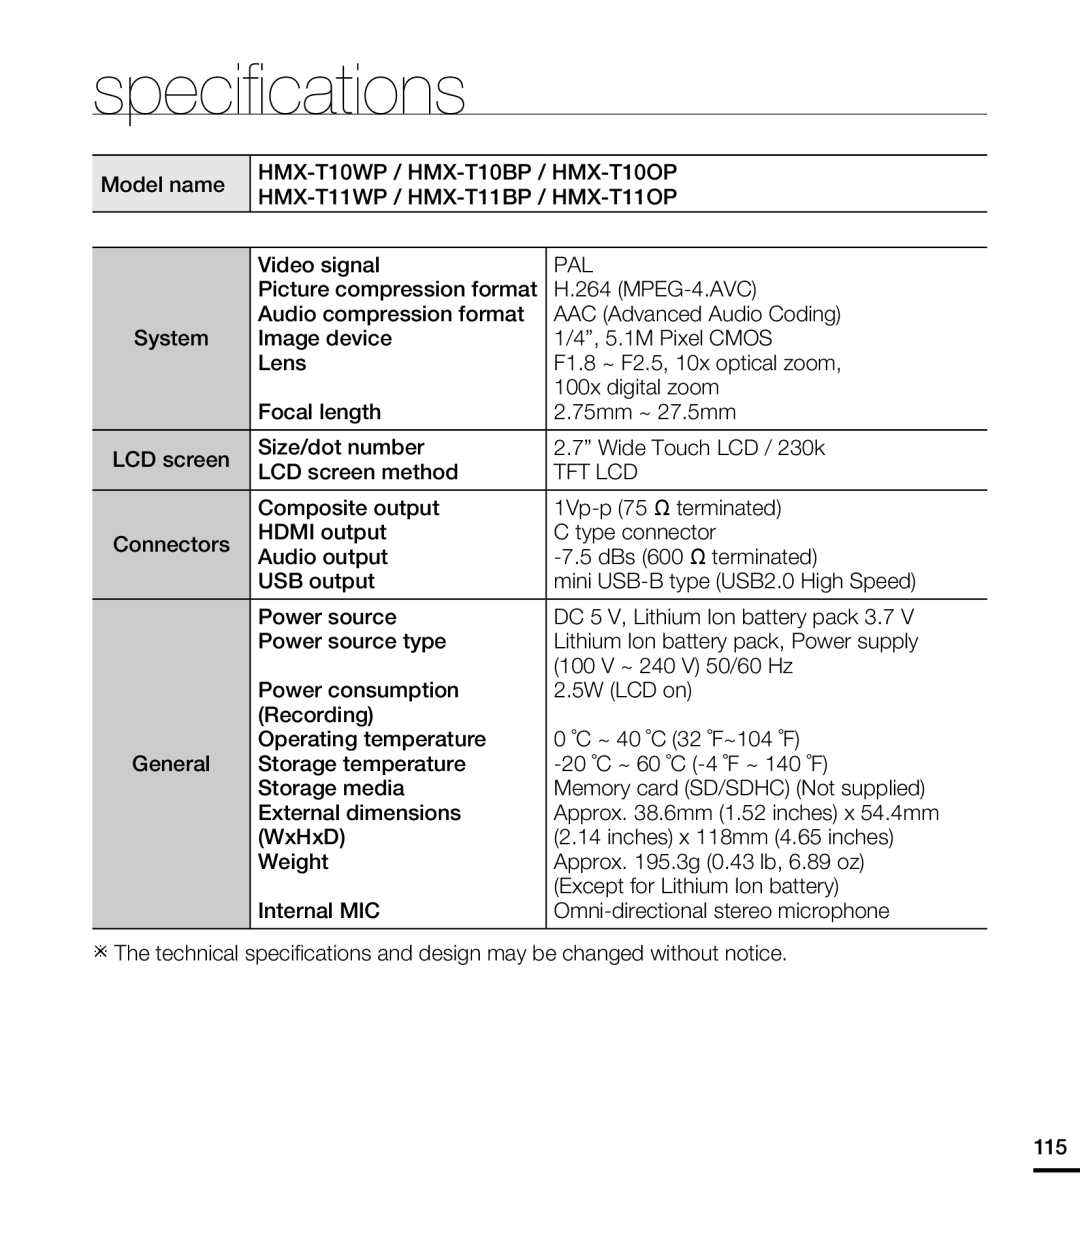 specifications
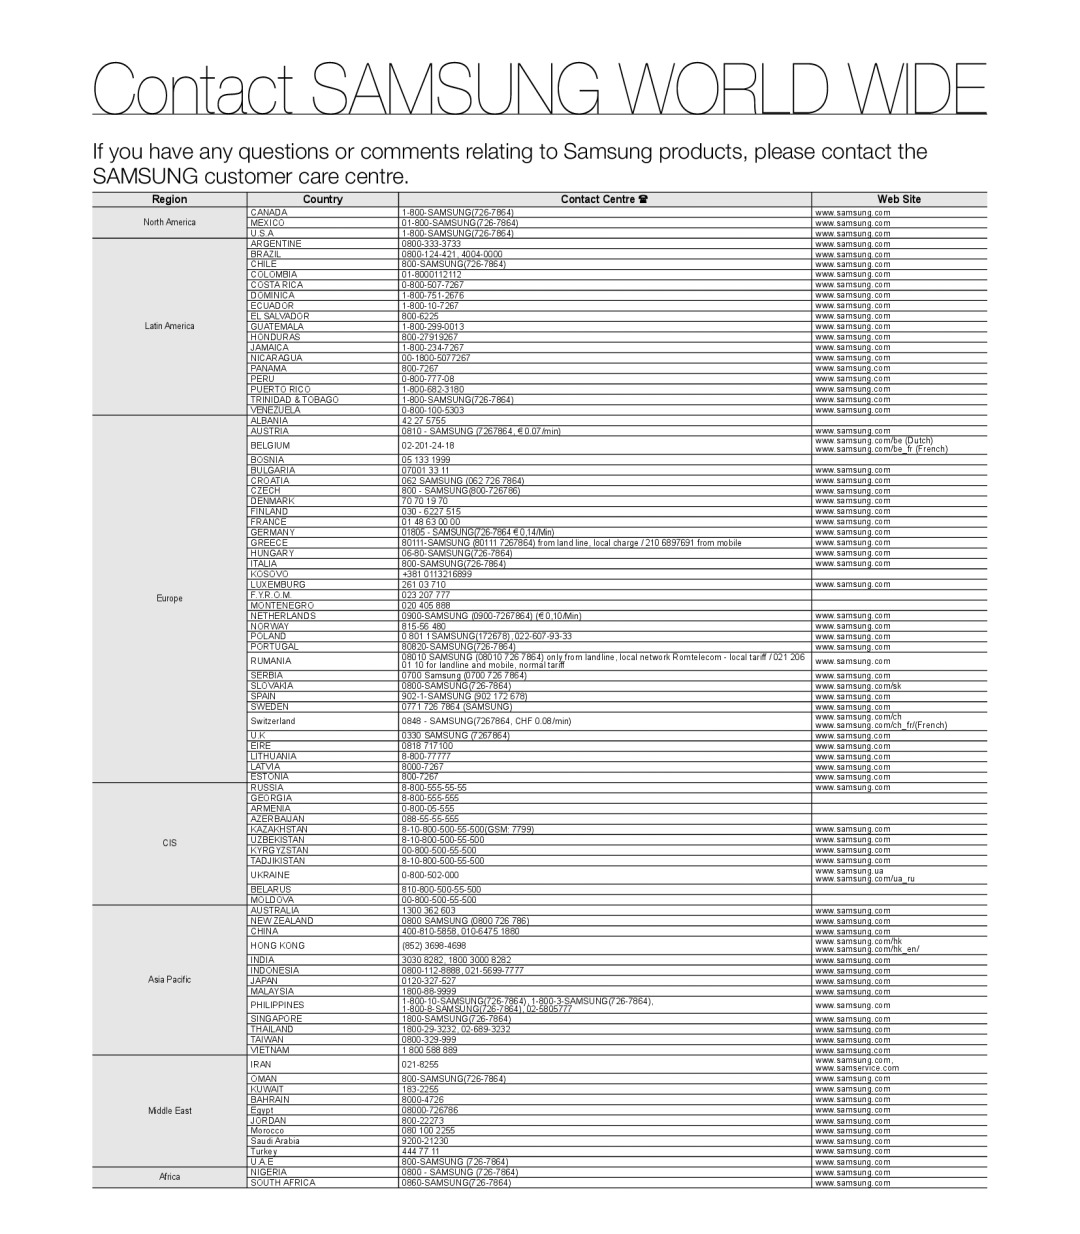 Contact SAMSUNG WORLD WIDE
 RoHS compliant