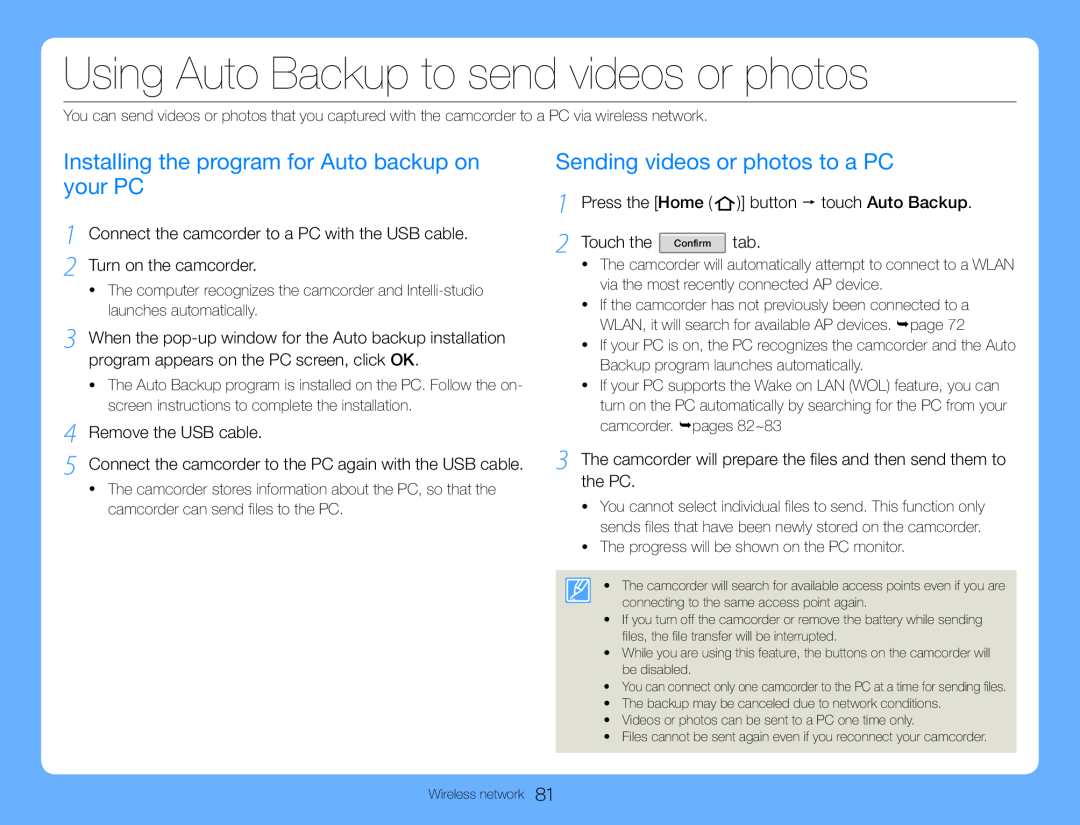
Using Auto Backup to send videos or photos
You can send videos or photos that you captured with the camcorder to a PC via wireless network.
Installing the program for Auto backup on your PC
1 Connect the camcorder to a PC with the USB cable. 2 Turn on the camcorder.
•The computer recognizes the camcorder and
3 When the
•The Auto Backup program is installed on the PC. Follow the on- screen instructions to complete the installation.
4 Remove the USB cable.
5 Connect the camcorder to the PC again with the USB cable.
•The camcorder stores information about the PC, so that the camcorder can send files to the PC.
Sending videos or photos to a PC
1 | Press the [Home ( | )] button touch Auto Backup. |
2 | Touch the Confirm | tab. |
•The camcorder will automatically attempt to connect to a WLAN via the most recently connected AP device.
•If the camcorder has not previously been connected to a WLAN, it will search for available AP devices. page 72
•If your PC is on, the PC recognizes the camcorder and the Auto Backup program launches automatically.
•If your PC supports the Wake on LAN (WOL) feature, you can turn on the PC automatically by searching for the PC from your camcorder. pages 82~83
3 The camcorder will prepare the files and then send them to the PC.
•You cannot select individual files to send. This function only sends files that have been newly stored on the camcorder.
•The progress will be shown on the PC monitor.
• The camcorder will search for available access points even if you are connecting to the same access point again.
•If you turn off the camcorder or remove the battery while sending files, the file transfer will be interrupted.
•While you are using this feature, the buttons on the camcorder will be disabled.
•You can connect only one camcorder to the PC at a time for sending files.
