system setting
Demo
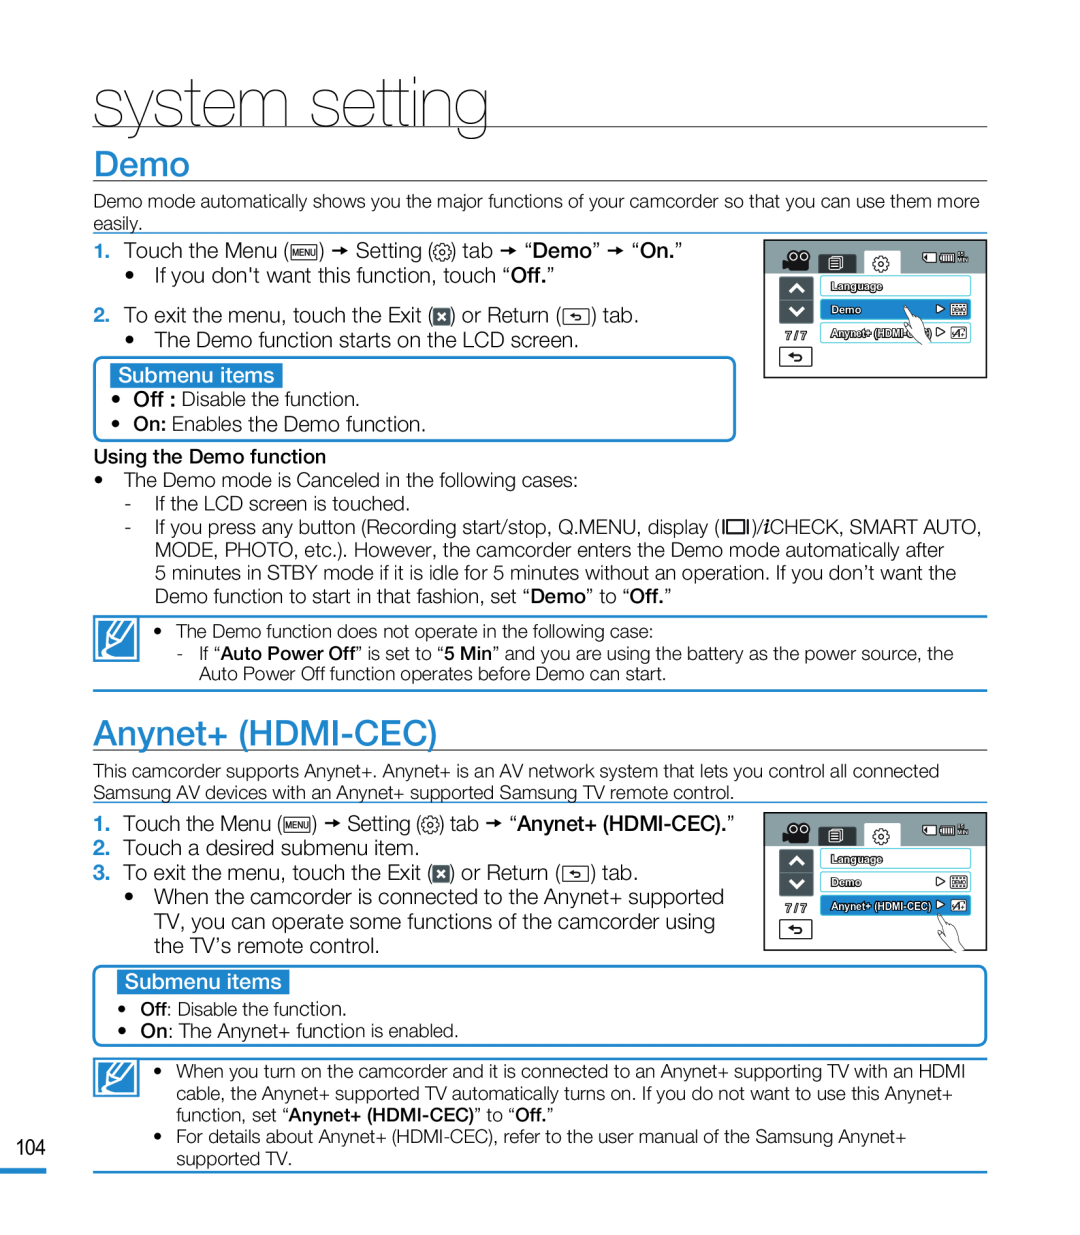
Demo mode automatically shows you the major functions of your camcorder so that you can use them more easily.
•Off : Disable the function.
| 85 |
| MIN |
| Language |
| Demo |
7 / 7 | Anynet+ |
Using the Demo function
•The Demo mode is Canceled in the following cases:
-If the LCD screen is touched.
-If you press any button (Recording start/stop, Q.MENU, display ( ![]()
![]()
![]() )/
)/![]() CHECK, SMART AUTO, MODE, PHOTO, etc.). However, the camcorder enters the Demo mode automatically after
CHECK, SMART AUTO, MODE, PHOTO, etc.). However, the camcorder enters the Demo mode automatically after
5 minutes in STBY mode if it is idle for 5 minutes without an operation. If you don’t want the Demo function to start in that fashion, set “Demo” to “Off.”
• The Demo function does not operate in the following case:
-If “Auto Power Off” is set to “5 Min” and you are using the battery as the power source, the Auto Power Off function operates before Demo can start.
Anynet+ (HDMI-CEC)
This camcorder supports Anynet+. Anynet+ is an AV network system that lets you control all connected Samsung AV devices with an Anynet+ supported Samsung TV remote control.
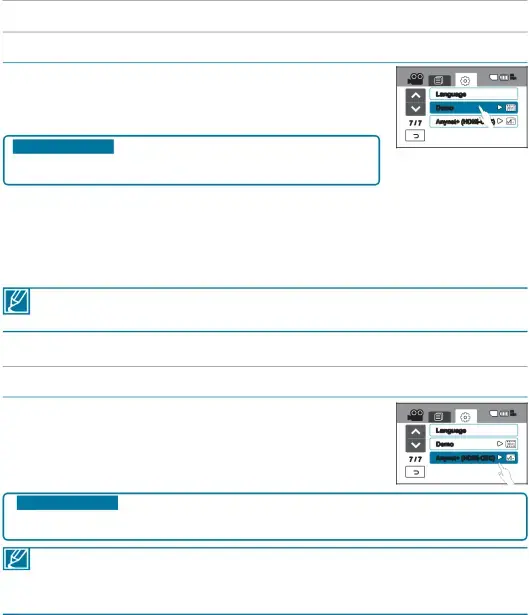
•When the camcorder is connected to the Anynet+ supported TV, you can operate some functions of the camcorder using the TV’s remote control.
| 85 |
| MIN |
| Language |
| Demo |
7 / 7 | Anynet+ |
• Off: Disable the function.
• On: The Anynet+ function is enabled.
• When you turn on the camcorder and it is connected to an Anynet+ supporting TV with an HDMI cable, the Anynet+ supported TV automatically turns on. If you do not want to use this Anynet+ function, set “Anynet+
104 | • For details about Anynet+ | |
supported TV. | ||
|