Adding a Wi-FiNetwork Manually

Samsung Galaxy Note 10.1

Verizon SCH-I925EAAVZW

Download 205 pages 58.18 Kb View all pages
Page 117
Page screenshot 117
Scanning and Connecting to a Wi-Fi Network

Scanning and Connecting to a Wi-Fi Network

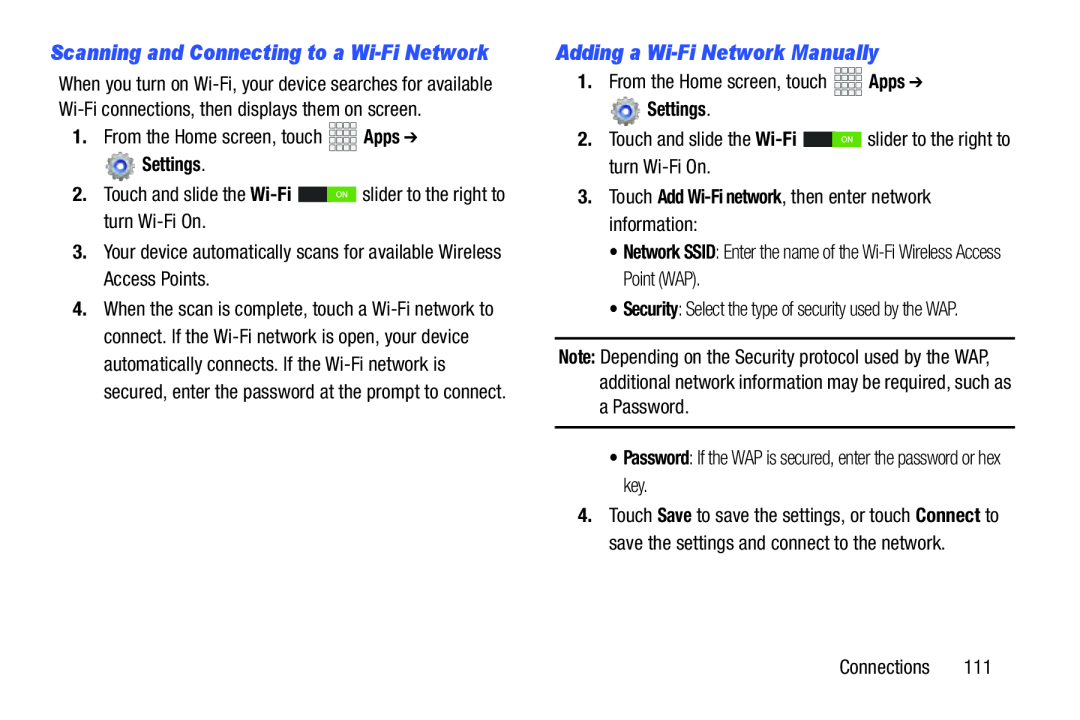
When you turn on Wi-Fi, your device searches for available Wi-Fi connections, then displays them on screen.

1.From the Home screen, touch 1.From the Home screen, touch  Apps ➔ Apps  Settings.2.Touch and slide the Wi-Fi slider to the right to turn Wi-Fi On. Apps

Wi-Fi Settings.

2.Touch and slide the Wi-Fi3.Your device automatically scans for available Wireless Access Points.Adding a Wi-Fi Network Manually3.Touch Add Wi-Fi network, then enter network information: slider to the right to turn Wi-Fi On.3.Your device automatically scans for available Wireless Access Points.

4.When the scan is complete, touch a Wi-Fi network to connect. If the Wi-Fi network is open, your device automatically connects. If the Wi-Fi network is secured, enter the password at the prompt to connect.

Adding a Wi-Fi Network Manually

1.From the Home screen, touch •Network SSID: Enter the name of the Wi-Fi Wireless Access Point (WAP).Network SSID•Security: Select the type of security used by the WAP.Security Apps

aPassword. Settings.

2.Touch and slide the Wi-Fi•Password: If the WAP is secured, enter the password or hex key.PasswordConnections 111 slider to the right to turn Wi-Fi On.

3.Touch Add Wi-Fi network, then enter network information:

Network SSID: Enter the name of the Wi-Fi Wireless Access Point (WAP).Security: Select the type of security used by the WAP.

Note: Depending on the Security protocol used by the WAP, additional network information may be required, such as

aPassword.Password: If the WAP is secured, enter the password or hex key.

4.Touch Save to save the settings, or touch Connect to save the settings and connect to the network.

Connections 111
Page 117
Page screenshot 117
Adding a Wi-FiNetwork Manually - Samsung Galaxy Note 10.1