•Select Microsoft Exchange ActiveSync to sync your contacts automatically with your Microsoft Exchange account.
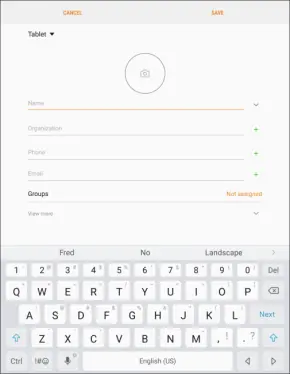
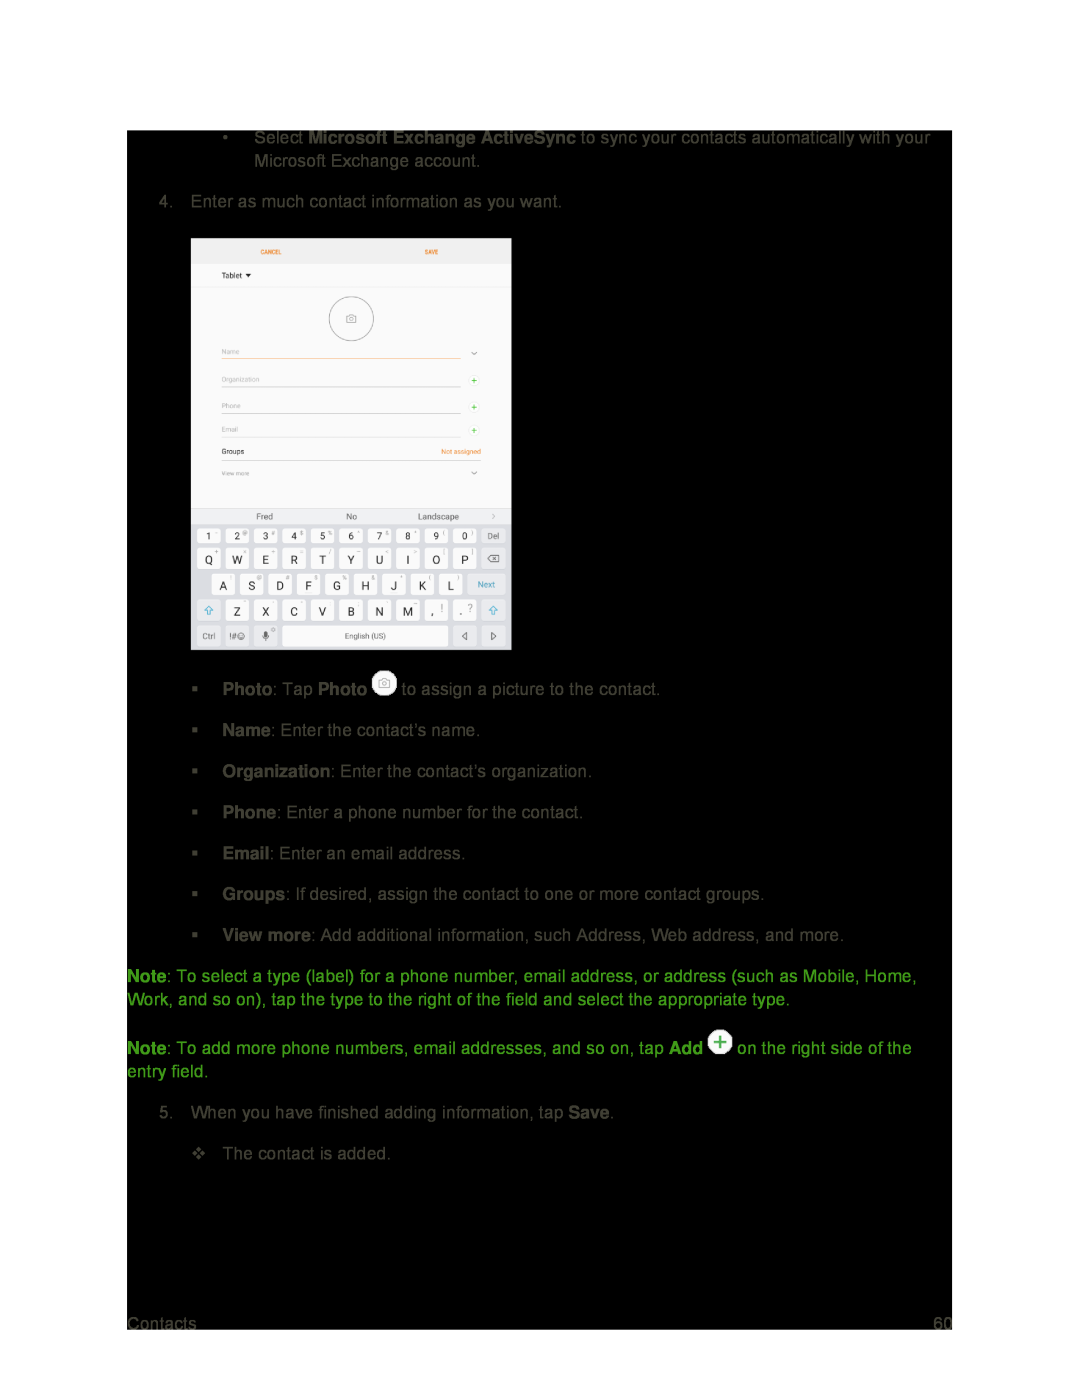
4.Enter as much contact information as you want.
Photo: Tap Photo ![]() to assign a picture to the contact.
to assign a picture to the contact.
Name: Enter the contact’s name.
Organization: Enter the contact’s organization.
Phone: Enter a phone number for the contact.
Email: Enter an email address.
Groups: If desired, assign the contact to one or more contact groups.
View more: Add additional information, such Address, Web address, and more.
Note: To select a type (label) for a phone number, email address, or address (such as Mobile, Home, Work, and so on), tap the type to the right of the field and select the appropriate type.
Note: To add more phone numbers, email addresses, and so on, tap Add ![]() on the right side of the entry field.
on the right side of the entry field.
5.When you have finished adding information, tap Save.
The contact is added.
Contacts | 60 |
